
The Quick Dispatch feature enables you to streamline your bulk order dispatch process by eliminating the standard steps involved in manifesting, such as creating a manifest, adding shipments, and closing it before dispatch. This feature allows you to dispatch shipments directly, saving both time and effort, especially in high-volume or fast-paced operations.
Use Case Scenario
In a warehouse where operational efficiency is essential, the Quick Dispatch feature in Uniware allows the team to bypass manual steps like creating a manifest, adding shipments to it, and closing it before handover. Instead, shipments can be directly scanned and dispatched in bulk, streamlining the entire workflow. What makes this feature even more powerful is that once Quick Dispatch is initiated, it runs seamlessly in the background until the selected shipments are marked as dispatched, or fail to be dispatched, due to any errors.
This means the operations team doesn’t need to stay on the dispatch screen or keep the system running—staff can shift focus to other warehouse tasks, or even shut down the system, while the dispatch process continues automatically. By eliminating manual manifesting and enabling background processing, Quick Dispatch significantly reduces effort and speeds up order handover, helping maintain a steady and efficient dispatch flow throughout the day.
Applicability
Version: Standard, Professional and Enterprise clients
Traceability: None Trace
Configuration:
Facility Level Config: “Simple Order Processing: Enable Quick Dispatch“ default (No). To enable it, connect with UC Support Team/KAM to set this config.
Procedure
- Login in your uniware account.
- Navigate to the Fulfillment > Shipments.
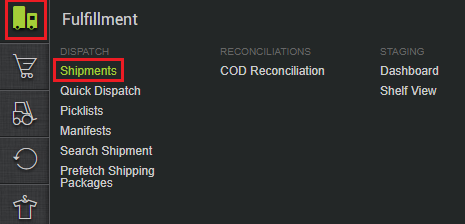
- Go to the Ready To Ship tab, as the Quick Dispatch option is only available at this order processing state.

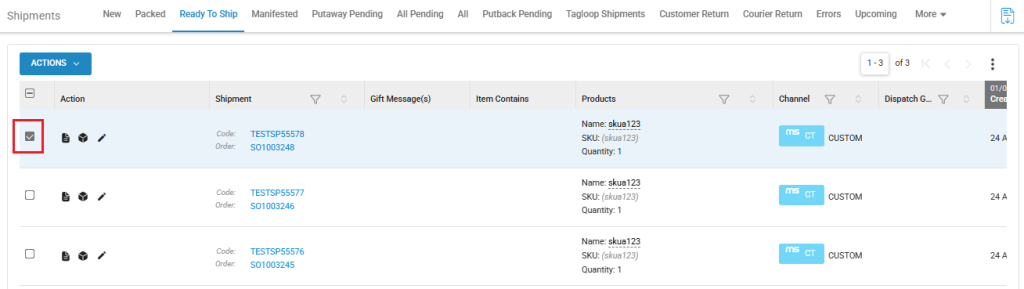
- Select the shipments that you want to process for quick dispatch, by clicking on thier checkbox.
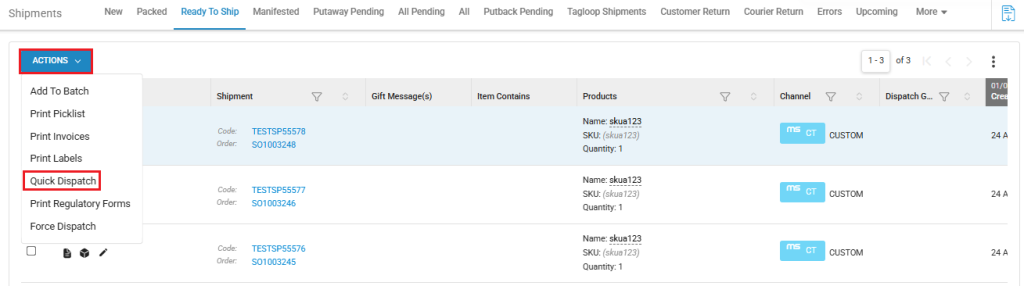
- Click on the ACTIONS button, and then select the Quick Dispatch button.(Note: All shipments that are selected and processed together for Quick Dispatch are collectively referred to as a Dispatch Group).
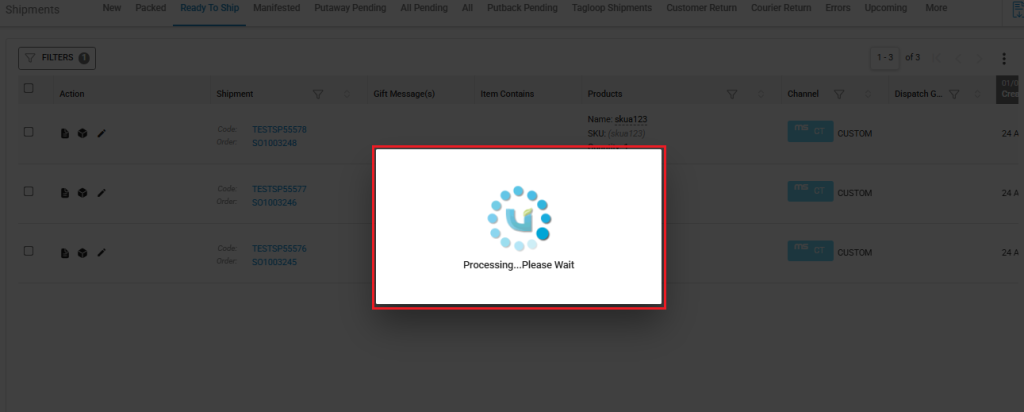
- As soon as you click on this button, you will get a processing screen as shown below.
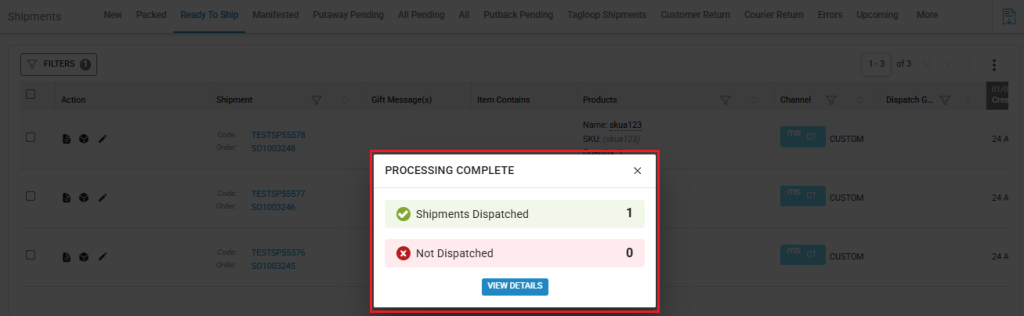
- As soon as the dispatch processing for the selected shipments get completed, you will get the following screen, with the number of shipments that are successfully dispatched, and the number of shipments that could not be dispatched due to any issues. To check the complete status of your processed shipments, click on the VIEW DETAILS button.
- On doing so you will be directed to the Quick Dispatch screen. Here, you will have a complete view of shipments belonging to that Dispatch Group, with separate columns for the number of shipments in Ready to Ship, Manifested, Dispatched, Cancelled, RTO, Putaway Pending, and Shipped state. The count mentioned is clickable, so on doing so, you will be redirected to to its desired tab with necessary filters so that only those shipments are visible to the user.

- This is a view of the Dispatched tab, after you click on the Dispatched count.

Quick Dispatch View
- Login in your uniware account.
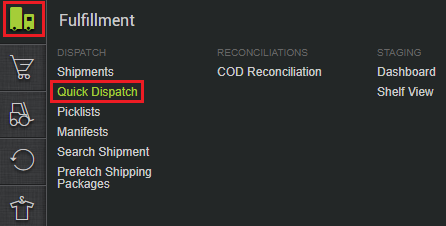
- Navigate to the Fulfillment > Quick Dispatch.
- You will be directed to the Quick Dispatch screen, where you will have all the Dispatch Groups, with the complete count of all the Shipments in that group, in different states for processing. You can put a filter on the Dispatch Group column, to ccheck the status of all the shipments under that group.

Print Manifests
- Login in your uniware account.
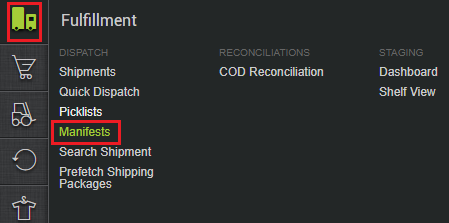
- Navigate to the Fulfillment > Manifests.
- Here, you can see all the open as well as closed manifests under their respective tabs.
- You also have the option to print any Manifest. To do do, go to the CLOSED tab in the Manifests page. From here, click on the PRINT MANIFEST button to print the required manifest.

Important Points
-
When the quick dispatch process is initiated, a group is made for the shipments to be processed together. We call that group: Dispatch Group, which will be associated to all the shipments
-
while adding shipment to manifest we have to consider the “Max Number of Items in Manifest” config value, i.e, if there are 250 shipments that could be added in single manifest but “Max Number of Items in Manifest” = 200, then we will be creating two manifests, one with 200 shipments and another with 50 shipments
- The manifests of the shipments will be created based on thier channels. For shipments from different channels, different manifests will be created. Consider that you have a total of 20 shipments, with 5 shipments from one channel, 6 from the second channel, and 9 from the third, three manifests will be created for these shipments, with the same channel shipments under one manifest.
- The manifests would not be separately cretaed based on the payment mode. Different payment modes that fall under the same channel will be added to a single manifest.
- If the seller requires the package seal id or the shipping package type option, the quick dispatch flow cannot be used. The seller will have to use the existing flow.