Unicommerce promises to provide complete management of shelves in your warehouse. We would explore the possibility of adding or removing a shelf or rearranging the whole area to suit your needs ideally.
To create a shelf in Uniware , you can follow this article – Click here
In this article, we will see how to Disable a shelf in Uniware. Follow the steps given below:
1-Follow the path Tools > Import
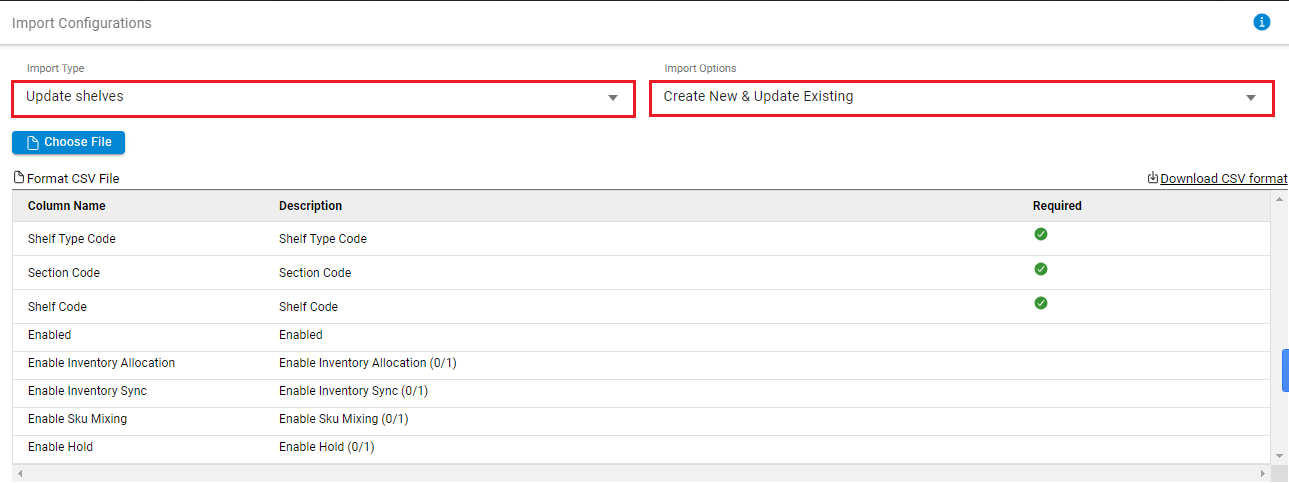
2- Select the “Update Shelves” in the Import type.

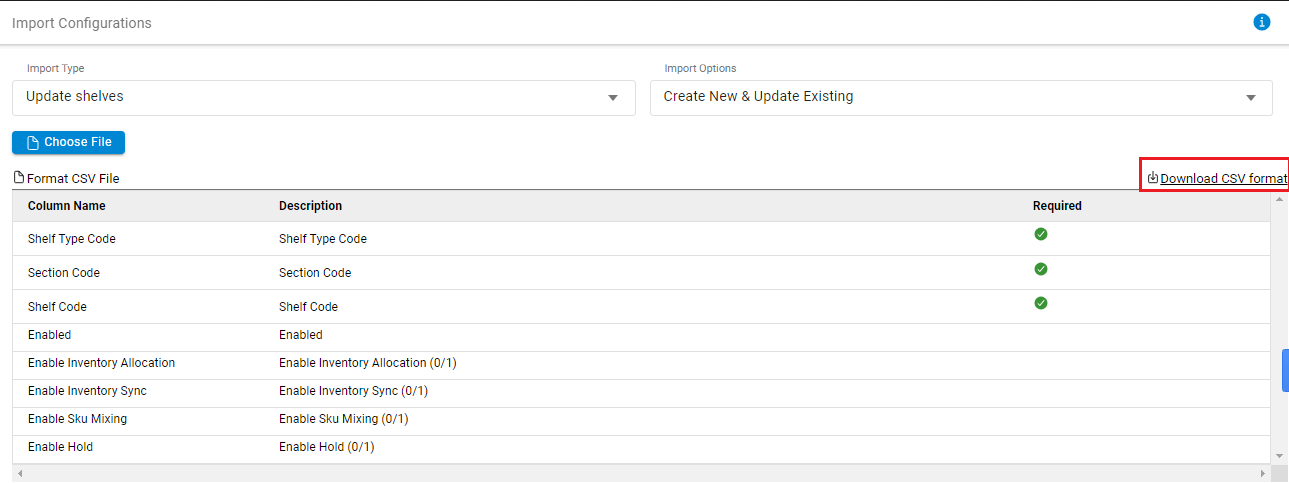
3- Download the CSV file from “Download CSV format“

4- Now fill the data for respective order items details with mandatory filed and save the file.
The meaning of all the mandatory fields is explained here:
|
Field Name (M: Mandatory) |
Description/Notes |
|---|---|
|
Shelf Type Code (M) |
|
|
Section Code (M) |
|
|
Shelf Code (M) |
Note: The shelf code can never be changed or deleted only once created. |
|
Enabled |
To Mark the existing self as Enabled (1)/Disabled (0). |
|
Enable Inventory Allocation |
To Enable Inventory Allocation as Enabled (1) else Disabled (0). |
|
Enable Inventory Sync |
To Enable Inventory Sync as Enabled (1) else Disabled (0). |
|
Enable Sku Mixing |
To Enable Sku Mixing as Enabled (1) else Disabled (0). |
|
Enable Hold |
To Enable Hold as Enabled (1) else Disabled (0). |

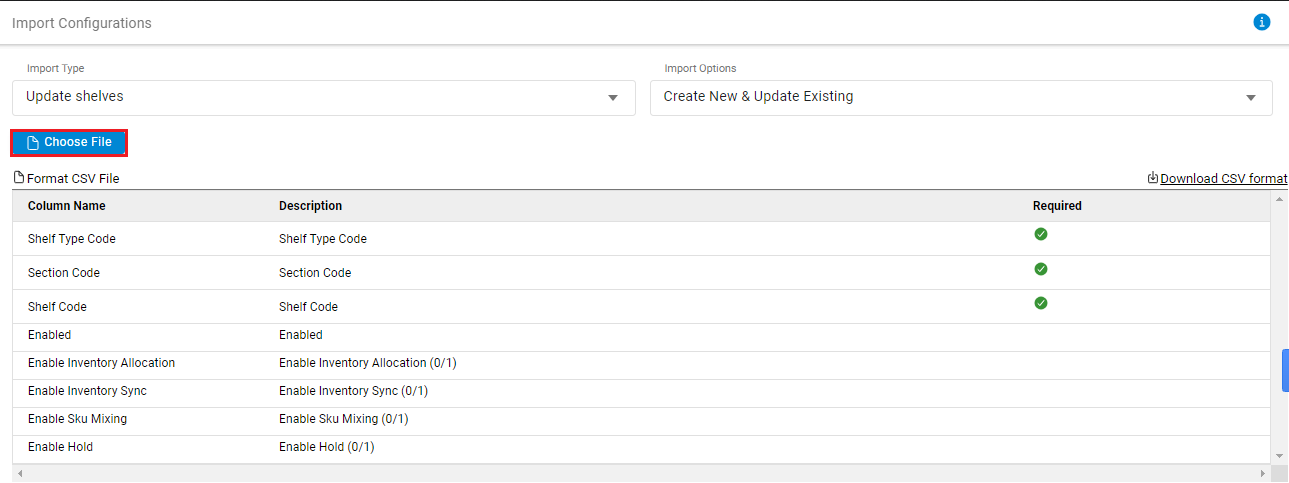
5- Save and upload the file through the same option. Update the given template with the values as in the exported file (as discussed in the step above).
Now save this file and import it from the same page where you had downloaded the file earlier.

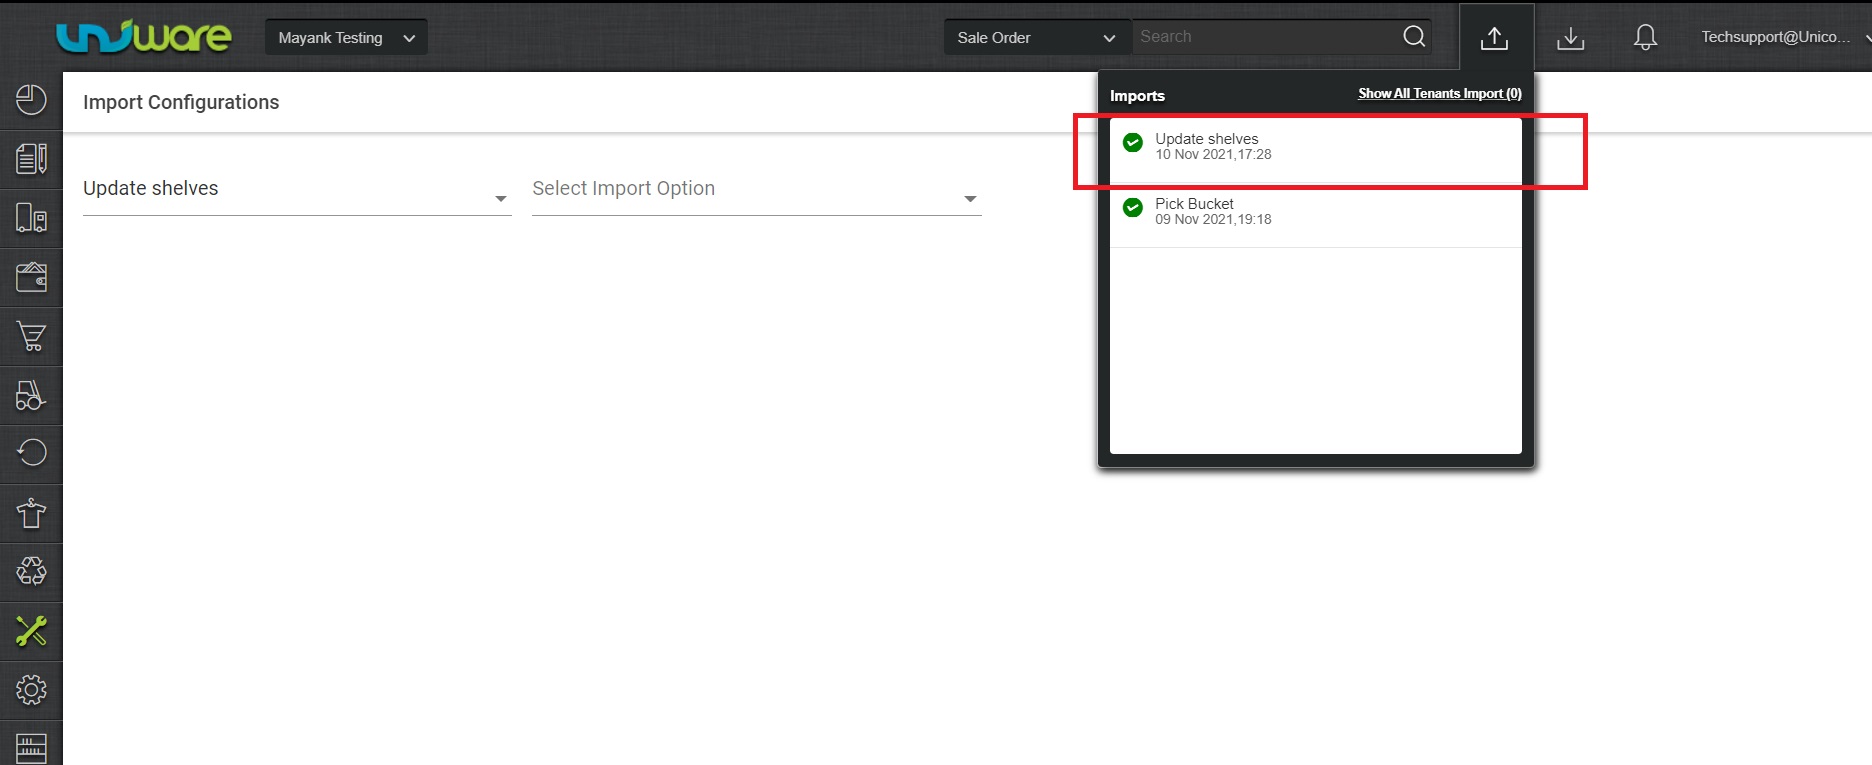
6– Check the result in the Import result.

Once this is complete, the updated shelf codes have been Disabled in Uniware.
