We’ve introduced the Kitting feature in Uniware that enables the seller to combine multiple individual products and sell them together as a single unit, called a kit. It is a simple way to offer well-packaged product bundles—like combos or value packs—while keeping inventory and order processing smooth and hassle-free.
Note: In Uniware, kits are assembled beforehand and put away into stock as a single unit, ready for future orders. Bundle SKUs, on the other hand, are assembled at the time of order processing, using individual items picked from stock. This makes kits ideal for faster dispatch, while bundles offer more dynamic inventory handling.
Use Case
Lets assume a skincare brand that sells a face wash, toner, and moisturizer separately. With the Kitting feature, they can create a “Daily Skincare Routine” kit that includes all three products and sell it as one item. When a customer places an order for the kit, Uniware automatically adjusts inventory for each kit and ensures seamless fulfillment—without the seller having to manually manage stock or bundle orders.
Applicability
Version: Standard, Professional and Enterprise clients
Traceability: None and SKU Trace
Procedure
- Using UI
- Login in your uniware account.
- Navigate to the Products > Products.
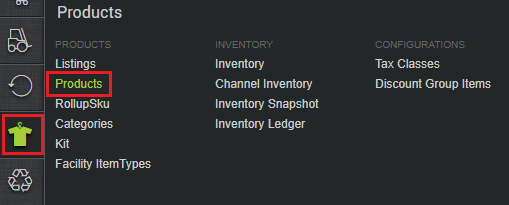
- Click on the ADD PRODUCT button.

- Define the Kit name, its SKU, and the other parameters, just as we define a product in Uniware.
- In the COMPONENT PRODUCTS section, select the product type as KIT. (Component SKU for a kit can be of the following product type – simple, kit (this means kit of kits can be also created).
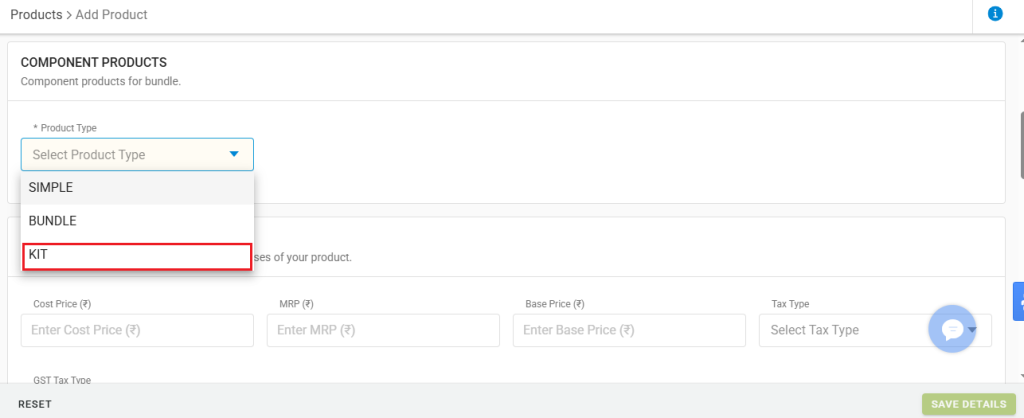
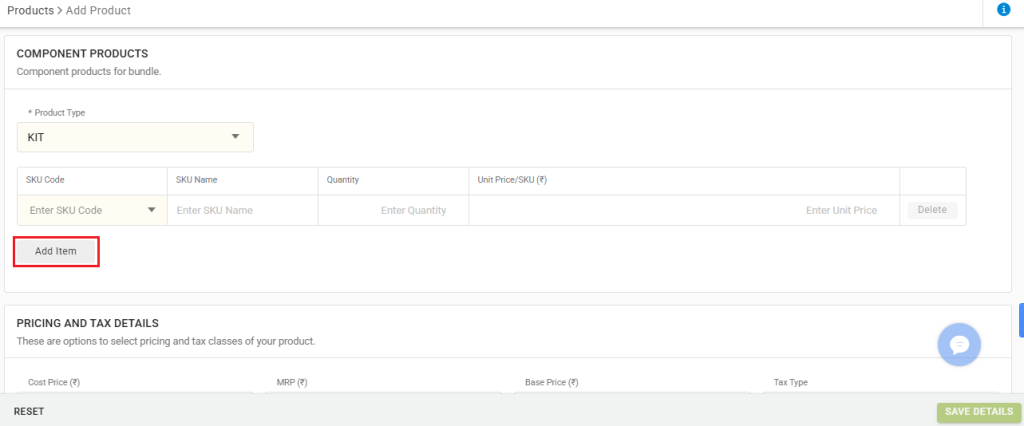
- On doing so, you will get the option to enter details for the individial items which you want to add in your kit. Enter all the details to add the item in the kit. You can add multiple items in the kit by clicking on the Add Item button, and filling in the required details similarly.
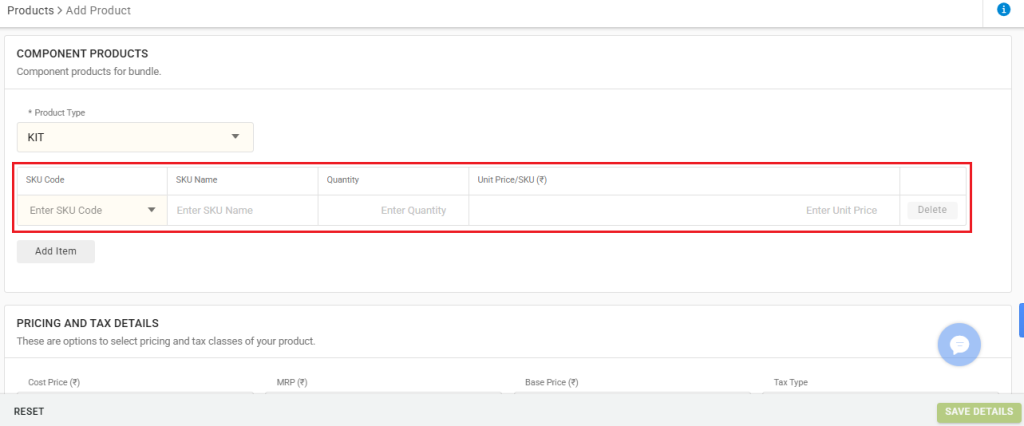
| Parameter | Description |
| SKU Code | SKU code of the item. |
| SKU Name | Name of the item. |
| Quantity | Quantity of the item to be added in the kit. |
| Unit Price/SKU | Price of the single piece of the item. |
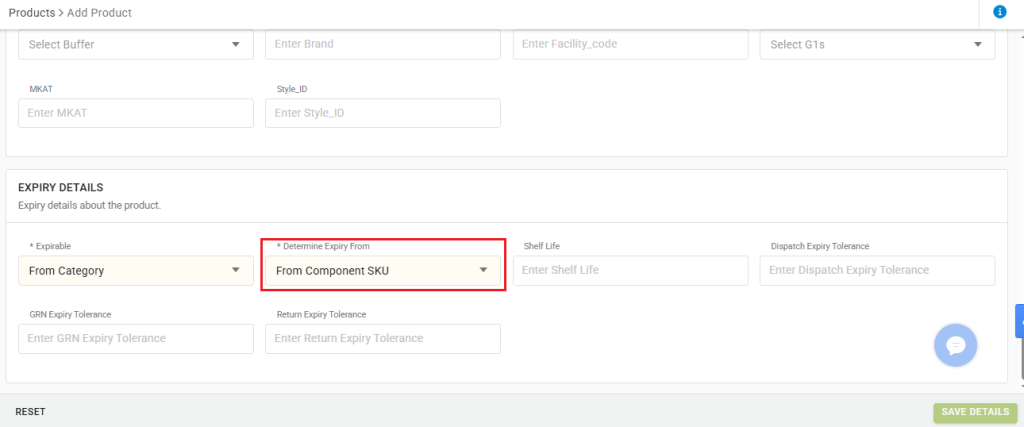
- In the EXPIRY DETAILS section, you will get the default value of Determine Expiry From set to From Component SKU. This will set the earliest expiry date of the component SKU as expiry date of the kit SKU.
- Fill in all the remaining details as you did before when creating a product, then click the SAVE button.
2. Using Import
-
- Login in your uniware account.
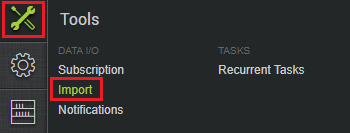
- Navigate to the Tools > Import.
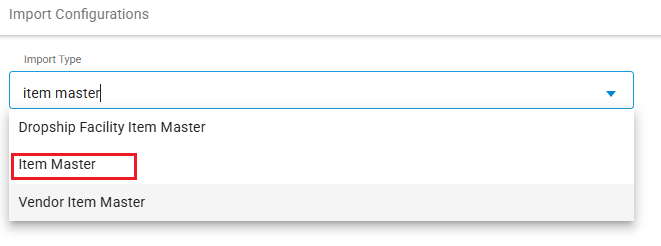
- In the Import Type, choose the file Item Master.
 Click on Download CSV Format.
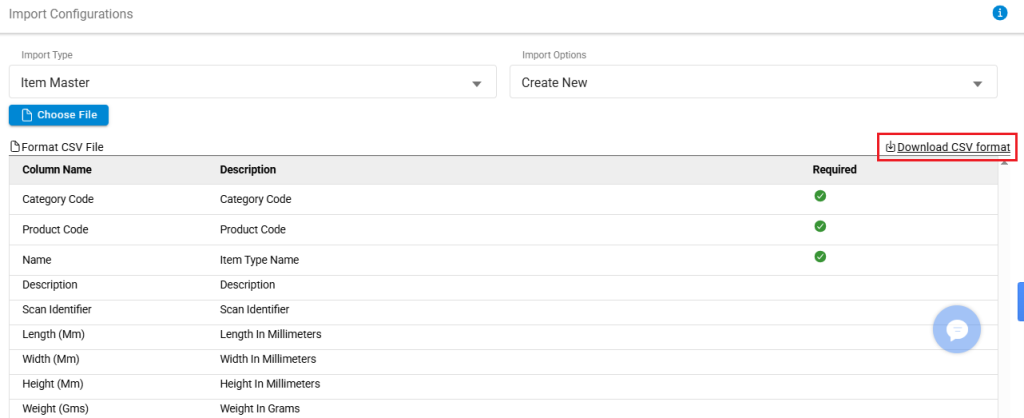
- Enter the details in the CSV file, as you do for creating a product in Uniware. In the Type field, enter KIT, and fill in the details for the items in the kit accordingly. After entering all the details, save the CSV file.

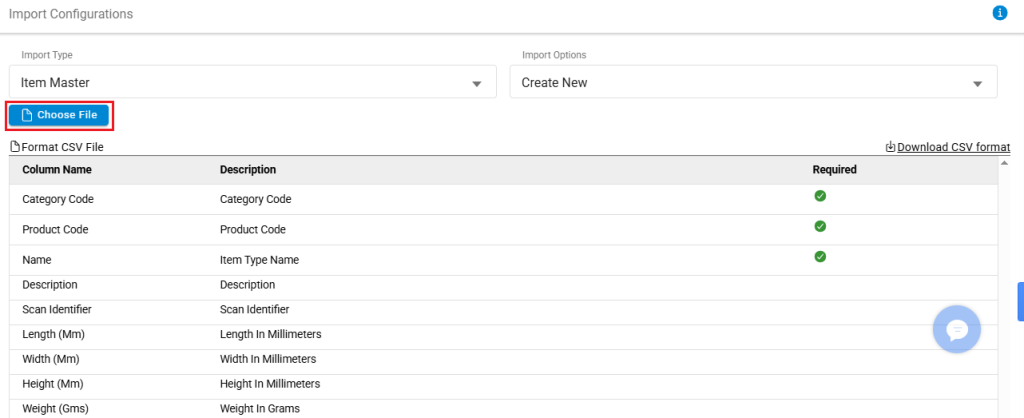
- Click on Choose File and upload your CSV file. Your file will be uploaded successfully.
View Kits
- Login in your uniware account.
- Navigate to the Products > Kit.
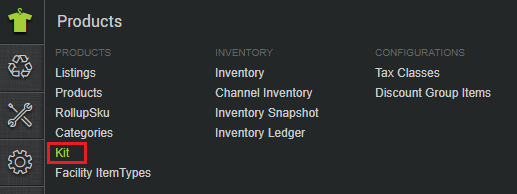
- You will be directed to the Kitting page, where you can view all the kits that are created under the KIT section.

Assemble Kits
- Login in your uniware account.
- Navigate to the Products > Kit.
- You will be rediercted to the Kitting page. From the top right corner, click on the ASSEMBLE KIT button.

- Enter all the required details.
| Parameters | Description |
| Kit Code | Code of the Kit that you need to assemble. |
| Name | Name of the Kit that you need to assemble. |
| Zone | Zone of the kit. |
| Quantity | Quantity of the kits that are to be assembled. |

- After entering all the details, click on the SUBMIT button. On doing so, a work order will be created successfully. (Work Order creation means that your kit is assembled successfully, and inventory for the component SKUs is blocked).
Print Picklist
- Scroll to the extreme right and click on the PRINT PICKLIST button, to print the picklist for your kit. (As of now, this picklist is not supported via haldheld).

Kit Picking | Closing Picklist
- Now for picking, click on the work order. Here, you will see the following screen.

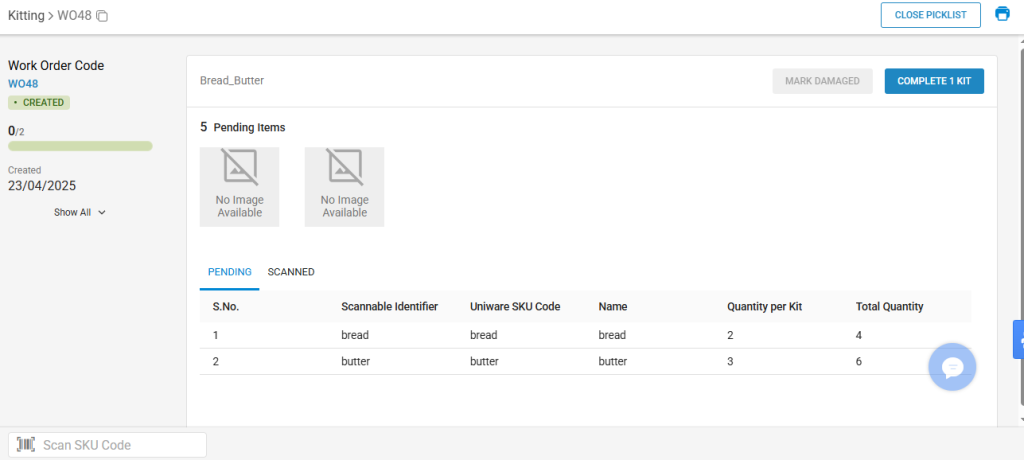
- Scan the SKU code of the items in the kit, one by one.
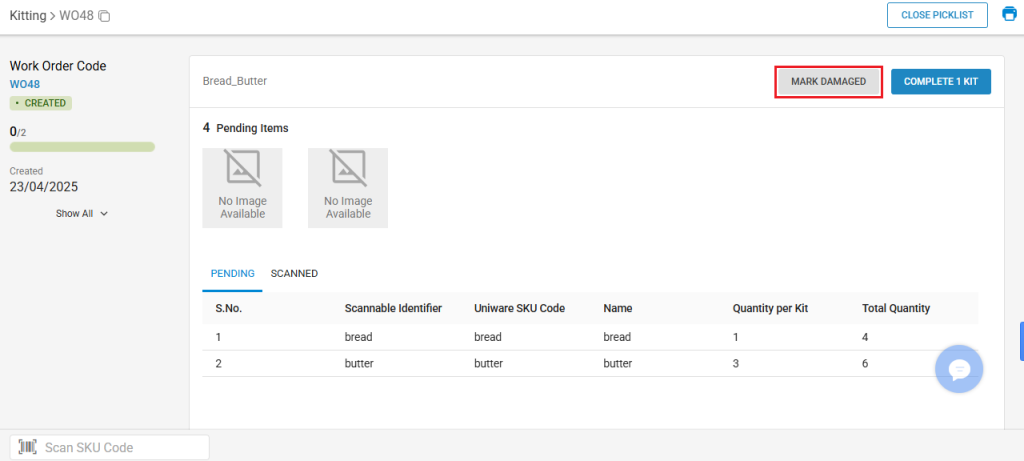
- On scanning the SKU code of the item, you will get the option to mark item as good or bad. To mark any item as bad, click on the MARK DAMAGED button.
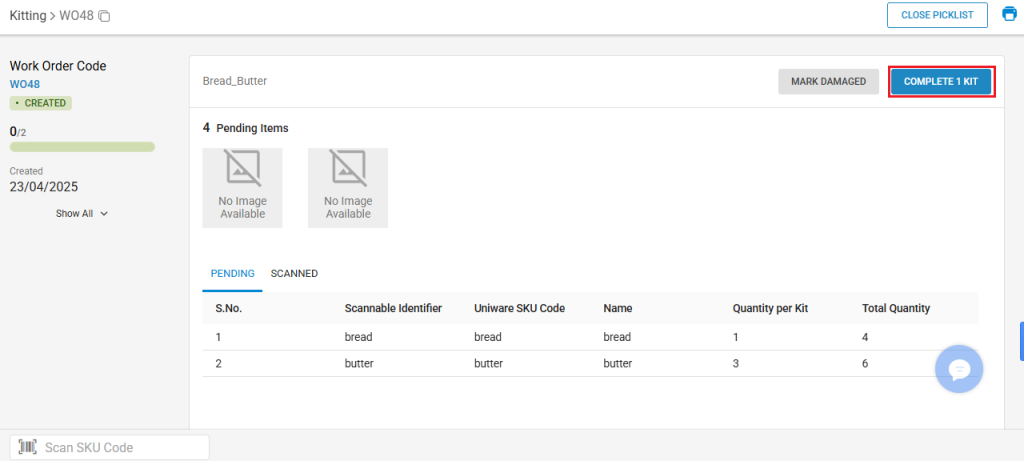
- The COMPLETE 1 KIT button auto assembles one kit without scanning the component items.
- After asssembling all the kits, click on the CLOSE PICKLIST button.
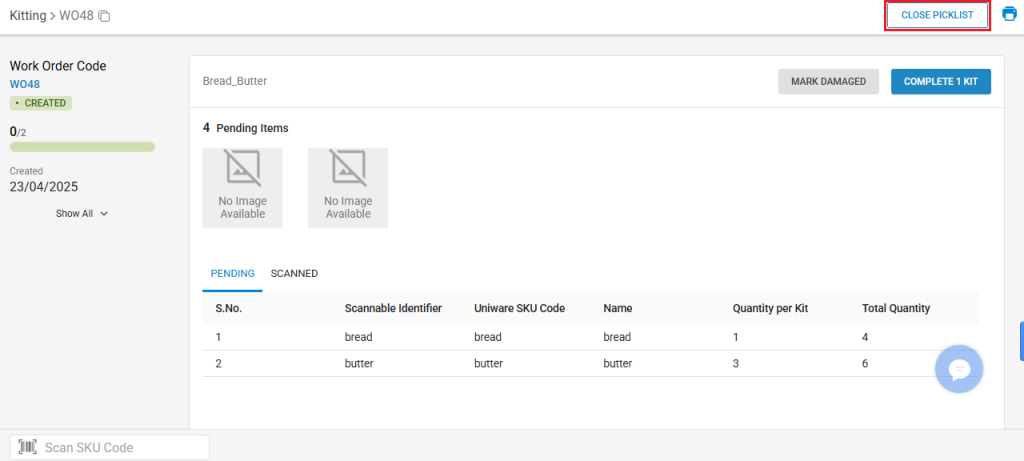
- Your picklist will be successfully closed. Now, you have to create a putaway for the same.
Kit Putaway
- Login in your uniware account.
- Navigate to the Inbound > Putaway.
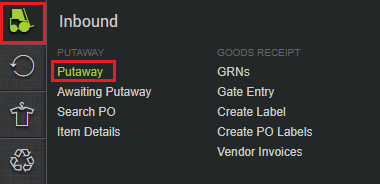
- Click on the CREATE PUTAWAY button.

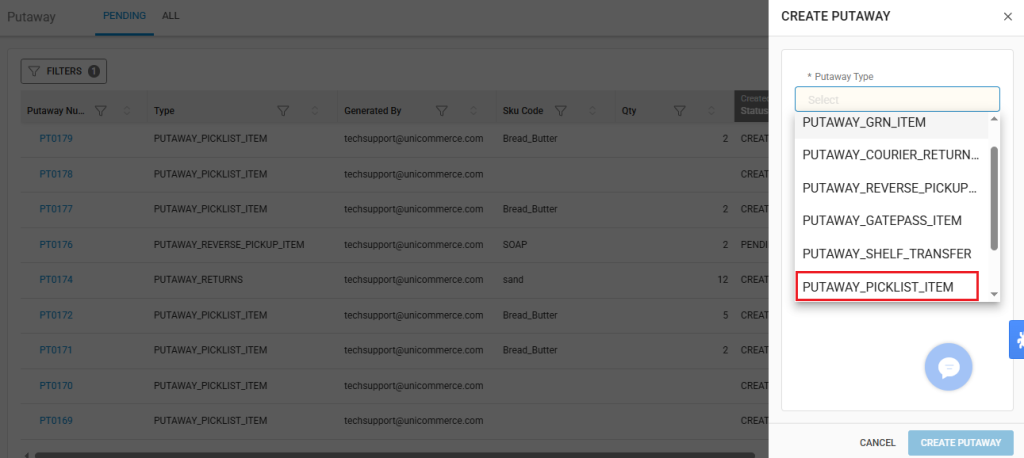
- For the Putaway Type, from the drpodown, select the PUTAWAY_PICKLIST_ITEM option.
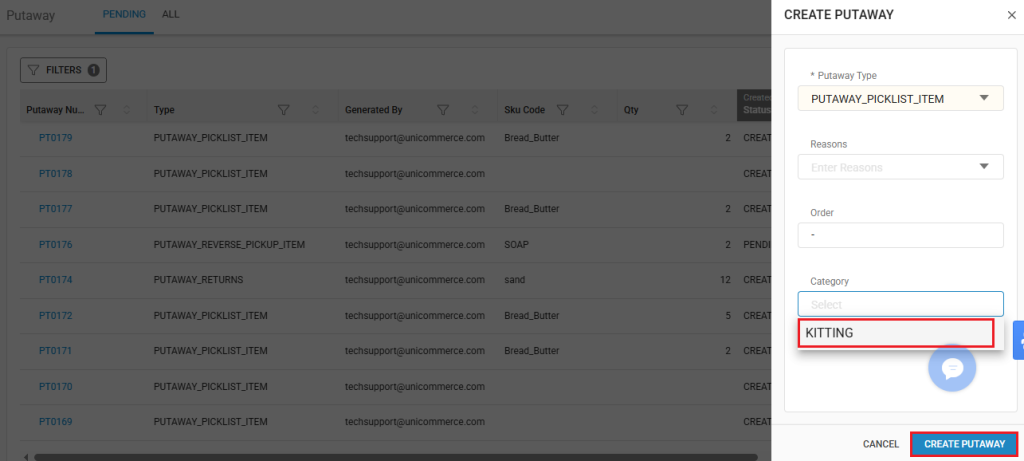
- For the Category, from the dropdown, select the KITTING option., and click on the CREATE PUTAWAY button.
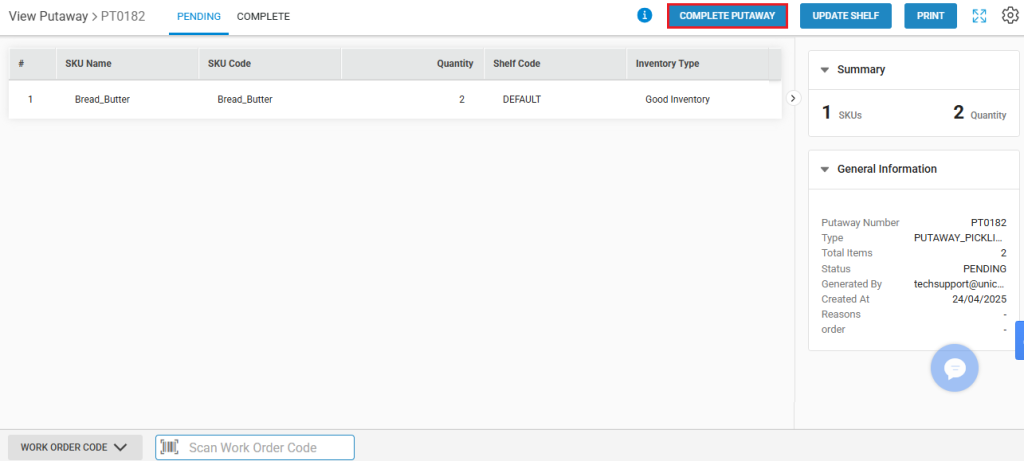
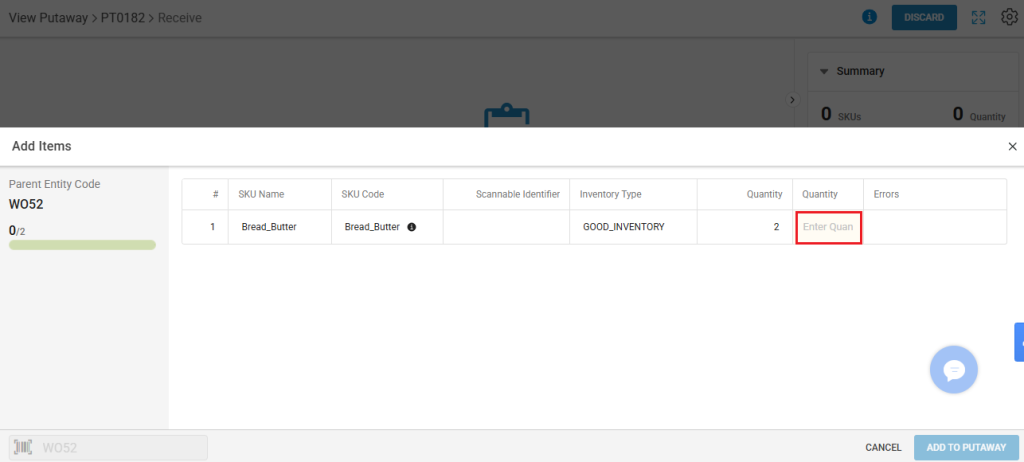
- You will see the following screen. Select the Work Order option, and scan the work order code.
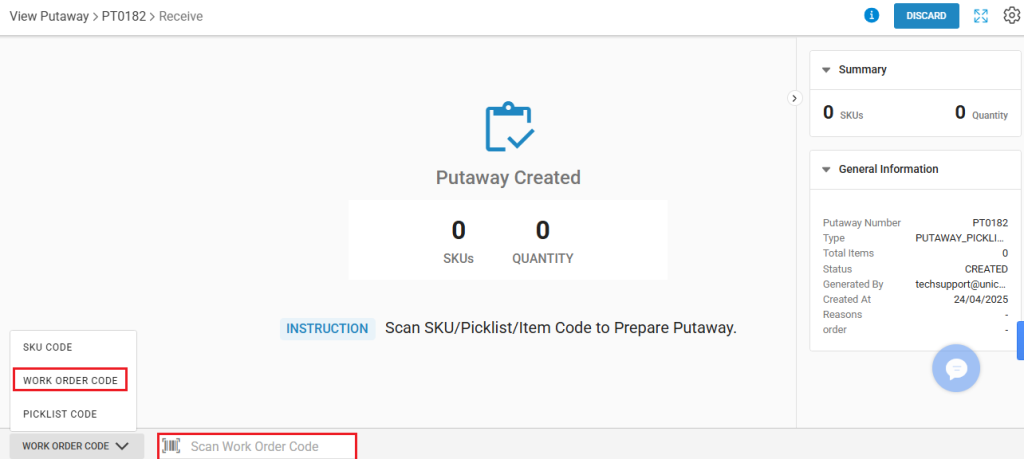
- On scanning the work order code, you will see the following screen. Add the quantity of Good inventory. For Bad inventory, you can enter the reason for marking it bad.
- After scanning all items in the Work Order, click on the ADD TO PUTAWAY button.
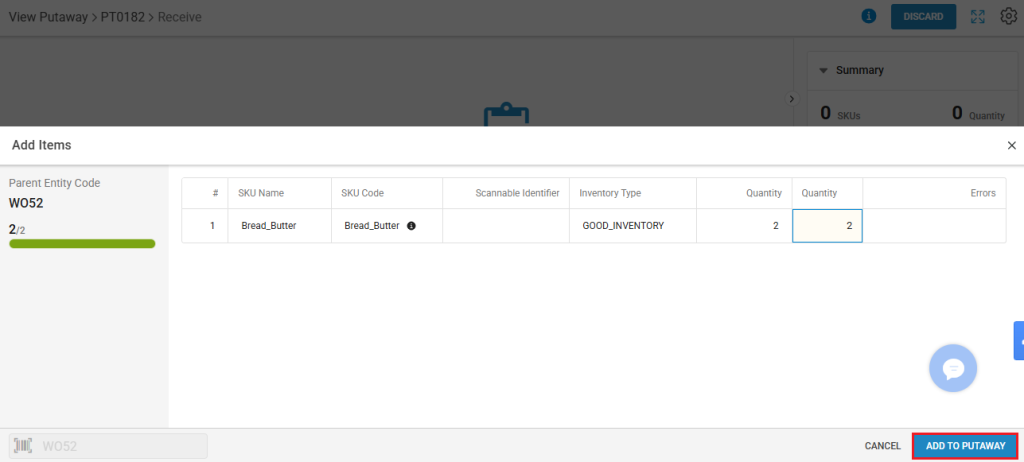
- Your Putaway will be successfully created for the Kit. Now,click on the CREATE PUTAWAY LIST button.
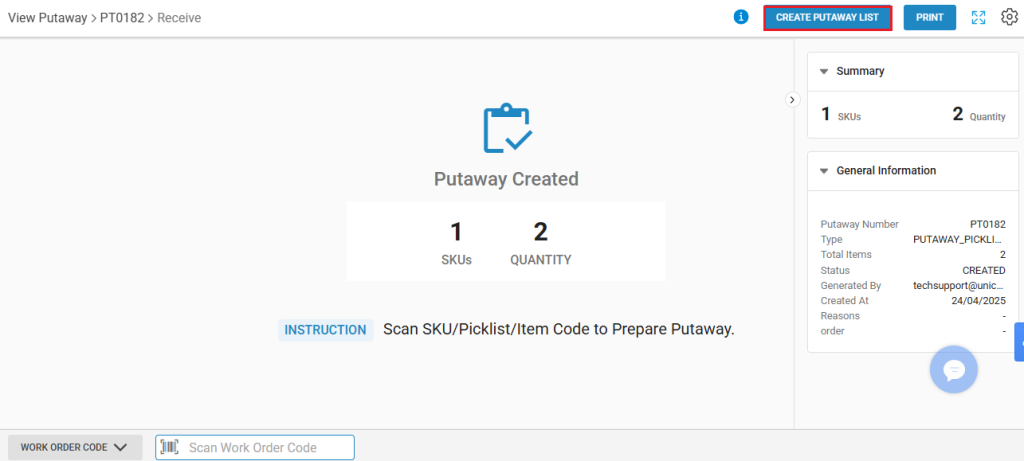
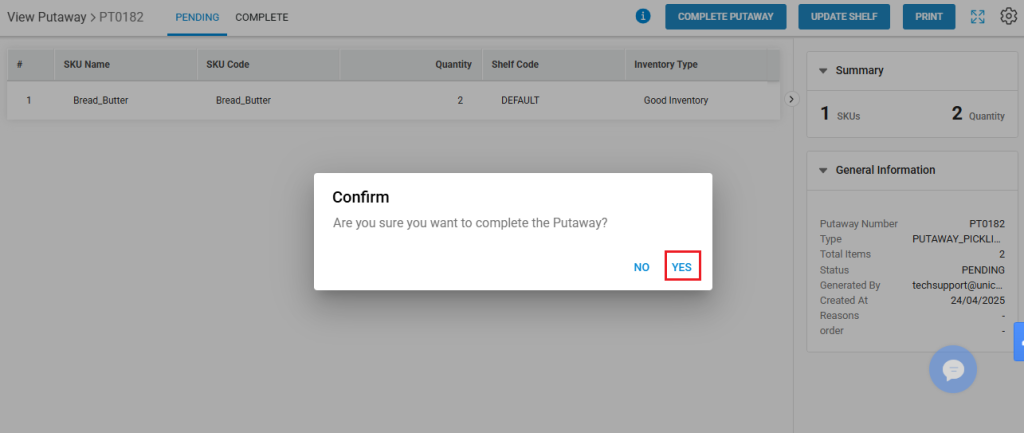
- You will get the following screen. Click on the CLOSE PUTAWAY button, and then select the Yes option to close the Putaway.