Follow these simple steps to integrate Amazon Easyship (Dropship) in Uniware:
1- In the Uniware menu, select Settings > Channels

2-Then press the button
Search and Select “AMAZON Dropship”.
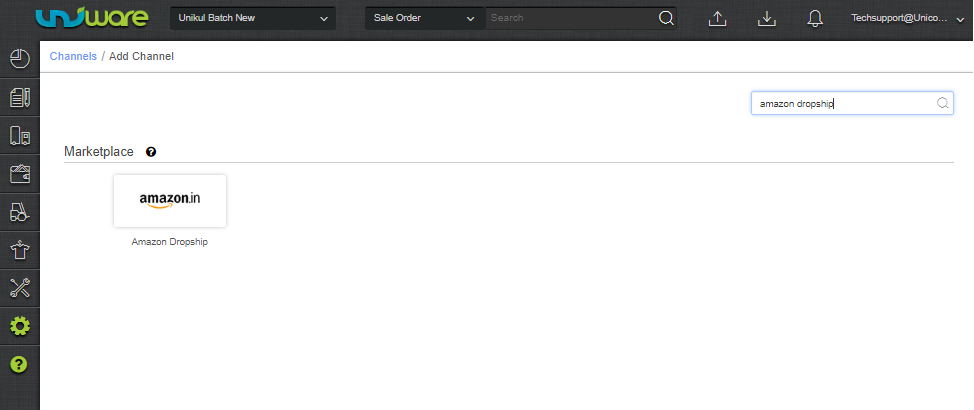
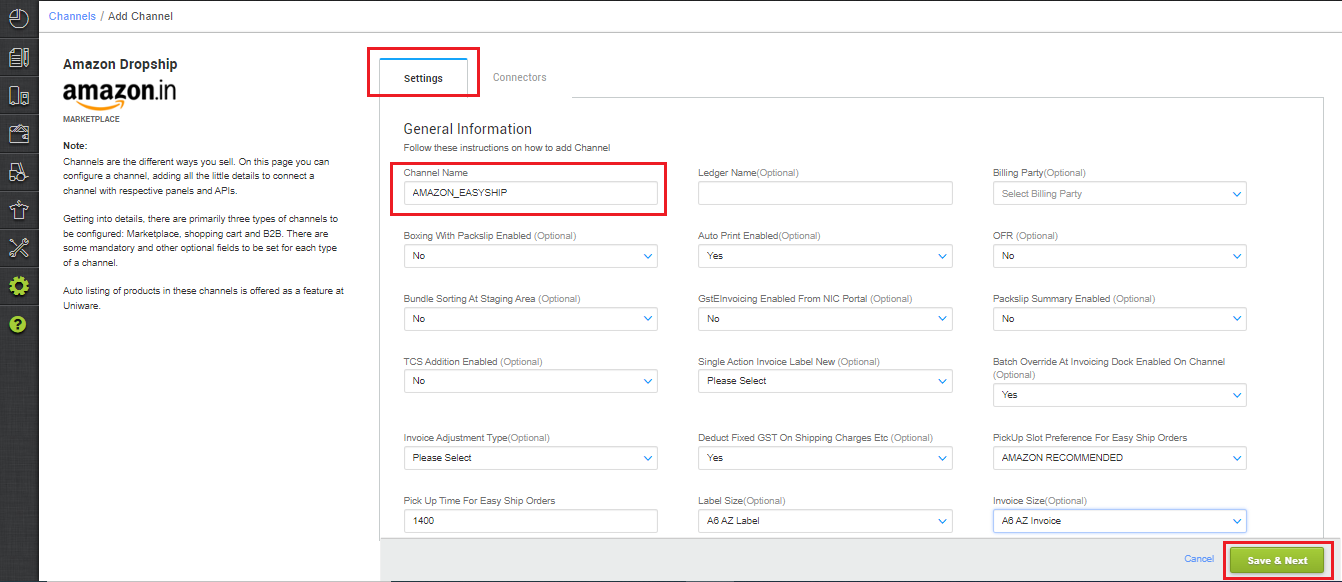
3- Fill the basic details with the channel name (default name = AMAZON_EASYSHIP ) and save the channel details. You can also use the channel name as Amazon Dropship.
4- Fill the credentials to configure the connectors.
IMPORTANT POINTS:
- Please use the incognito mode of the browser window while configuring this channel to avoid authentication failures.
- Get the admin username and password of the seller panel from Amazon when the popup comes. Credentials have to be added in Incognito Mode, else the system picks up the data available in the cache for some other channel and orders will not sync.
- Yojaka ID and KMS Key will be provided by the Amazon team to Unicommerce after site Launch. You can connect with the Uniware team for further setup in the uniware backend.
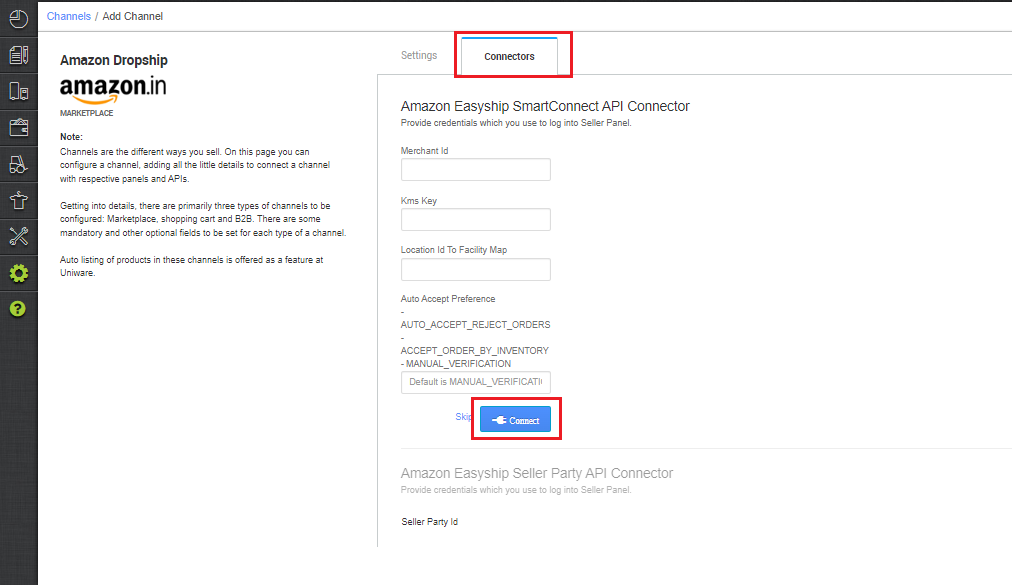
| Key | Format | Note |
| Merchant Id | A3E82J73******* | Provided by Amazon team to seller |
| Kms Key | arn:aws:kms:eu-west-1:926578745462:alias/A3E82J73**** |
Provided by Amazon team to Unicommerce
|
| Location Id | {“f2180510-1647-4e2c-9f553a671c7****”:”secr***”} |
{“Yojaka ID”:”Facility Code”}
Ex. Location Id to facility Map: {“L“:”W“}
For multi-location: {“L1″:”W1″,”L2″:”W2”}
L: Yojaka ID
W: Facility code
Yojaka ID and KMS Key will be provided by the Amazon team |
| Auto Accept Preference | Default is MANUAL_VERIFICATION |
All orders get pushed by Amazon in the ‘Unverified’ tab based on this field.
MANUAL_VERIFICATION or ACCEPT_ORDER_BY_INVENTORY
|
Note: If Auto Accept Preference is selected as AUTO_ACCEPT_REJECT_ORDERS: That line items rejected with the reason as OUT_OF_STOCK will have the inventory quantity for their respective SKUs set to 0 in the Amazon Yojaka inventory and the associate marketplace will be notified about the unavailability of that particular SKU in the current order’s location.
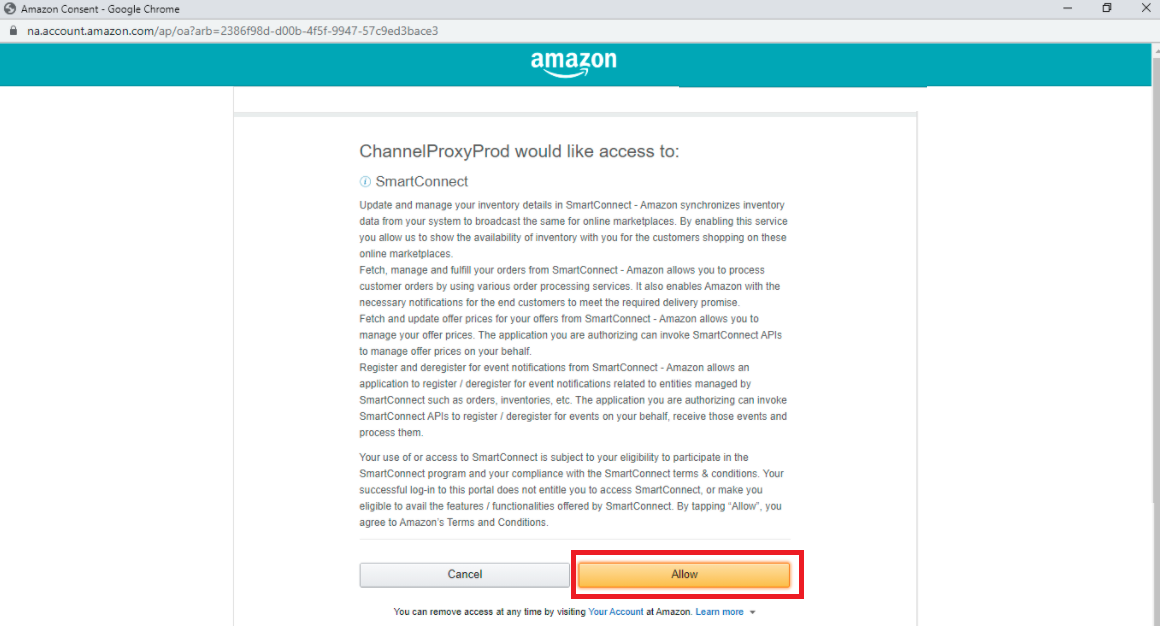
After clicking on “Connect” a new tab will be open > Allow pop-up> Add seller panel credentials> New tab will open > Click on allow “YES”.
Note: Please use the incognito mode of browser window while configuring flex channel to avoid authentication failures.
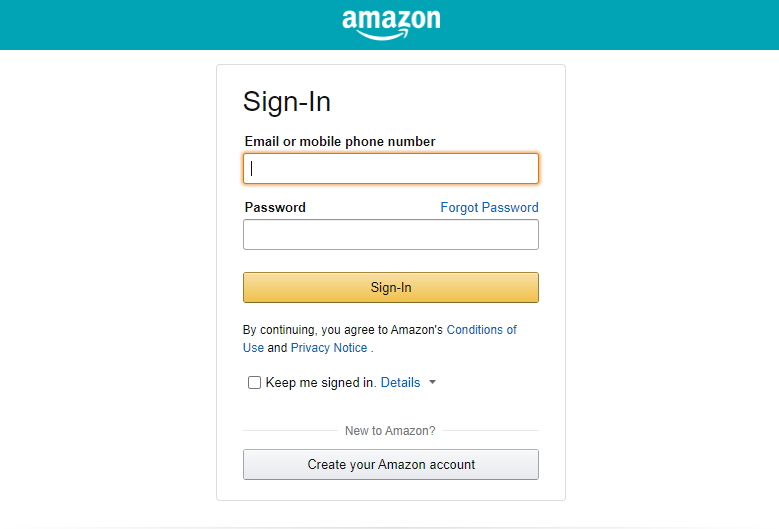
System will ask ‘Allow‘ for successful integration.
| Key | Format/Value | Note |
| Seller Party Id | A3E82J73******* | Provided by the Amazon team |
*Note: If this connector is not fill properly the channel catalog will not not syncing from Amazon Flex.
5- After connectors are configured you get to see pre-filled values in important parameters (explained below) to be configured for order sync.
Catalog Sync: Trigger catalog sync from incognito mode from the channel by adding Merchant ID in the ‘Amazon Easyship Seller Party API Connector’, you will again have to enter the username, password and OTP.
- Then catalog sync can be triggered manually from the sync button on the left.
- Check the unlinked tab and map SKUs with Seller SKUs if they are different.
Order Sync/Inventory Sync: Enable the order sync and inventory sync on the new channel and then orders will flow automatically
PickUp Slot Preference For Easy: Set this to Amazon Recommended
Pick Up Slot For Easy Ship Orders – 1400 (based on the pickup time available on Amazon 1100-1300 and 1300- 1600 (hour), you can edit this field to save any of the desired pickup time)
Label Size (Optional): This option will provide you the label print as per the page setup by default it will set as A4 AZ label+Invoice. it gives you order labels and invoice at one page. For Thermal Printer Setup (ZPL format) set this option to A6 AZ label.
Single Action Invoice Label New: One Click Invoice Label is always enabled by default.
In the case of ZPL format, Label and Invoice will always combine in label Url and configuration should be to skip invoice, not merge.
Facility Wise Inventory: To sync warehouse-wise inventory, Mark Facility Wise Inventory (Optional) ‘Yes‘, then choose Choose Facilities For Inventory Sync: Select the same warehouse (Facility) code same as added in connector JSON parameter setting as UniwareWarehouseCode.
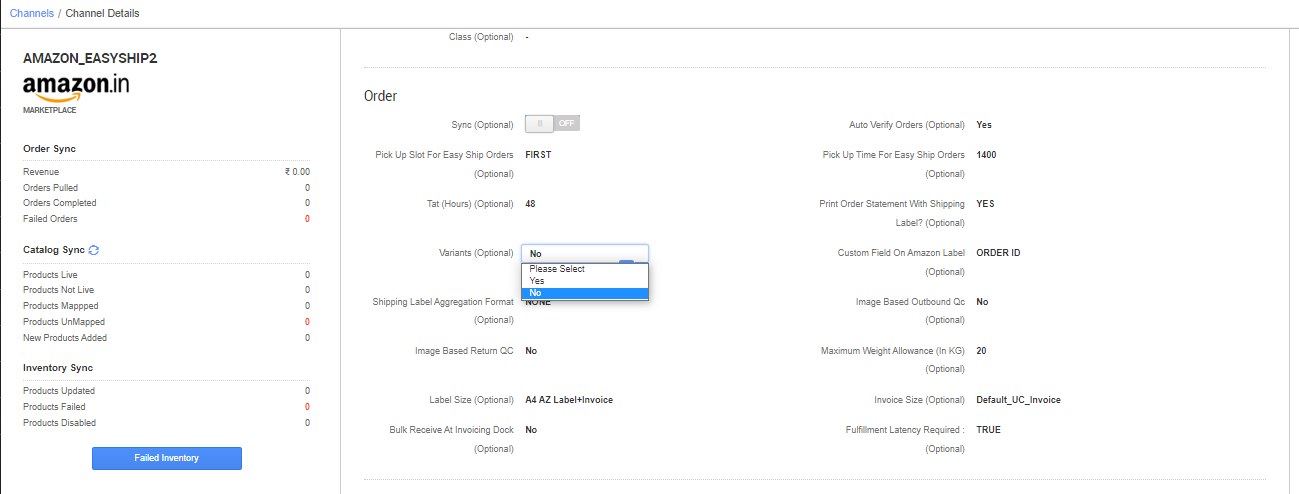
lways check the channel config for varients: To get catalog synced in UC
Below are the important points needs to be kept in mind while adding the channel.
- Order sync, Inventory sync and Catalog sync are available.
-
Catalog Sync: Make sure the third connect of channel page is configured properly in uniware, “Amazon Easyship Seller Party API Connector“. If this connector is not fill properly the channel catalog will not not syncing from Amazon.
-
Dimension update on listing: There must be any +iv dimension and weight on each product in uniware linked with Amazon listings. We recommend to use the same weight and dimension which is used at Amazon panel.
- Buffer Stocks: Amazon will keep buffers on their panel. The buffer stock could be 0, 1 or 2. This number may vary as per the seller’s performance. This is defined by Amazon only.
- Order Sync: Orders will be pushed by channel. As per channel SOPs, order creation in Uniware can be delayed up to 72 hours from channel creation time.
- Order Processing: Order processing will be done through Uniware as per the channel connector parameter setting. i.e. Auto Accept Preference, If selected as MANUAL_VERIFICATION, All orders get synced in the pending verification state then order verification for acknowledgement will be a must as the first step while processing orders.
- For Marketplace ship orders, shipping will be handled by channel. Tracking details and label print will be fetched from the channel for those orders.
- For Self ship orders, shipping will be handled by the seller and Tracking Details & Labels will be provided by UC for those orders.
- Courier detail will be updated on the channel at manifest closer.
- Return will be pushed by the channel side.
Know more about channel creation
Learn about order and inventory sync
Recommended for you:
