
Introduction
Overview
The Auto-Print GRN feature automates the generation of USN barcode slips during the inbound receiving process.
Users scanned all items first and printed labels in bulk. This new feature supports a real-time receiving workflow the system hit an automatic print command the moment you scan an SKU. This allows for immediate labeling and faster item-level processing.
Purpose
Previously, During GRN operations, users had to manually click print option after scanning items to generate barcode slips.
Whenever some clients follows traditional real-time workflow, for them additional manual print step after every scan, slowed down operations and impacted on receiving productivity.
To Solve this problem, Auto Print GRN feature developed.
Advantage
-
Reduce Manual Clicks: Removes the need to click “Print” after every scan.
-
Accelerates Item Level Labeling: Enables immediate “scan-and-paste” actions, reducing the time an item spends in the receiving area.
-
Reduces Errors: Ensures the right label is applied to the right item instantly, minimizing the risk of mislabeling during bulk processing.
Process Flow
The following flow represents the optimized real-time workflow:

Operating Procedure
Step 1 : Prerequisites & Configuration
Before using this feature, ensure the following settings are active in the system.
Navigation: Visit Uniware Menu > Settings > General Settings > Systems Configurations
Enable the following toggles:
-
Auto Print GRN: Activates the automatic print trigger.

Fig : Enable Auto Print GRN -
Barcoding Before Quality Check: Ensures labels print at the entry stage.
-
Barcode Pre-generated: Allows the system to pull pre-assigned USNs for the scan.
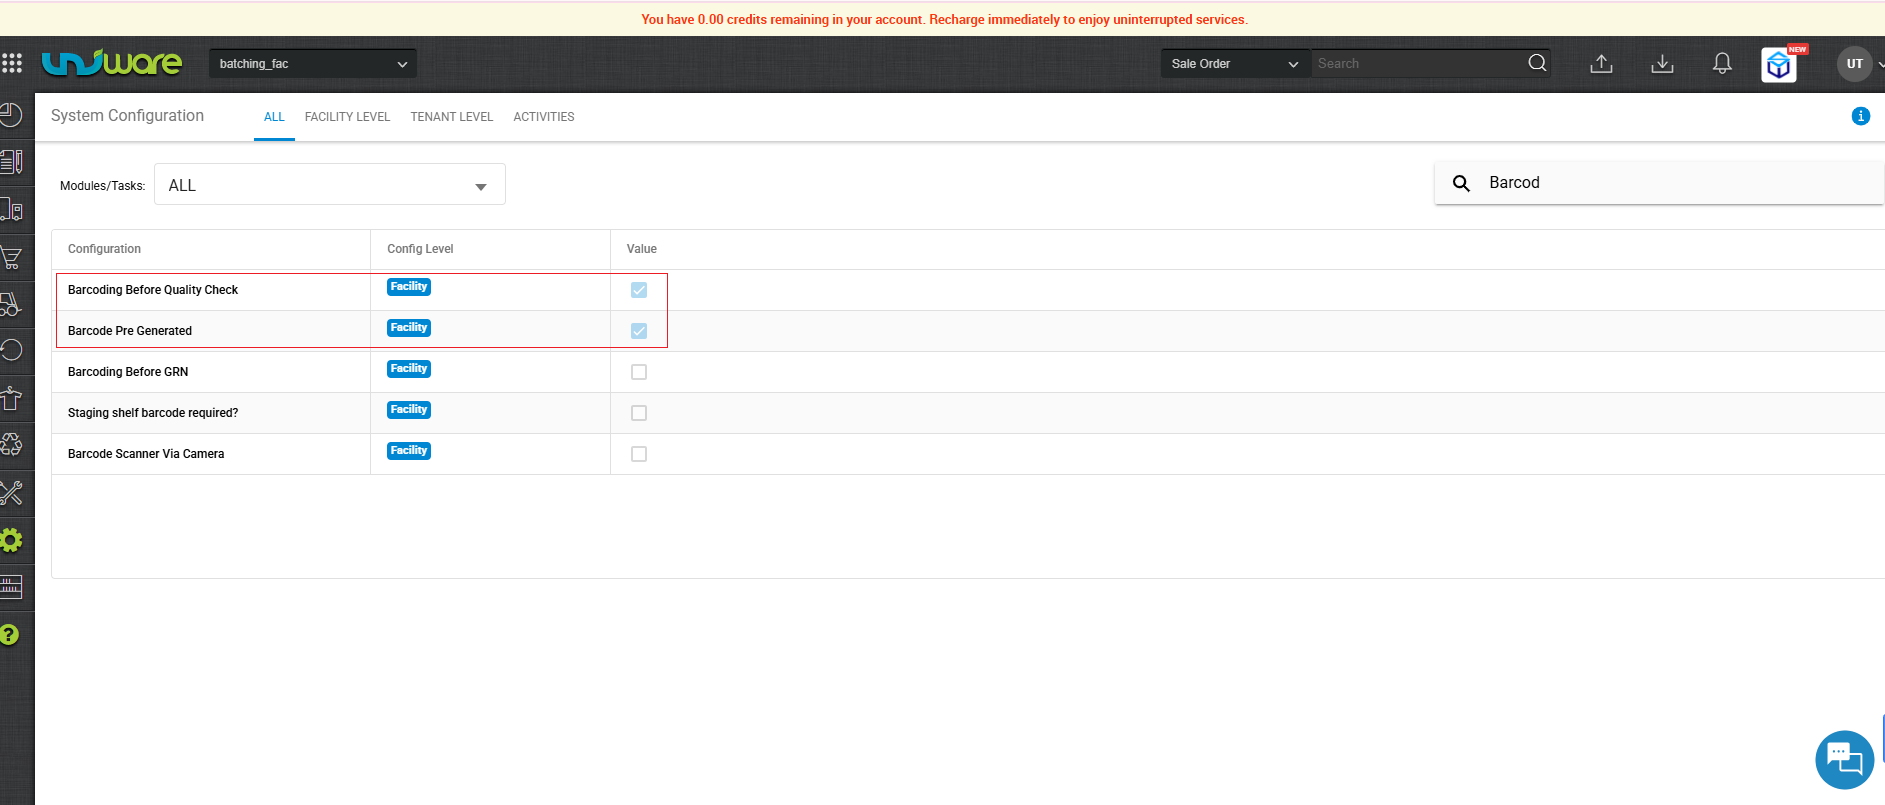
Fig : Enable Barcode Before Quality Check & Pre-Generated
| Note : Ensure the client’s local system has a default printer assigned and that the browser allows automatic downloads/pop-ups for the WMS URL. |
Step 2: PO Approval
Approve the PO associated with the incoming stock. The system will not generate a GRN or barcodes without an approved PO.
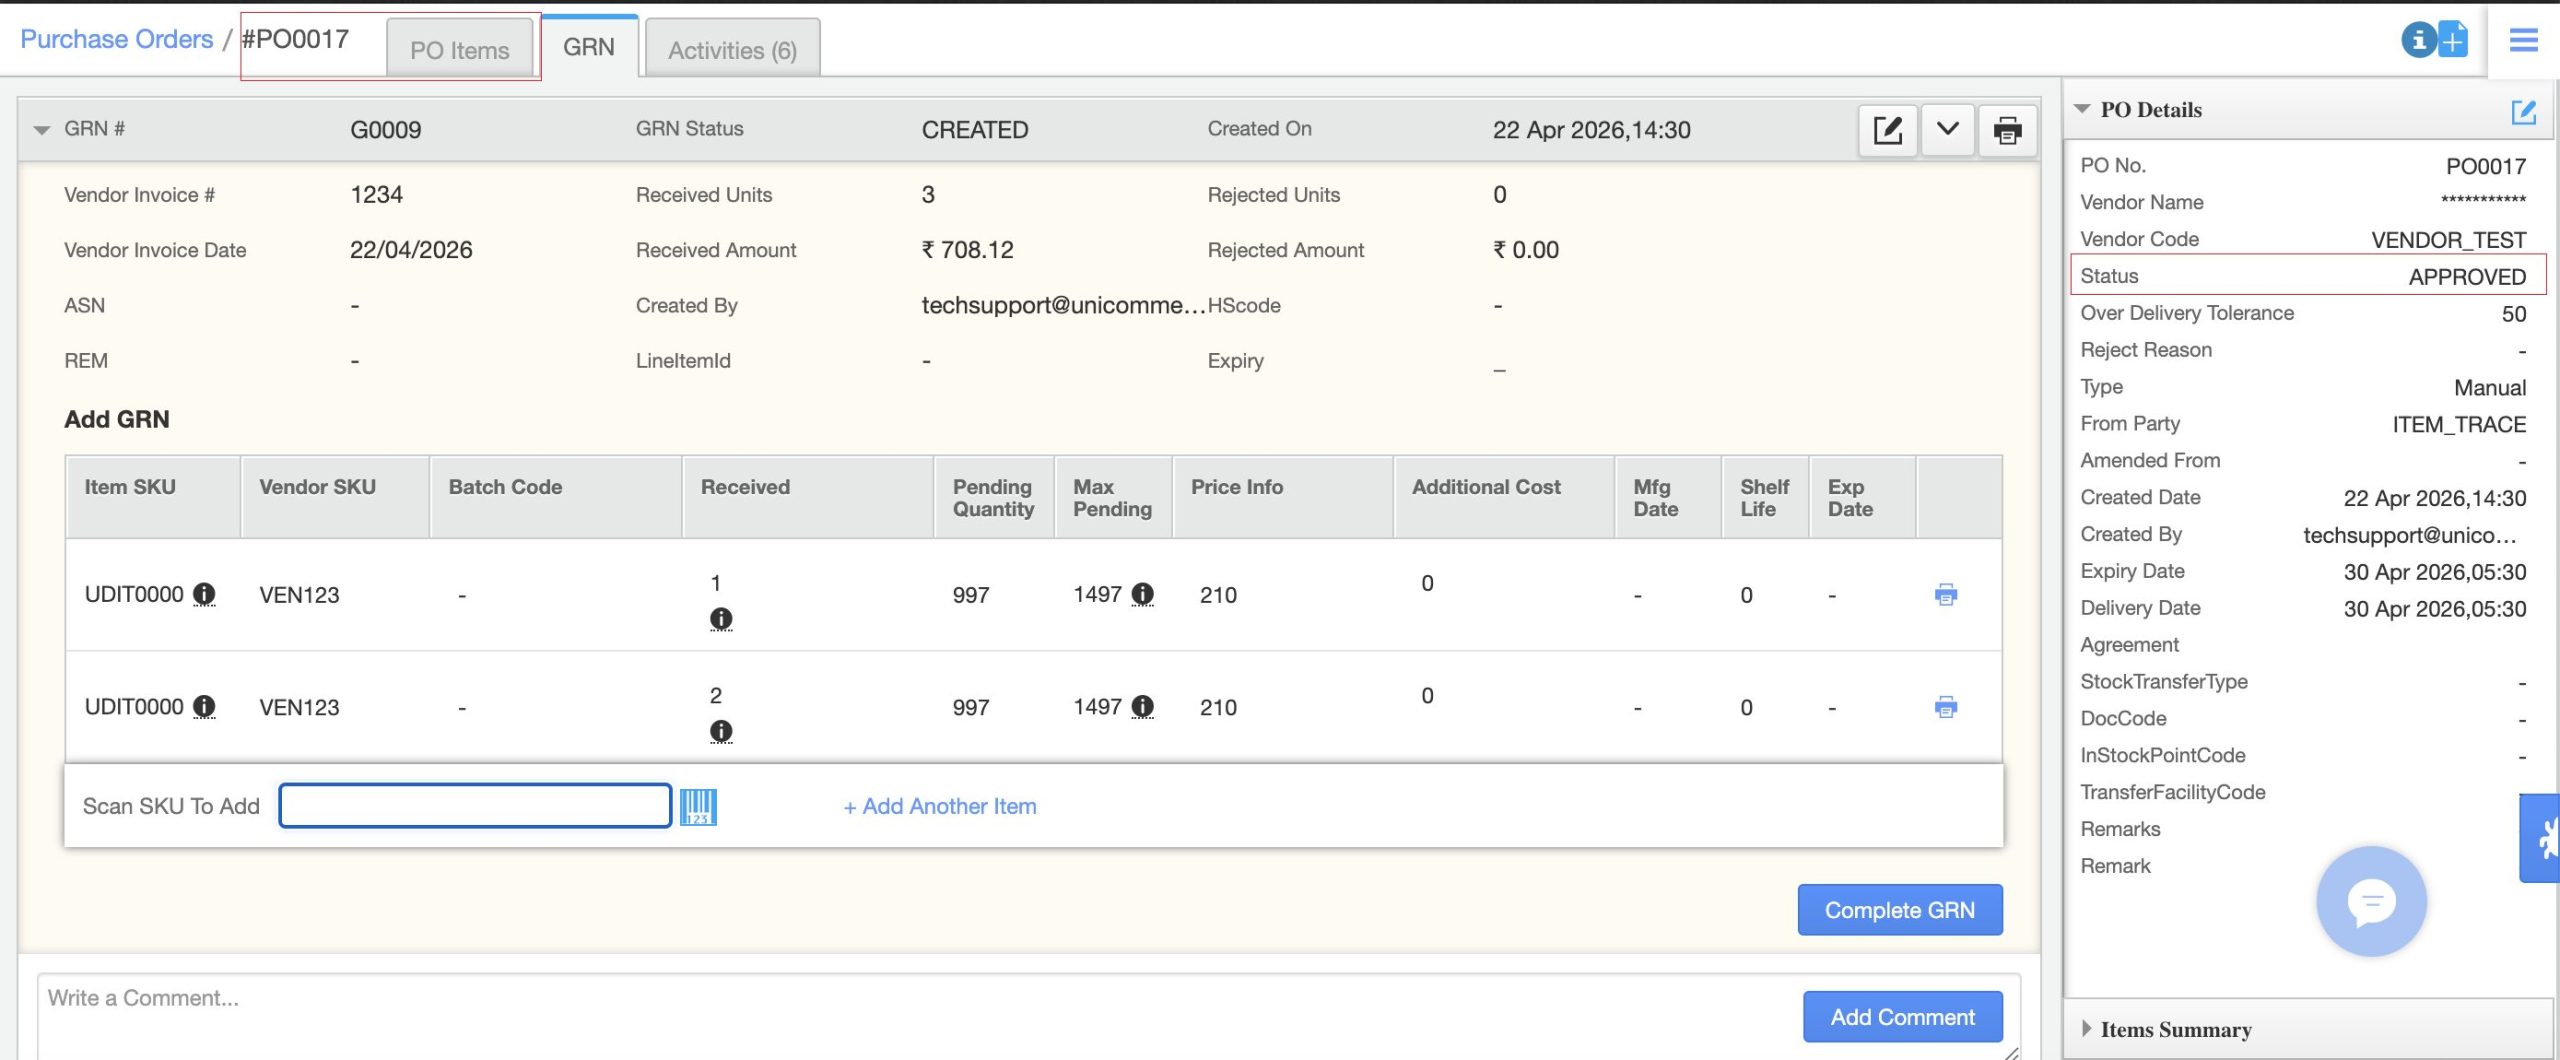
Step 3: GRN Creation
-
Create a GRN against the approved PO.
-
Once the system generates the GRN number, ready to scan.
Step 4: SKU Scanning & Printing
-
Open the GRN scanning screen.
-
User scans SKU through scanner device.
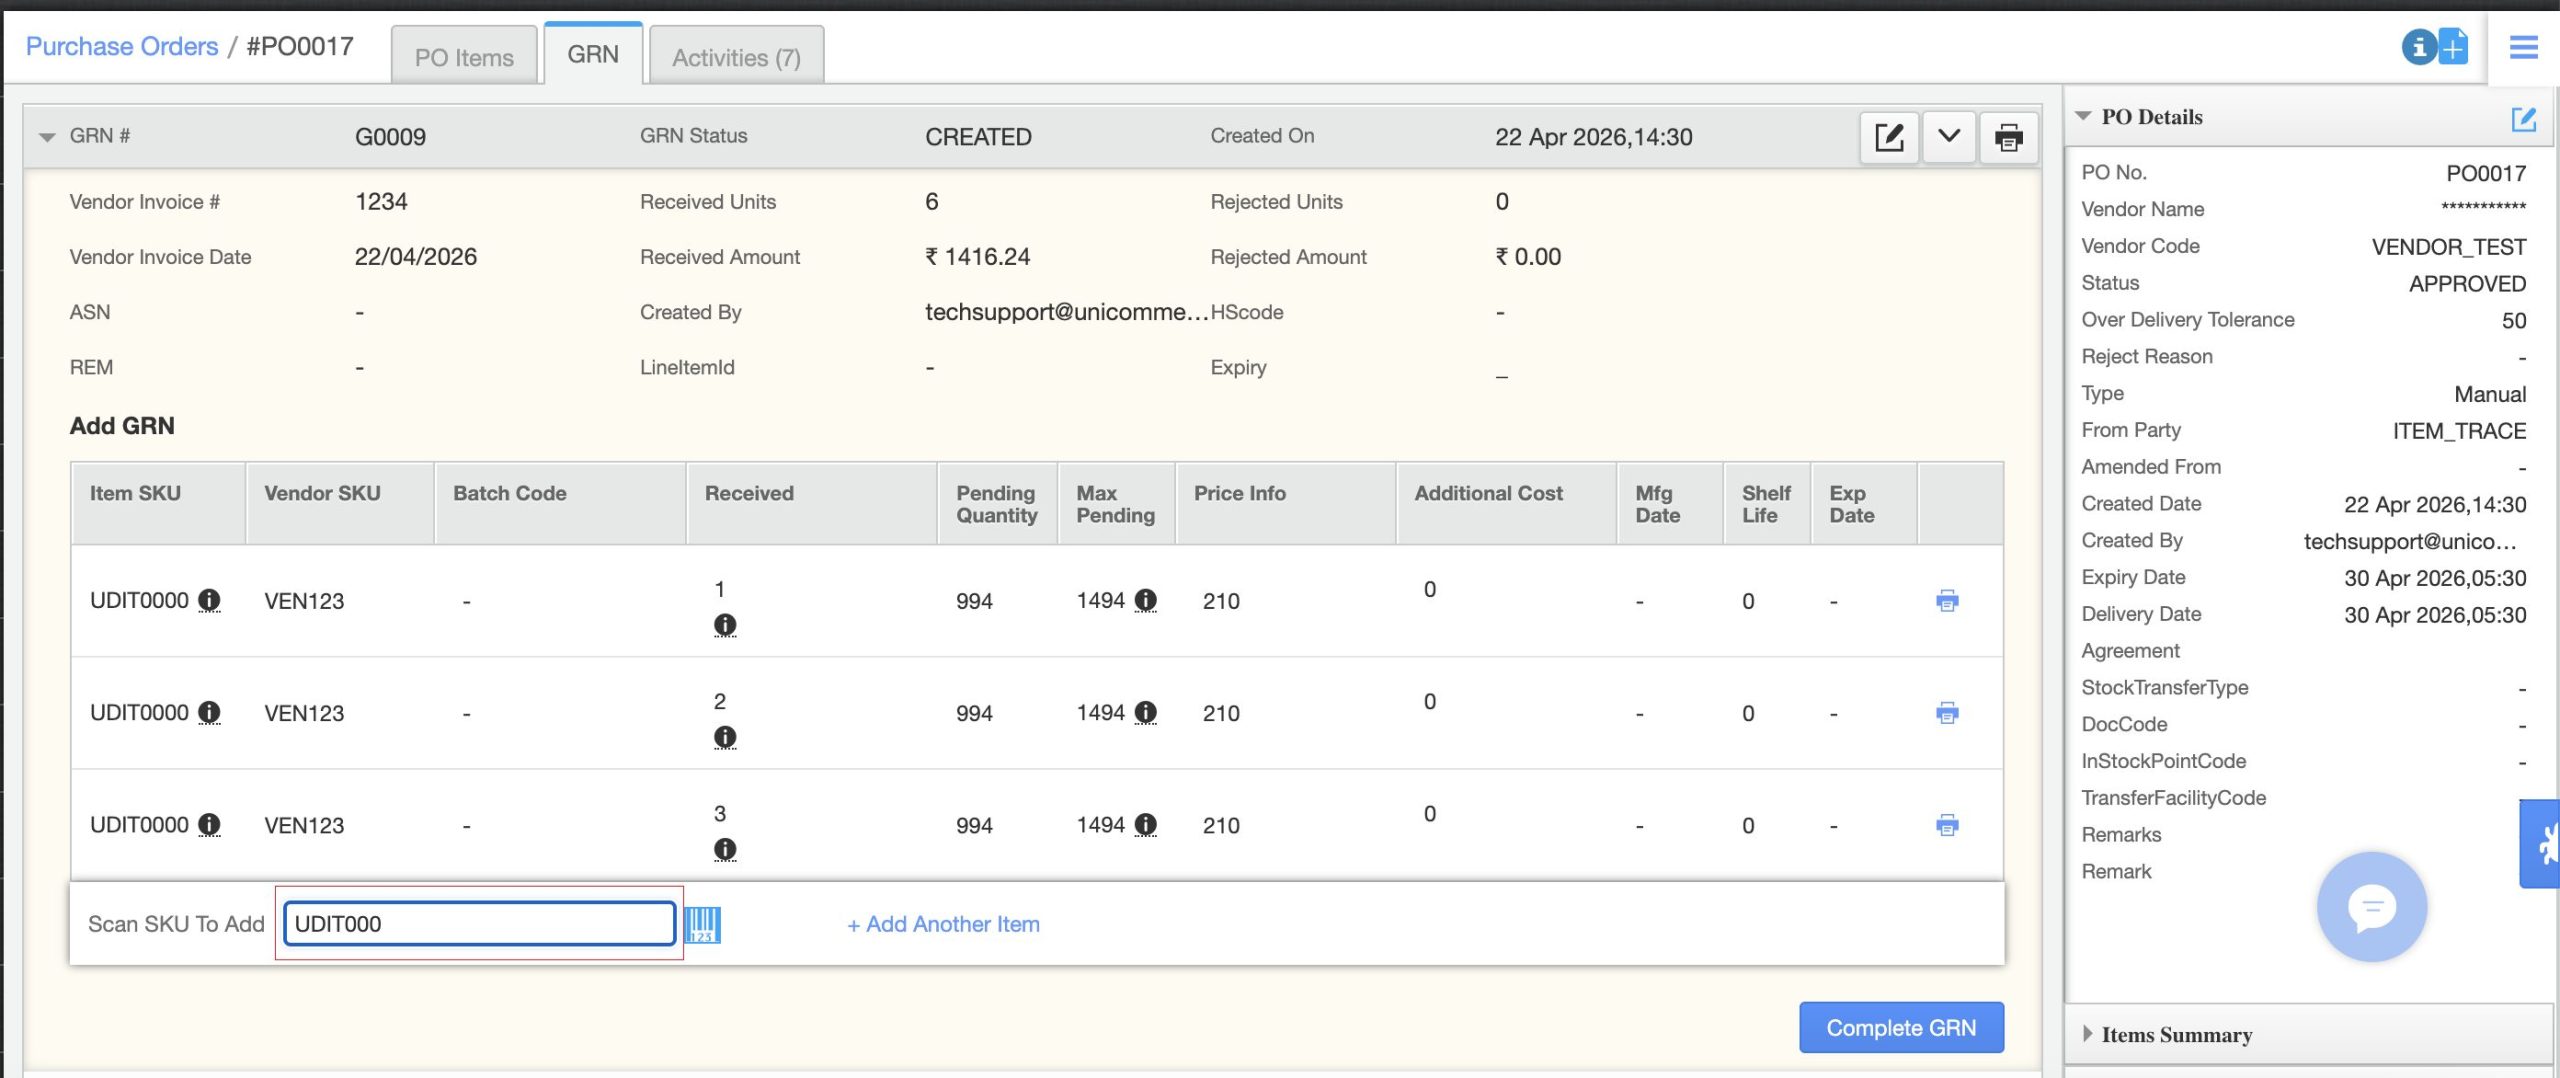
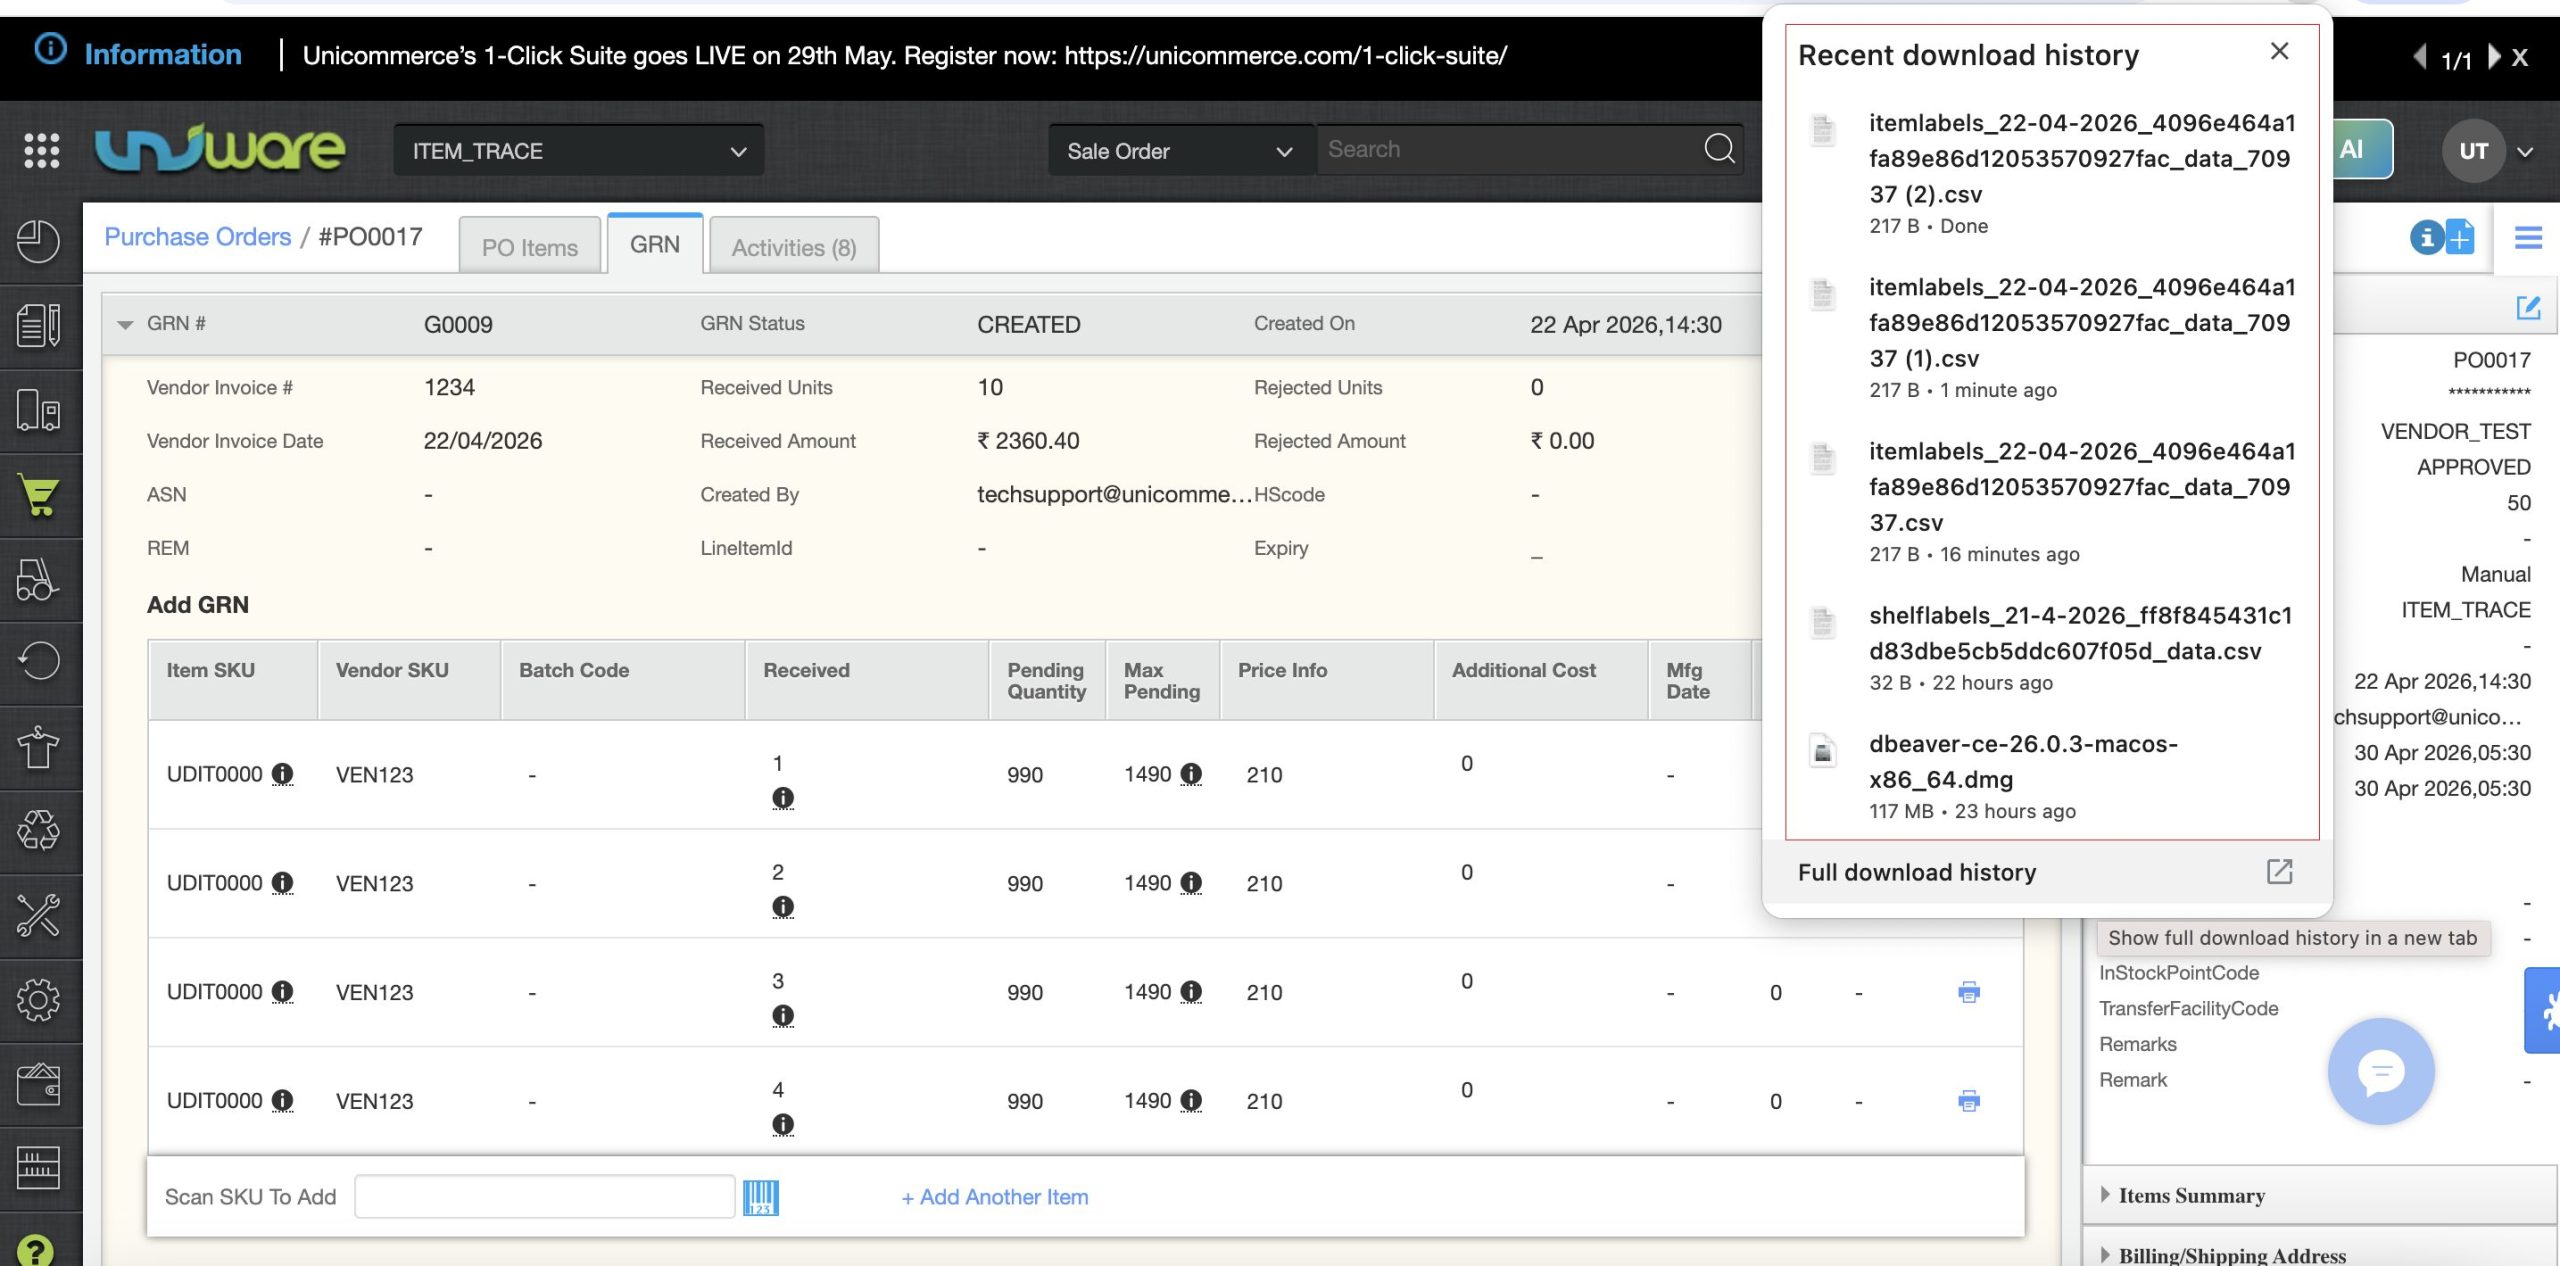
Fig: SKU Scanning -
Automatic Action: Upon a successful scan, the system immediately Print or sends the USN barcode slip to your connected printer.
-
Example: If you receive 10 units of SKU S000S, the first scan prints S000S1, the second prints S000S2, and so on.
-
-
Paste the label on the item and proceed to the next unit.
Limitations & Requirements
To ensure a smooth experience, please note the following constraints:
-
Configuration Dependency: This feature only works if the specific configurations mentioned in Prerequisites & Configuration section are enabled.
-
Hardware Setup: Your printer must be correctly configured with your desktop. If the printer is offline, the auto-print command will fail or remain in the browser’s download queue.
-
Workflow Conflict: This feature is not suitable for “Bulk Print” users. If your workflow requires scanning all items first and printing labels at the end, do not enable Auto-Print GRN.
Frequently Asked Questions (FAQs)
Q: Can I turn this off if I want to go back to bulk printing?
A: Yes. Simply toggle off “Auto Print GRN” in the Warehouse Configurations.
Q: What happens if the scan fails?
A: The system only hit a print for Successful Scans. If an SKU is invalid or not part of the PO, no barcode will print.
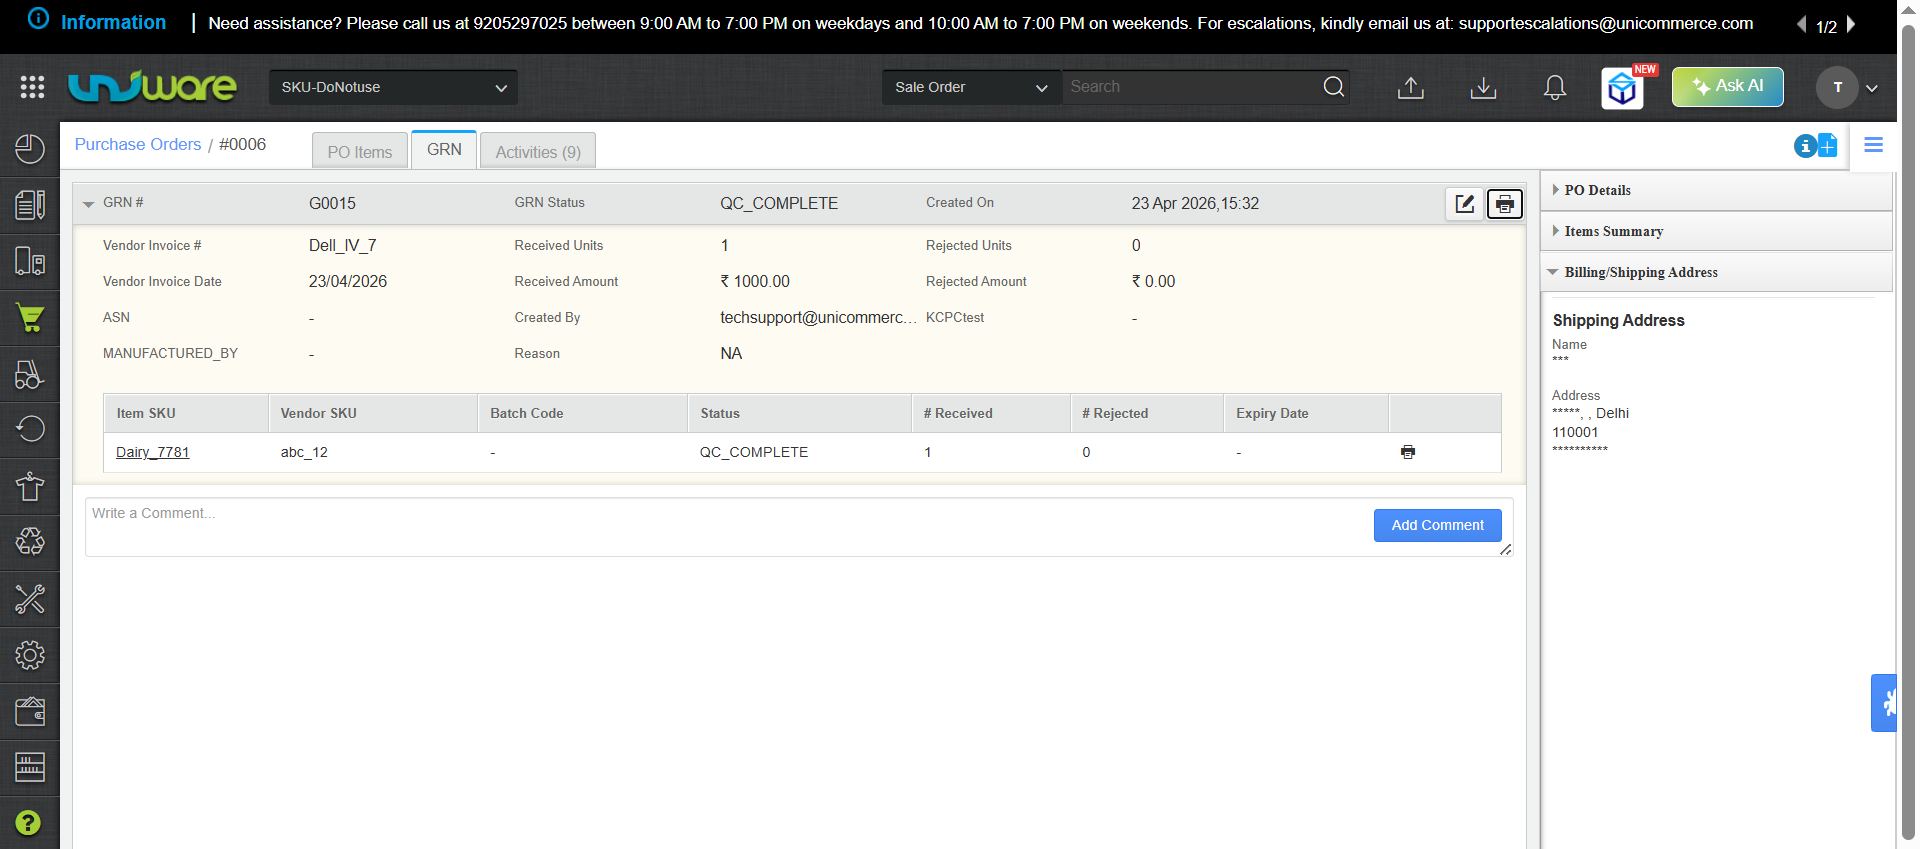
Q: What happens if I scan a barcode twice? How do I reprint a bill if the printer malfunctions?
A:The system scans one SKU at a time and generates a single bill upon completion.
| Note: To regenerate a specific bill, you must manually select and reprint the transaction from the system history. |