To integrate with any regional Amazon channel i.e. Amazon Canada or Amazon.com, you need to get your Amazon account credentials.
You can add the below Amazon channel with UC.
| Amazon AE DropShip (Arab Emirates) |
Amazon France DropShip | Amazon Italy DropShip | Amazon Singapore DROPSHIP |
| Amazon SA DropShip (Saudi Arabia) |
Amazon Canada DropShip | Amazon Japan DropShip | Amazon Spain DropShip |
| Amazon UK DropShip (United Kingdom) | Amazon AU DropShip | Amazon Germany DropShip | Amazon Mexico DropShip |
| Amazon US DropShip Amazon.com (United State) |
Amazon FBA UAE API | Amazon FBA US API | Amazon FBA UK API |
Follow these simple steps to integrate Amazon with Uniware:
1- In the Uniware menu, select Settings > Channels

2-Then press the button
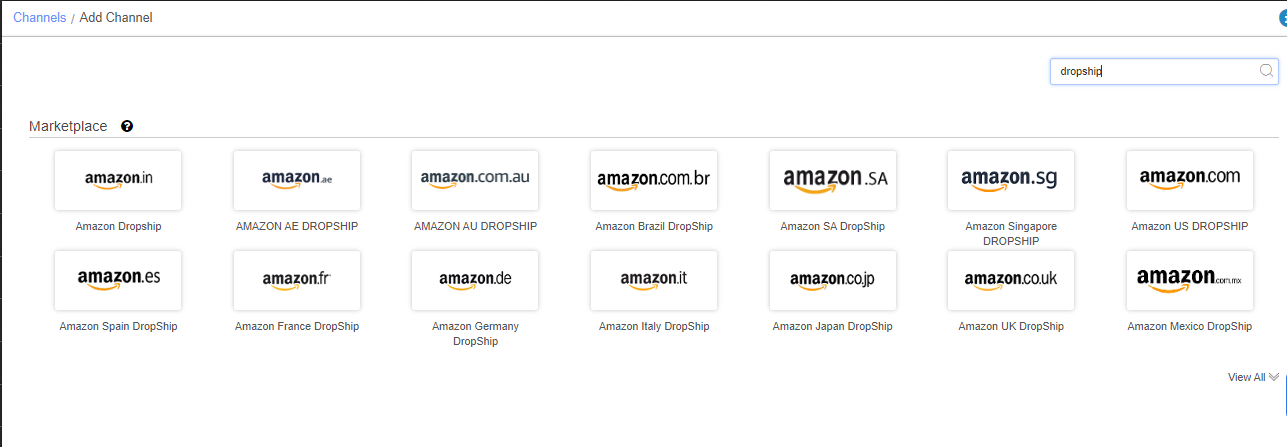
Search and Select “Amazon Canada DropShip” or any regional Amazon channel.
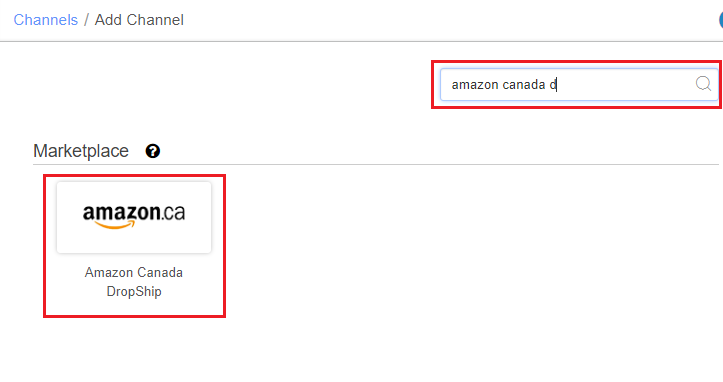
3- Fill the Channel Name e.g. Amazon Canada API or Dropship and save the channel details.
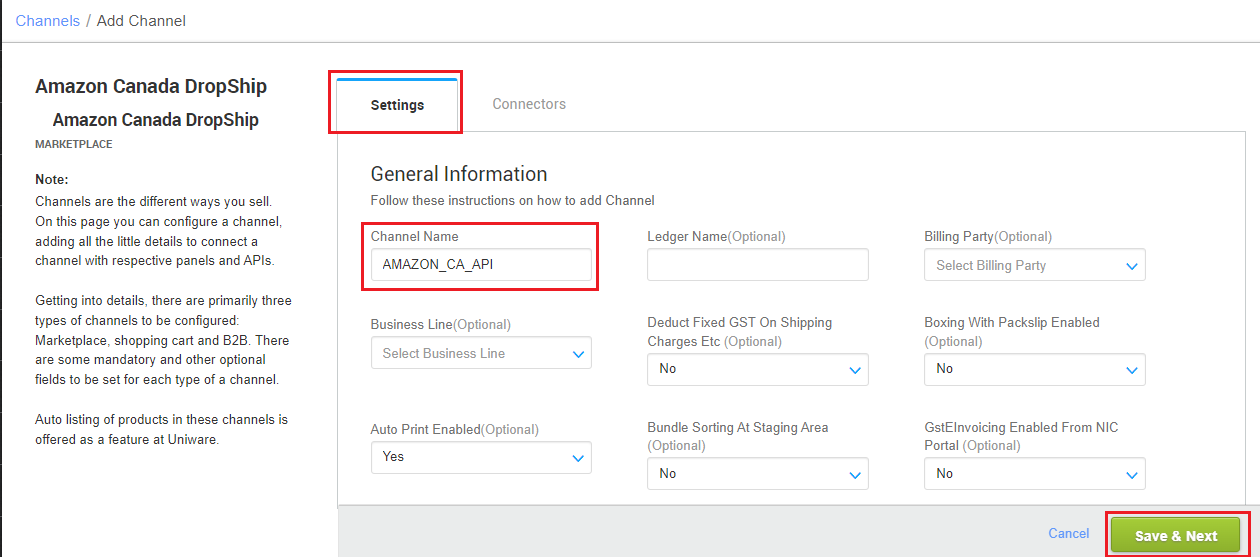
4- Fill the credential to configure the connectors.
| Key | Format | Note |
| Merchant Id | A3E82J73******* | Provided by Amazon team to a seller as Seller ID |
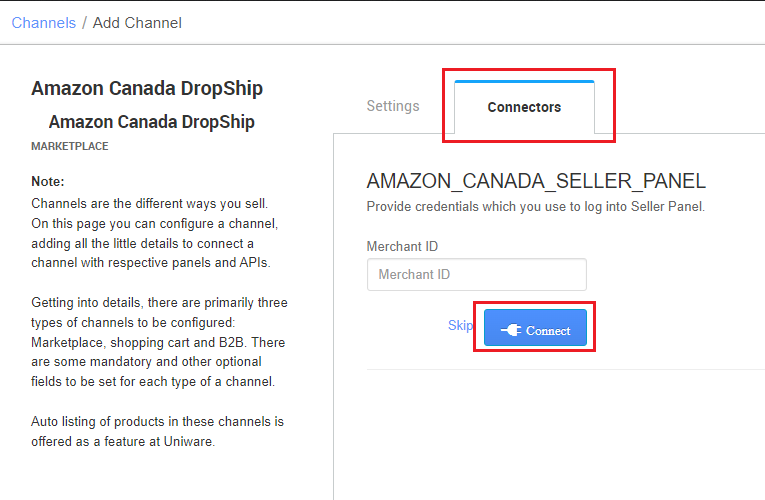
How will you ensure Step 4?
- While adding a merchant on UC panel, You must be redirected to Amazon Seller Central Login Page.
- If you are being redirected to a permission page directly, Don’t proceed ahead, please go back, sign out yourself from seller central and then follow Step 1 again.
- Once you have logged in after entering the credentials (this will be an intermediary step in between after you enter Merchant ID on UC panel and click on connect), it will ask for a permission page, giving all the permissions it asks for.
- Once you have given the permissions and everything goes fine you will be redirected back to the UC connector page showing that Connector is connected.
- Please log out from Seller Central for safety once Connector is connected.
Pitfalls of not following the above steps-
1- Catalog will not be correct.
2- Catalog may show in the wrong merchant since we did not log in correctly.
3- Orders may go in the wrong merchant panel.
5- As soon as the channel is configured successfully, you can see the Channel Summary and you can trigger the respective Order and Inventory sync from this page itself.
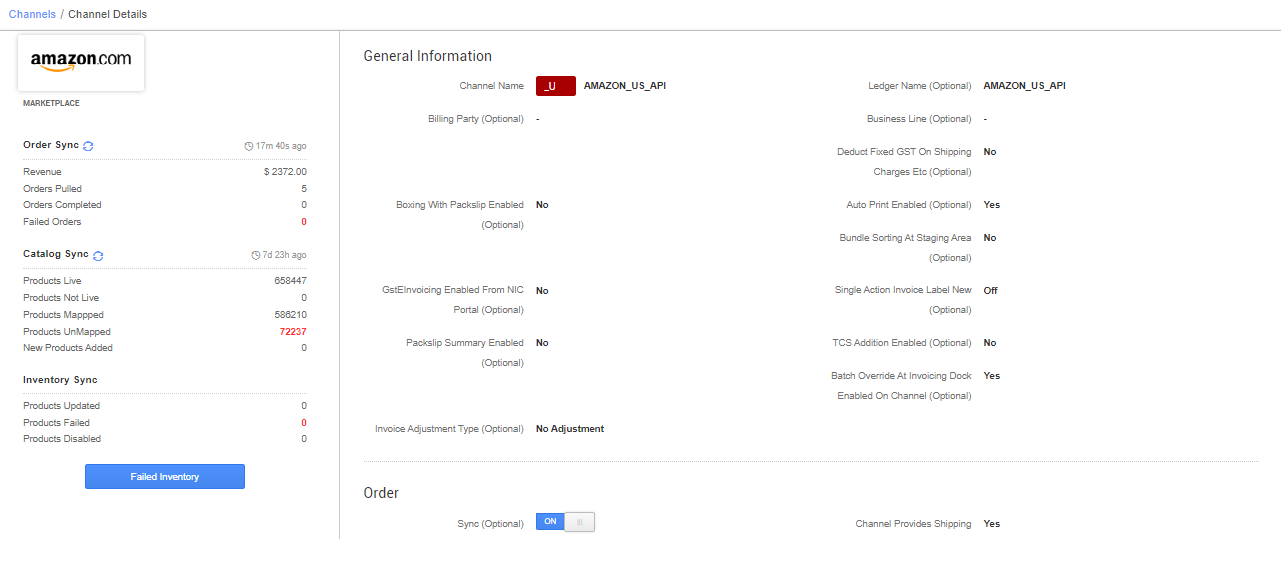
- Auto Verify Orders- Yes (orders will get fetched directly in the Pending Orders tab.
- Packslip Summary Enabled: No
- Single Action Invoice Label New: One Click Invoice Label is always disabled by default.
- TAT– 48 (in hrs, based on TAT updated on Amazon for dispatching orders)
Sellers should use sorting on the Fulfillment TAT column in UC shipments page while processing Amazon orders (UC Fulfillment TAT = Latest Ship Date for order on Amazon).- Note: To have different TAT for different SKUs, Update TAT (in hrs) in item master and upload in Uniware. The system will update the same on Amazon while updating inventory.
- Note: In case Item Master’s TAT is kept blank system will update TAT defined on the channel’s page.
Below are the important points need to be kept in mind while adding the channel.
- We provide Catalog pull, Order pull and Inventory push features.
- Invoices code, Tax details are provided by uniware.
- Order Processing: Order processing will be done through Uniware.
- For Marketplace ship orders, shipping will be handled by channel. Tracking details and label print will be fetched from the channel for those orders.
- For Self-ship orders, shipping will be handled by the seller and Tracking Details & Labels will be provided by UC for those orders. Courier detail will be updated on the channel at manifest closer and take up to 72 hours to update on amazon as per Amazon defined feed process.
- Sellers should use sorting on the Fulfillment TAT column in Uniware shipments page while processing Amazon orders (UC Fulfillment TAT = Latest Ship Date for order on Amazon).
- Status sync will work for Cancelled/Dispatched/Return Status.
- For Amazon: Packaging & Labelling Guidelines Click here
Note: You can add any Amazon regional channel which is available in Uniware channel list.
