Let us now go through the procedure for PUTAWAY_REVERSE_PICKUP_ITEM
The purpose of the Putaway Reverse Pickup Items is to add the returned order item’s inventory which is received to the warehouse by reverse pickup process, correctly on the dedicated shelf in the storage area.
Applicability
Version: Professional and Enterprise
Traceability: None, SKU, ITEM
General Setting Configuration: “Enable Putaway Manager module” must be selected. else Old flow (Existing flow) will be appilcable.
Procedure
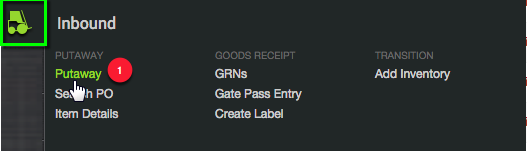
1. Follow the path Inbound > Putaway
2. Click the button “Create Putaway” on the top right corner of the screen.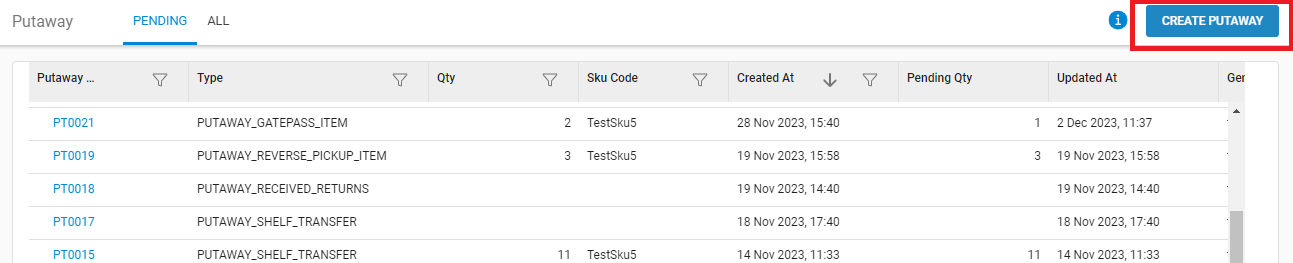
3. Select the type of Putaway: “PUTAWAY_REVERSE_PICKUP_ITEM” and press the CREATE PUTAWAY button.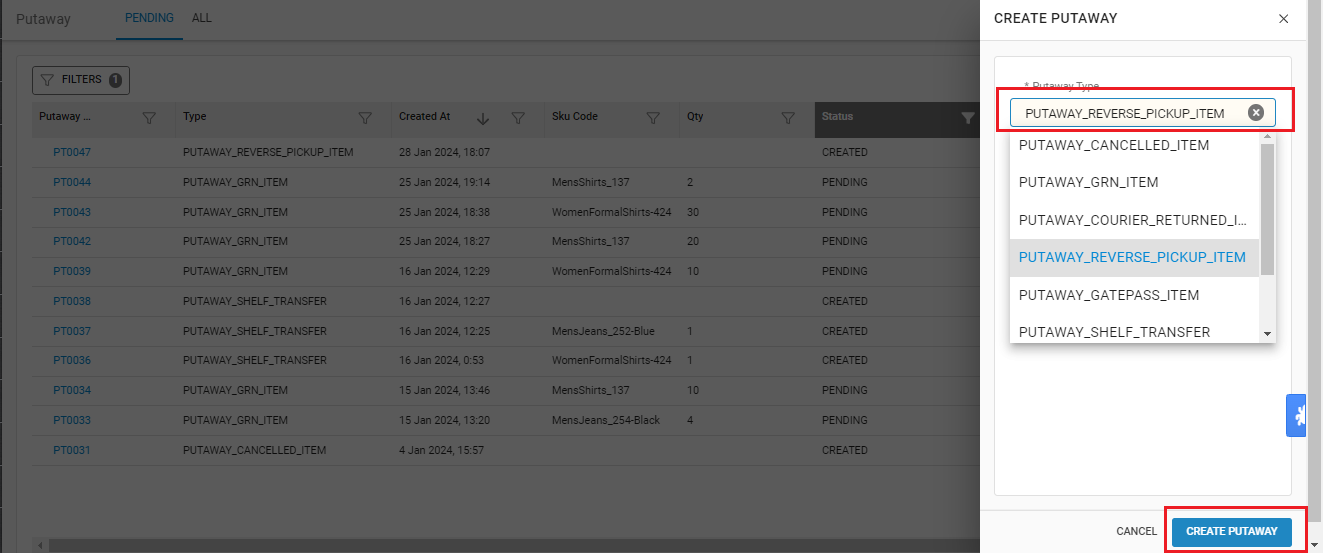
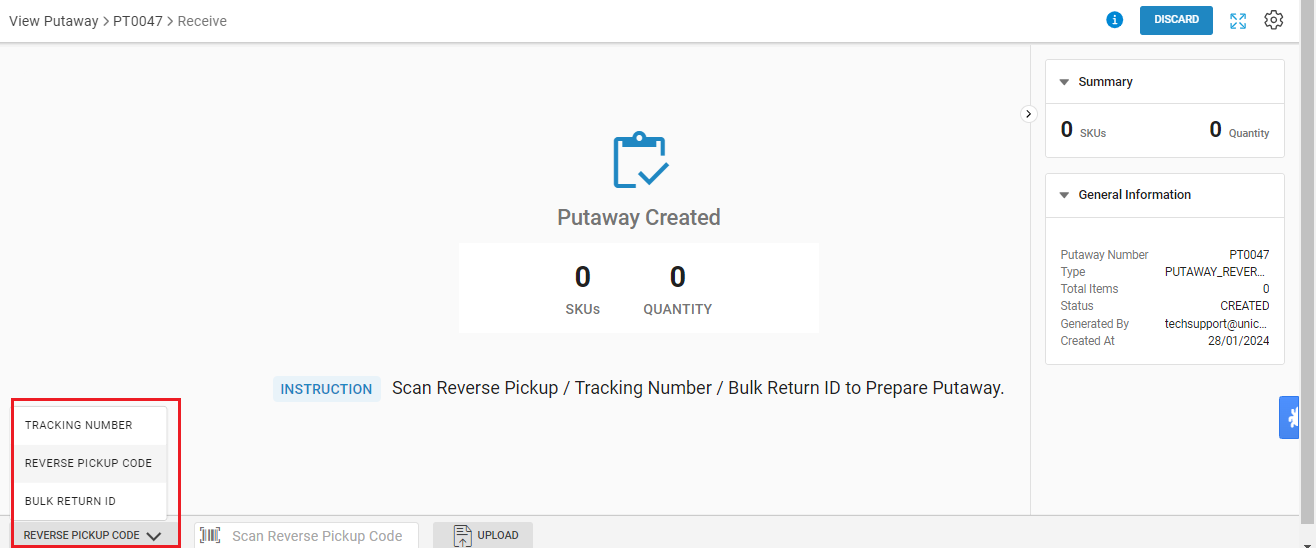
4. Now you can start Scanning the order details for which the items have been received.
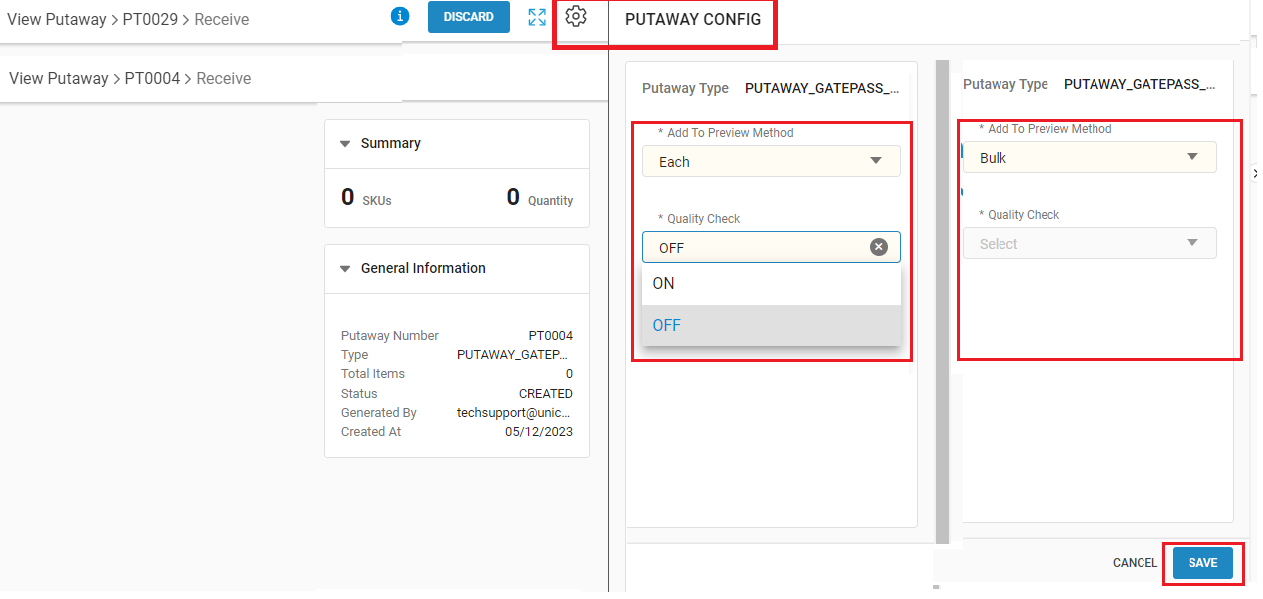
Putaway configuration:
You can set the putaway configuration for adding items to Putaway.
A- Bulk: To add items in bulk qty wise.
B- Each: to add item with sku scan code with Quality check control On/OFF
Note: You can switch this config at any point of time as per your operation easiness.
5- Now we are checking the flow:
A- Add to Putaway Method: Bulk mode and Quality config: Default
Traceability: None/SKU
5.A.1- Scan the Reverse order entity:
5.A.2- Here system will show all the SKUs with qty that are present in the respective return.
Here you can select the options: Return Reason, Rejection Reason and Specific Reason.
Return Reason, UC already fetches the end customer return reason and it is visible under return section tab of the order. Now same is populated here in putaway tab while adding items into putaway.
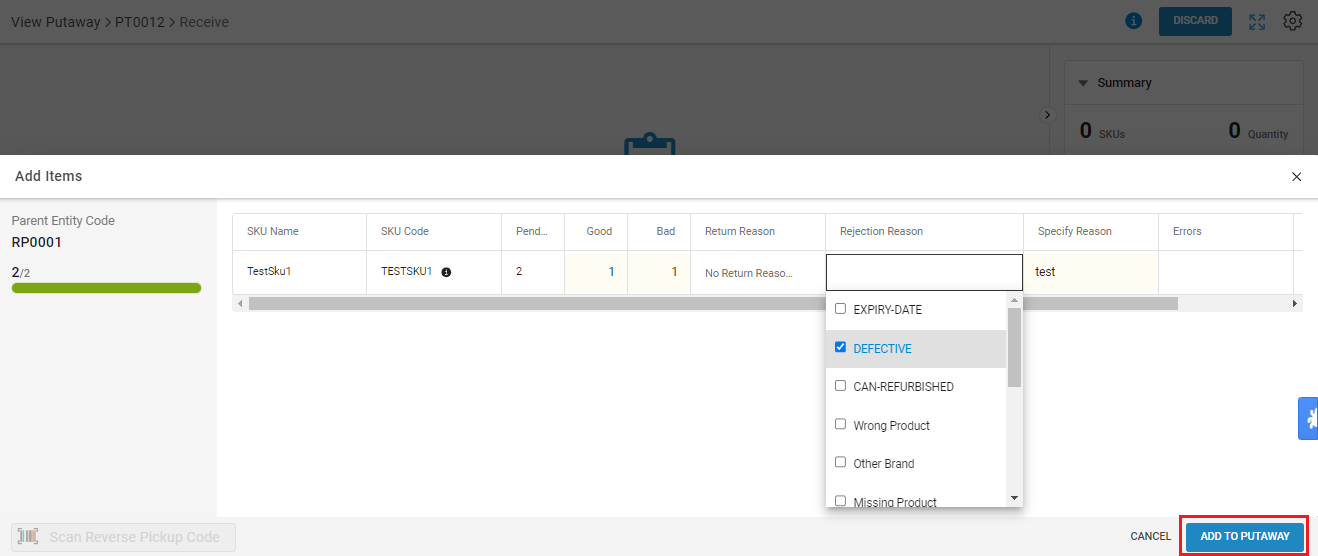
5.A.3 – Now you can add the SKU in Putaway by pressing the button “Add to Putaway”.
5.A.4- Here, if you want to add more order data in the same putaway, you can repeat the same step.
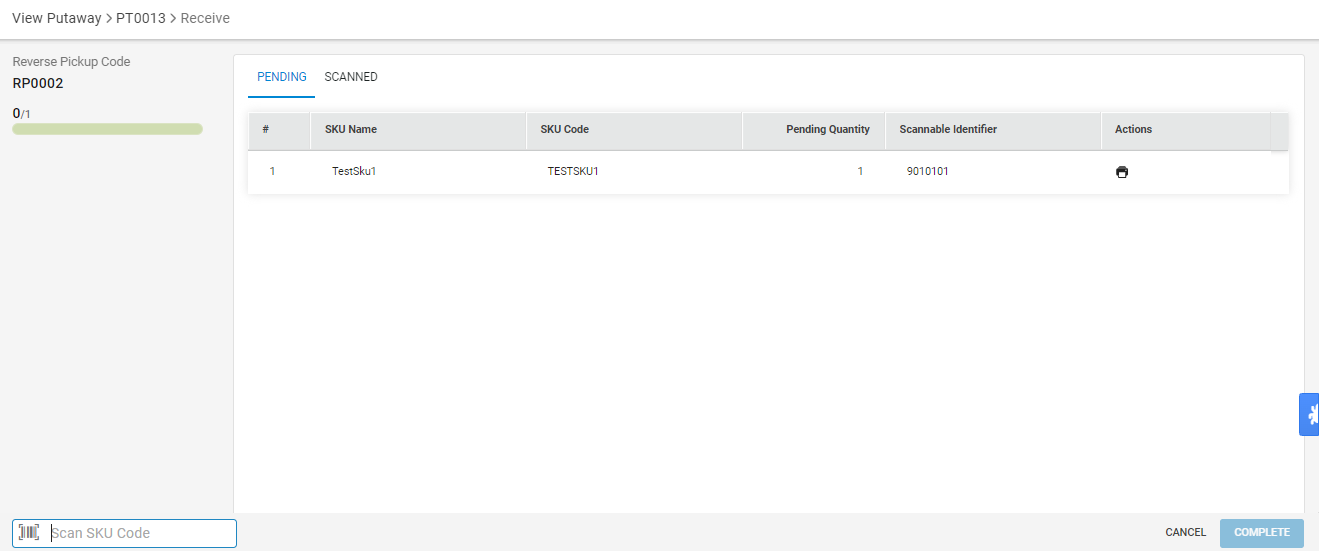
B- Add to Putaway Method: Scan mode and Quality config: Off
Traceability: SKU/Item
5.B.1- Scan the reverse order entity:
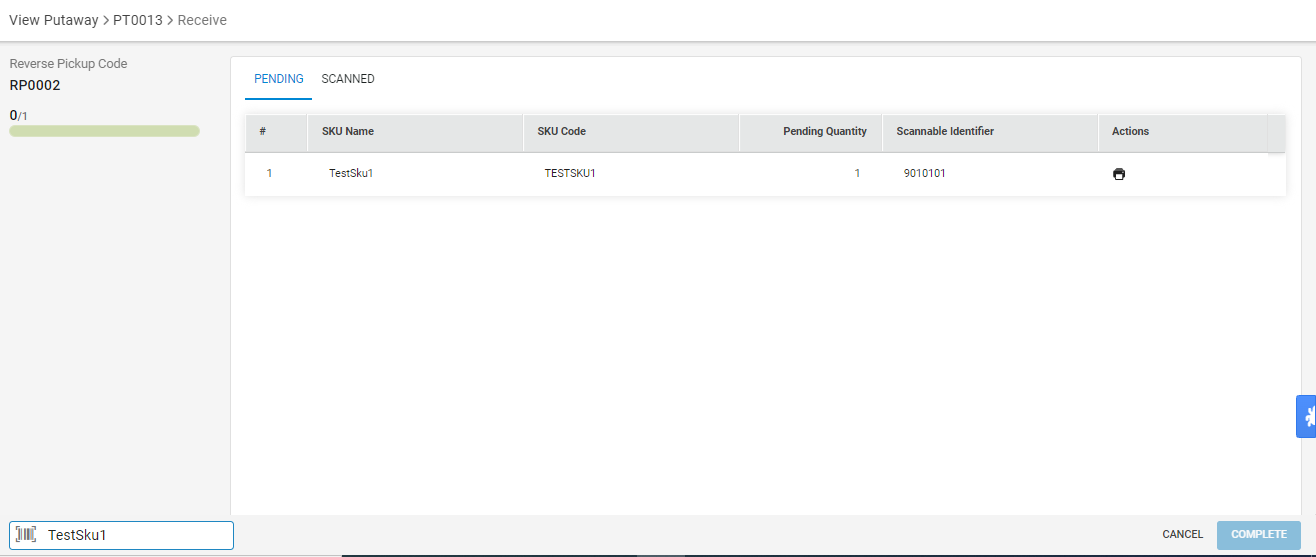
5.B.2- Here system will show all the SKUs with qty that are present in the respective return. Here you need to scan the SKU barcode again.
5.B.3- Now you can add the more SKU by scanning the barcodes.
Also, you can take quality check for marking item as bad inventory.
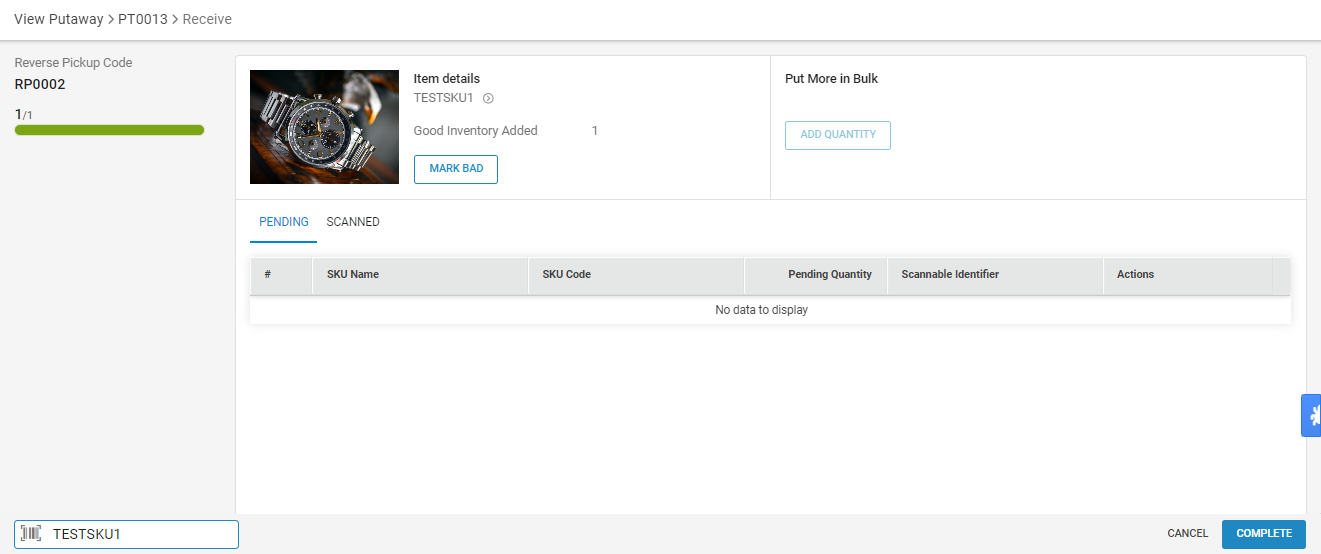
5.B.4- If you want to add more product, you can repeat the same step.
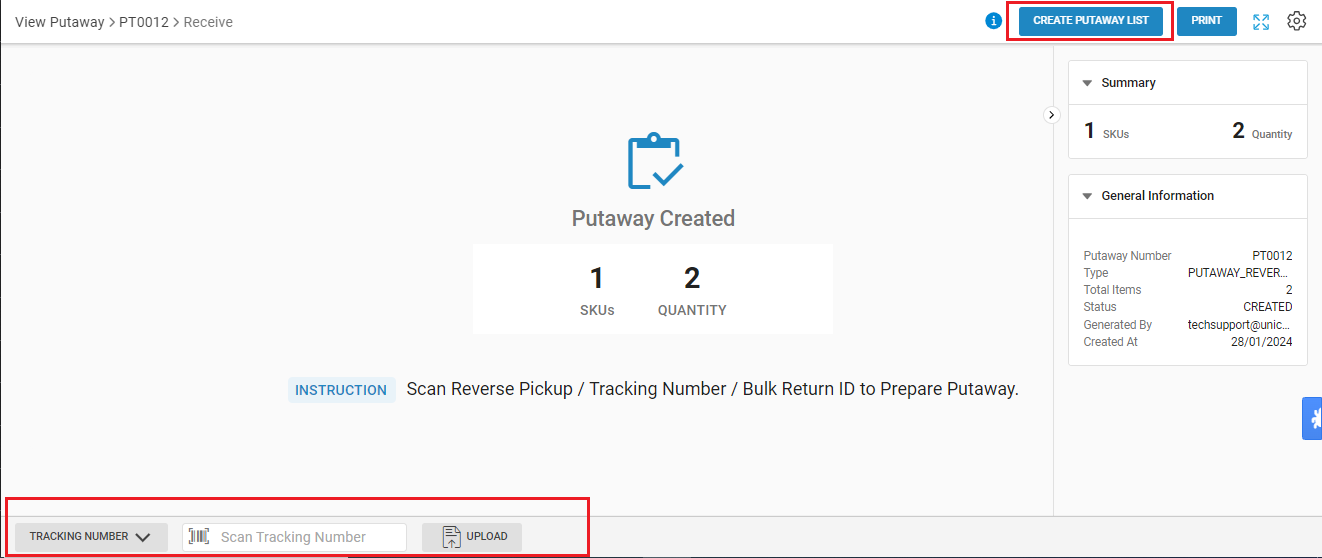
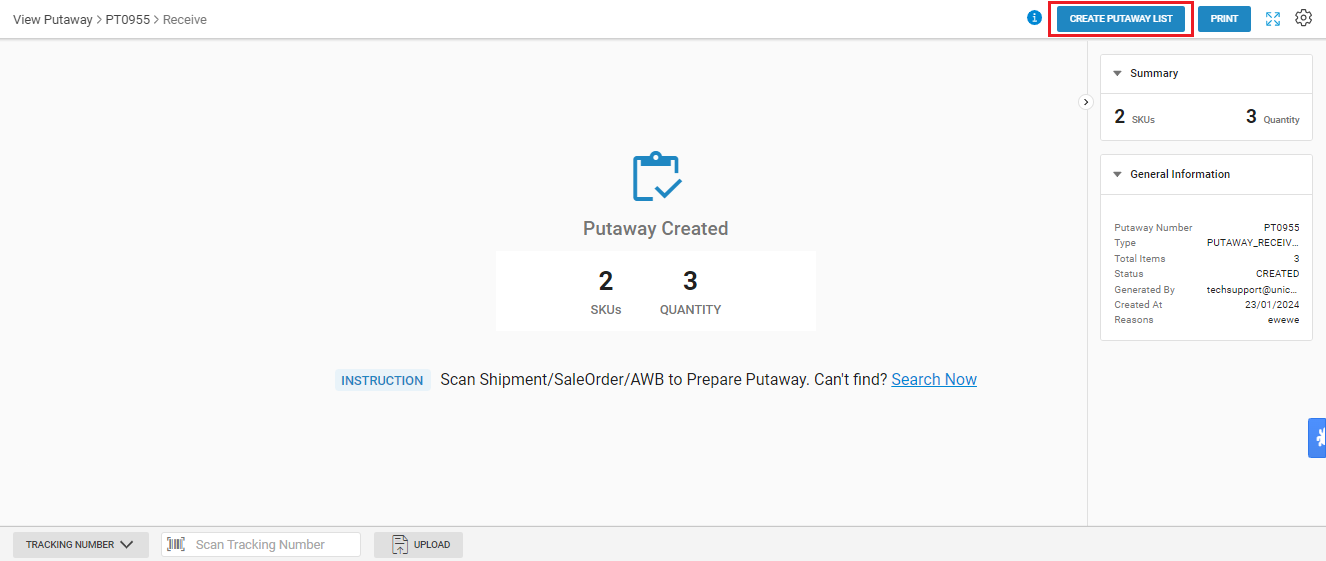
6- Now you can create the list by pressing the button “Create putaway list”.
7- After successfully adding details of items into the putaway, you can either change the destination shelf or directly complete the Putaway with the loaded data.
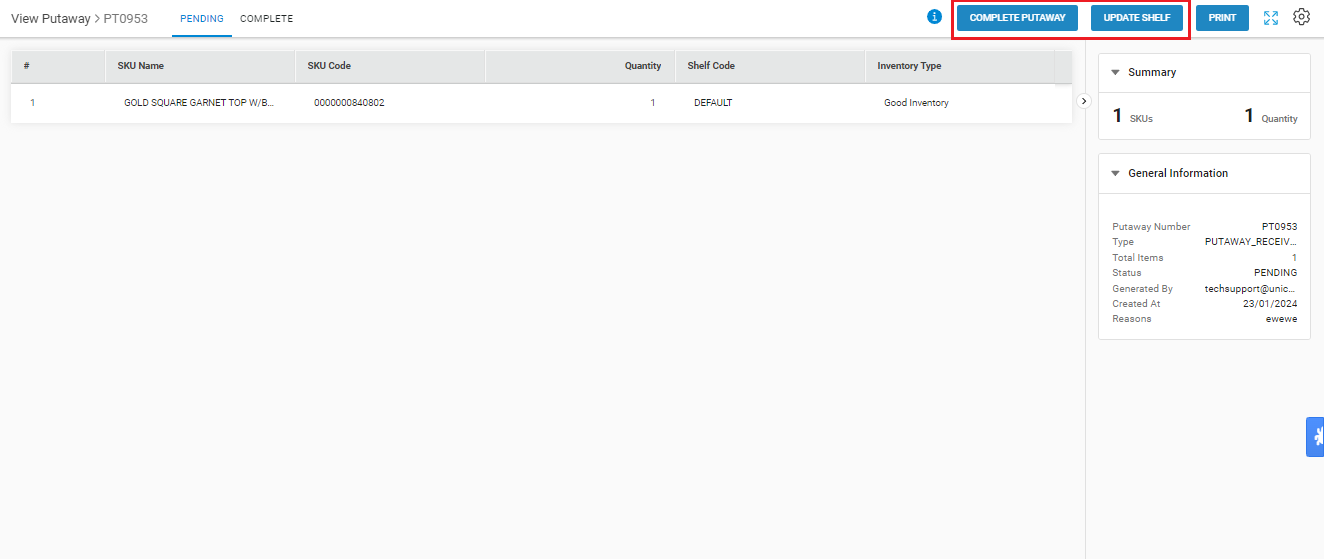
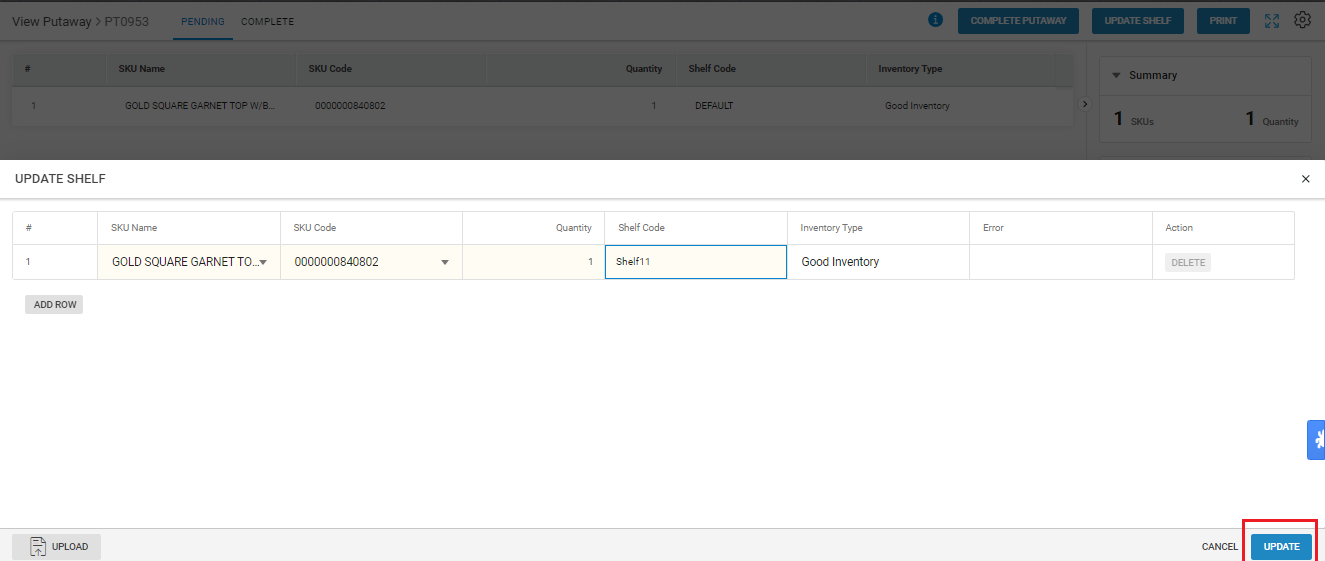
8- Update Shelf:
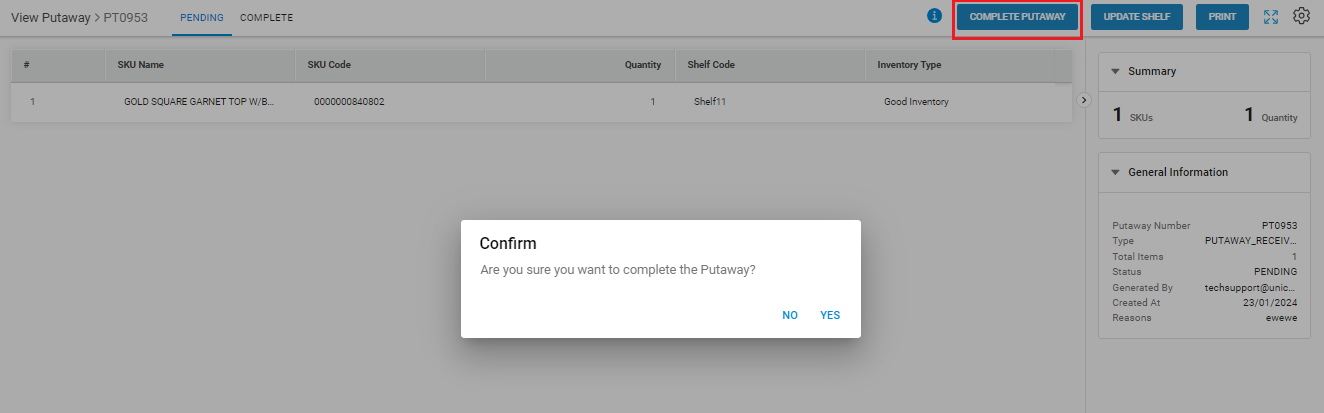
9- Complete Putaway:
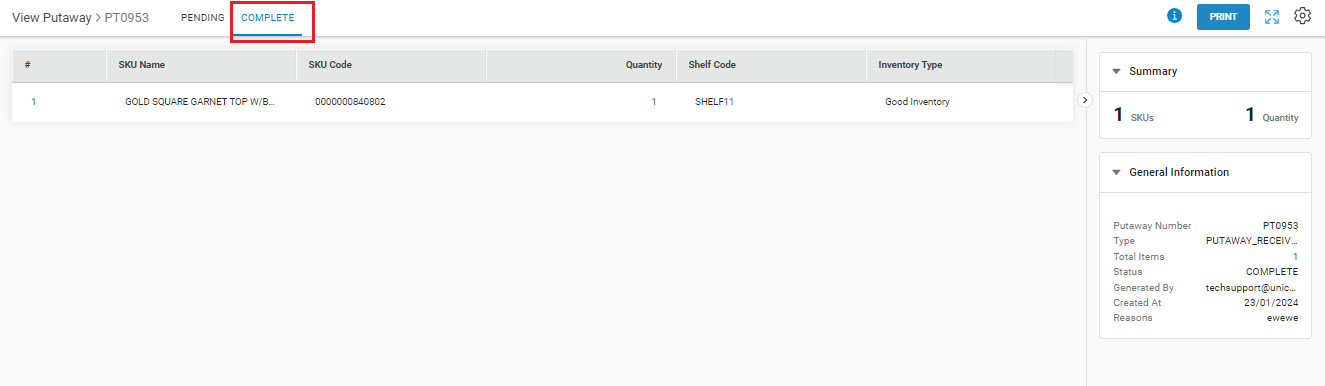
Close the putaway to mark it COMPLETE.
10- Now Putaway will be shown as Complete.