
Let us see some simple steps to configure Inventory sync on Flipkart Dropship or 2GUD.
Note: As of now below process is only live for the Flipkart channel (dropship model) as of now, for the rest other models, we will update this again.
A- For Flipkart.com and Flipkart Smart
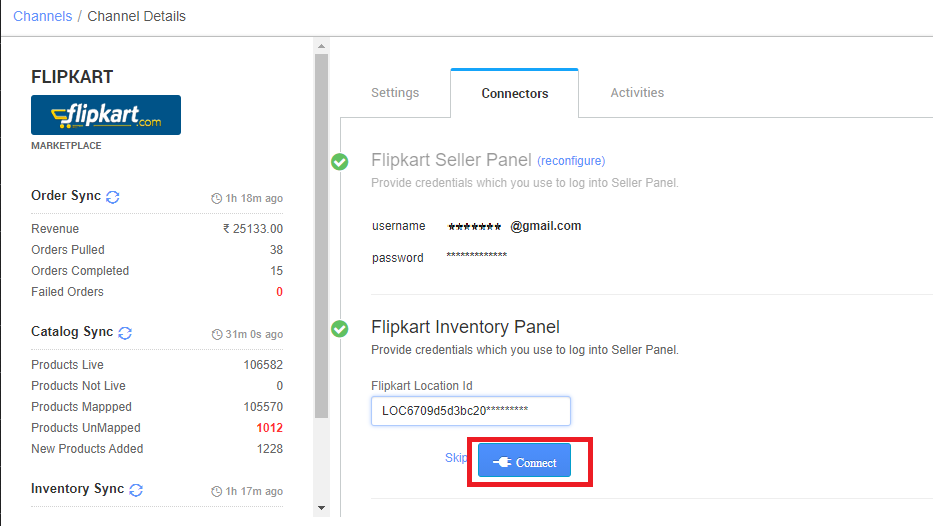
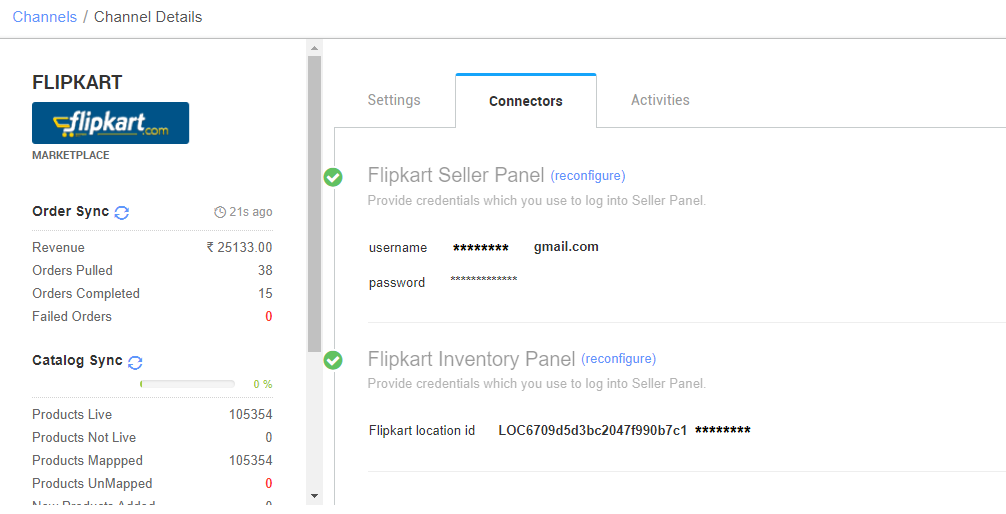
- After adding Flipkart channel (Dropship) and seller panel credentials in ‘Flipkart Seller Panel’ connector, sellers need to put their location id on the ‘Flipkart Inventory Panel’ connector.
- To get Location ID sellers can use the following steps after login your Flipkart / 2GUD panel or can confirm Location ID from Flipkart in case of multiple locations.
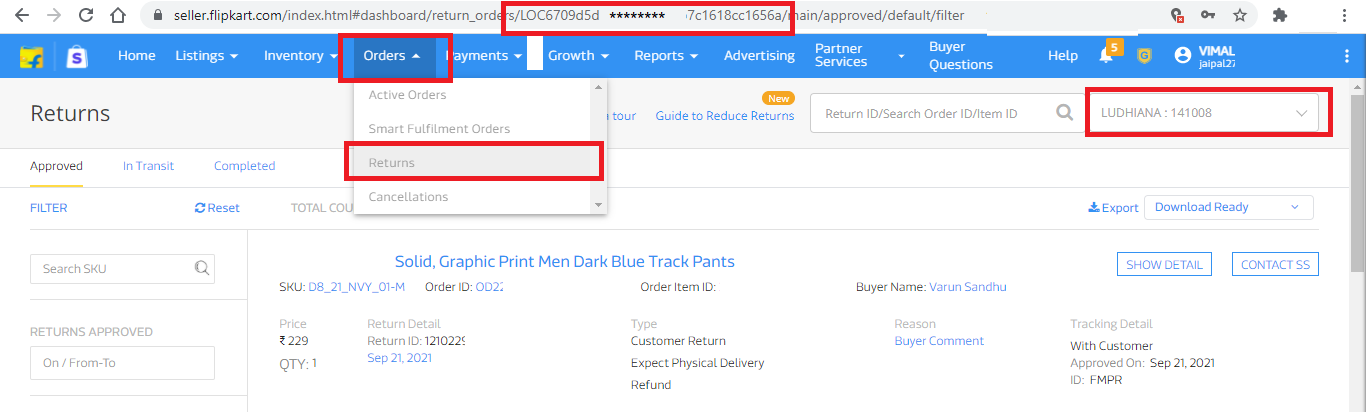
- Select your Warehouse
- Go to Orders Tab>>> Returns.
- On the top of UI, in URL you will get the Location ID starting from LOC…. copy that id..
- Fill the location id in below shown field and hit the button ‘Connect‘. It will route to FK’s panel.
.
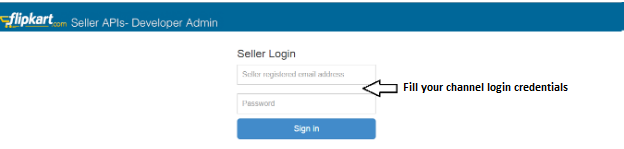
- A dialogue will be prompted to put seller’s credentials (the same seller panel credentials) need to be used here..
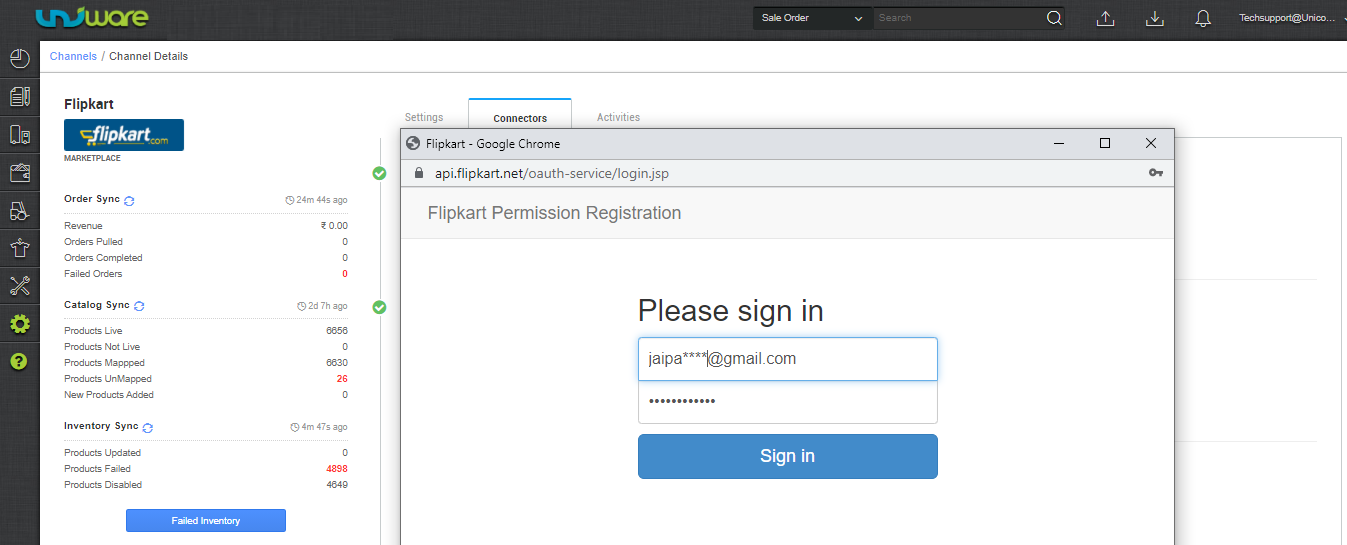
- Once a valid set of credentials are provided, hit ‘Sign In‘ and it will again route to next page.
.
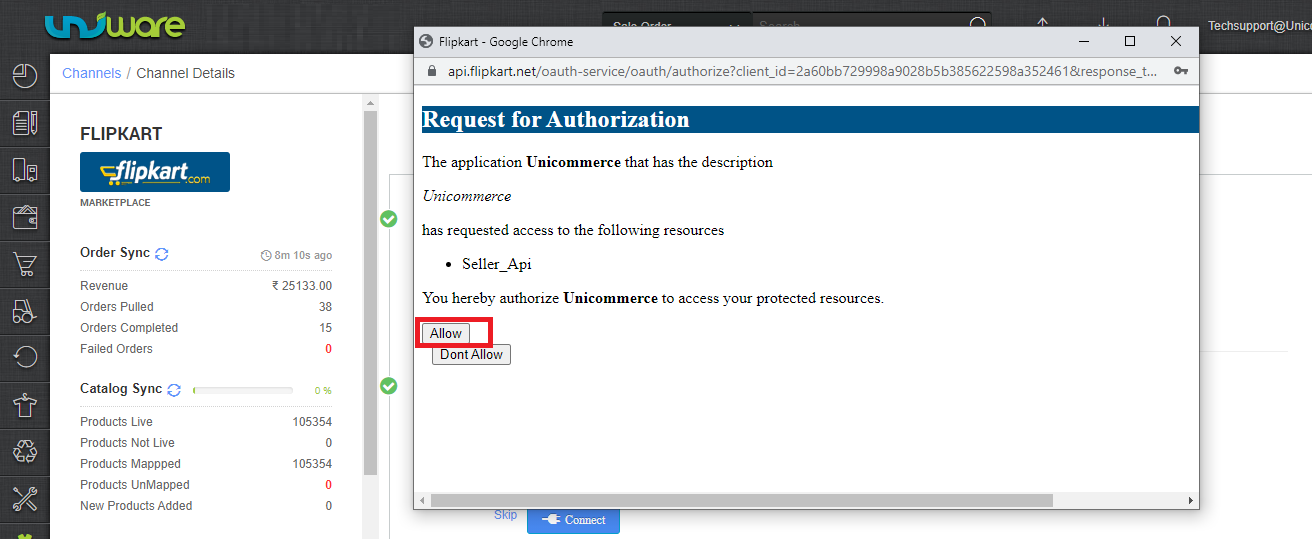
- Here seller needs to hit the button ‘Allow‘ and as a successful result, it will again redirect to Uniware.
.
IMPORTANT: It’s recommended for seller do to this exercise in incognito mode to avoid incorrect API connectors configuration. This will be more critical if one seller has multiple FK accounts.
B- For 2GUD.
1. To generate tokens, log in to your Flipkart panel with seller credentials:
- For 2GUD, use https://seller.api.2gud.com/oauth-register/login
- For Flipkart wholesale, use https://sell.flipkartwholesale.com/oauth-register/login
2. At the link you have logged in, click on “Register new application”

3. In the form add the Application name and the Application description as “Seller API” and click “Register Application”

4. As soon as you register the application, the system generates an application ID and a secret key. Please make a note of these values.

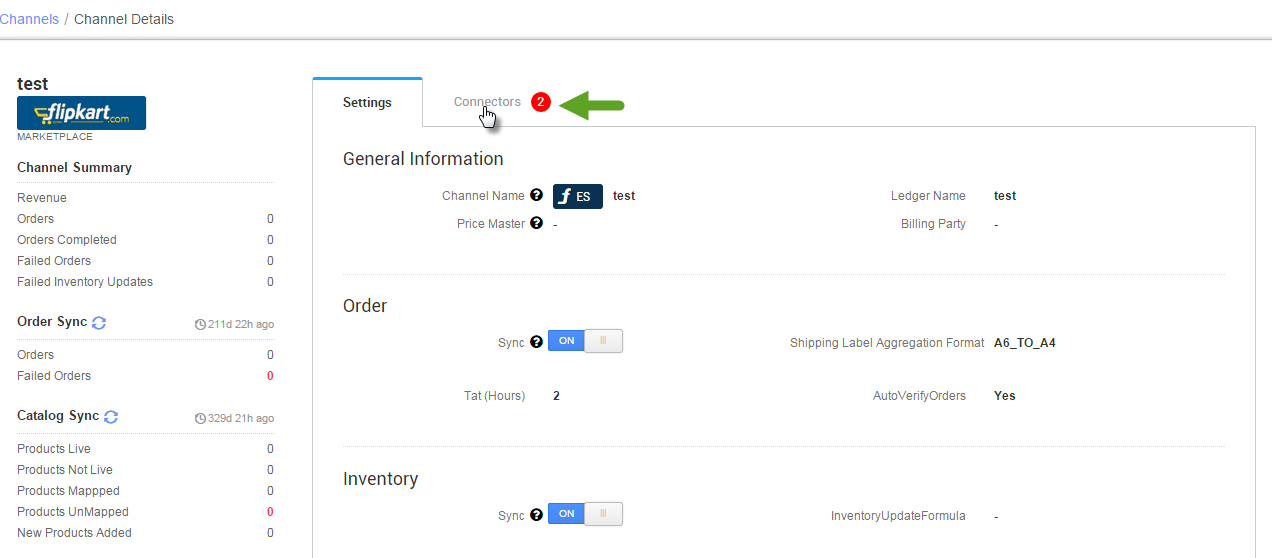
5. Please fill the Application ID and Secret Key in the Flipkart Inventory Panel, which can be accessed on the path Settings -> Channels, eventually following the steps as illustrated in the picture below.
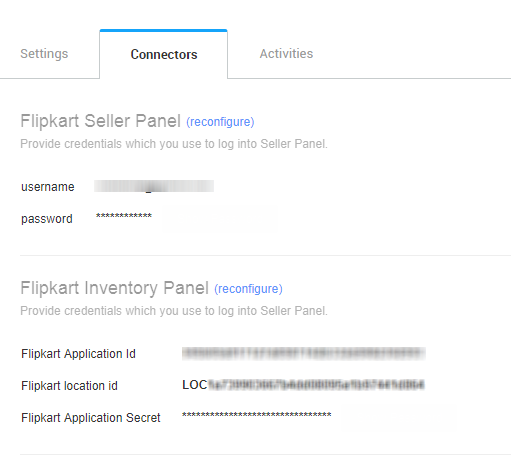
6. Configure the required values, as generated at step 4. On submitting, your Inventory Sync on Flipkart is successfully configured.
Now for the other model of Flipkart, you can use below way to generates the credentials to configure Inventory sync
Recommended for you: