Let’s understand configuration driven shipment actions.
Applicability
Version: Professional and Enterprise
Traceability: SKU, ITEM
Configuration :
- Channel Level Config: “
- Channel Level Config: “Image Based Outbound QC At Staging/Bundling Dock (Optional)”
- By default, the value of this config would be ‘Null’.
- You can select the config value from the dropdown options: Yes/No.
- Facility Level Config: “
- Facility Level Config: “Image Based Outbound QC At Staging/Bundling Dock (Optional)”
- By default, the value of this config would be ‘Null’.
- To enable this feature, connect with UC Support Team/KAM to mark this config as ‘True‘.
- Facility Level Config: “Update Shipping Package Details during packing”
- By default, the value of this config would be ‘Null’.
- To enable this feature, connect with UC Support Team/KAM to mark this config as ‘True‘.
Overview
Quality Check of Items
Let’s understand the new Quality Check module:-
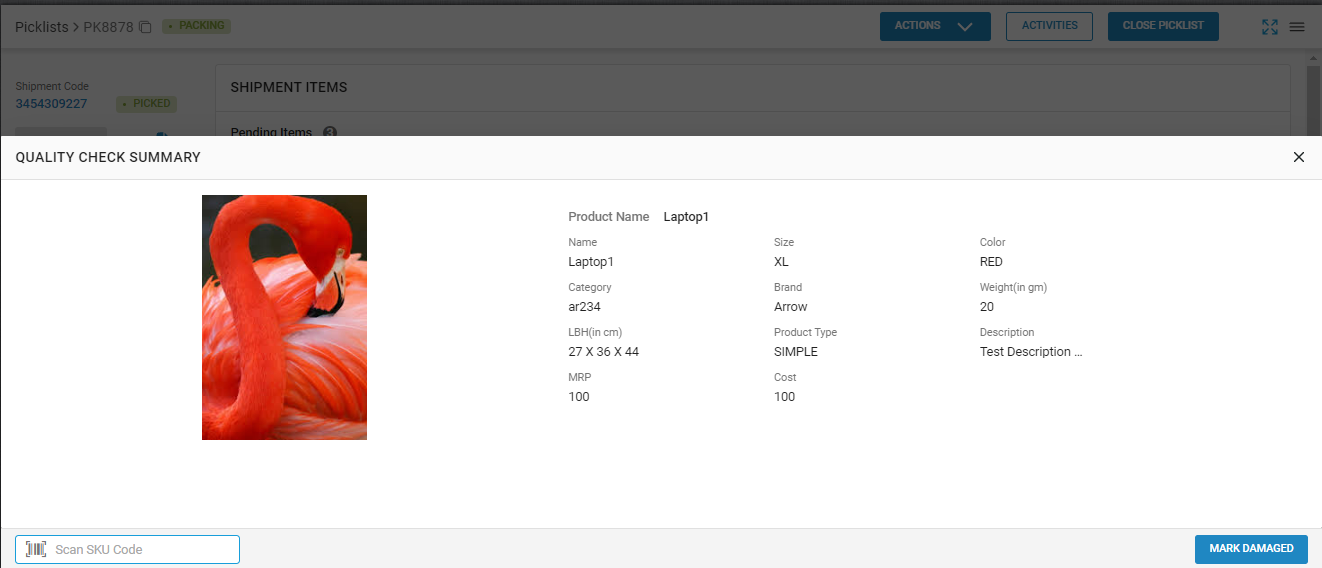
Whenever you start packing the shipment and start scanning the SKU. The Quality Check Summary pop-up window of the particular SKU will appear.
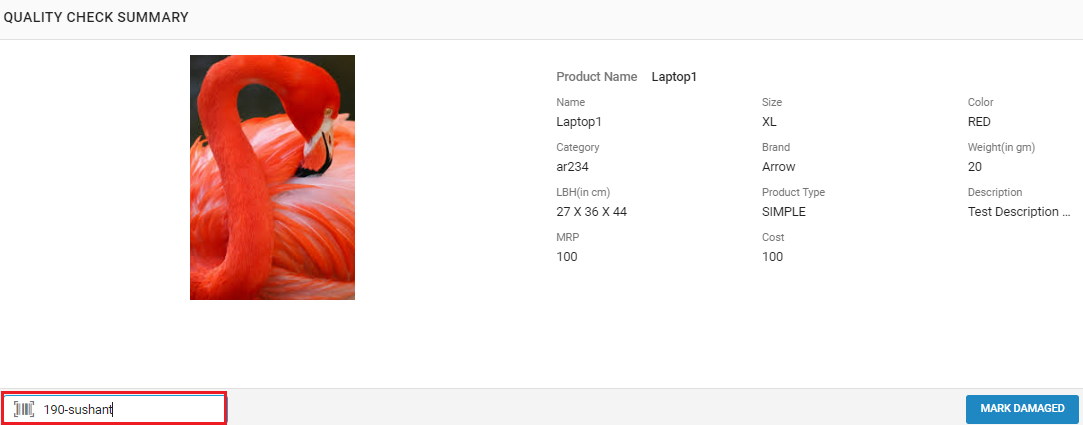
In the Quality Check Summary window, you can check product related details such as Product Name, Size, Color, Brand, Weight(in gm), LBH(in cm), Product Type, Description, MRP and Cost.
Through this window, you can mark the product as damage or either proceed with the processing part.
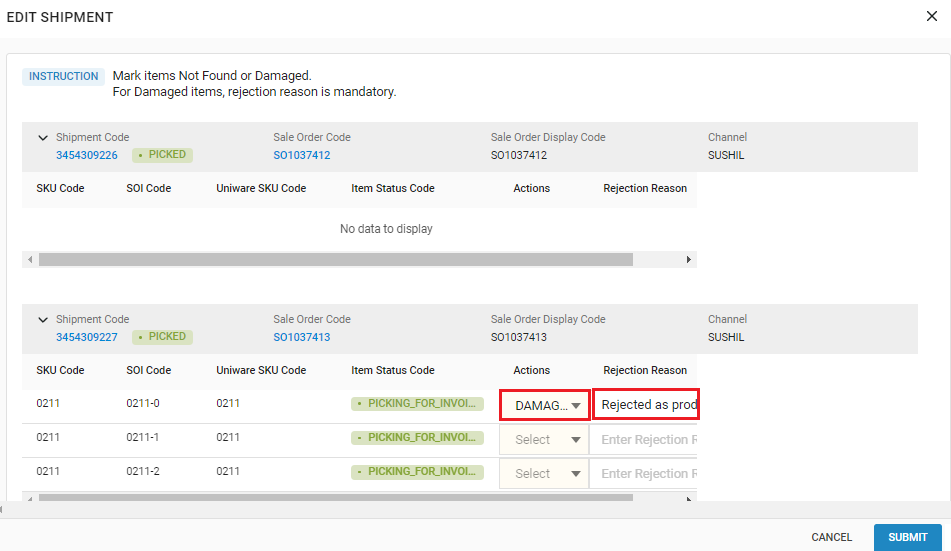
If you item is Damaged and Not Found, you can mark it as Damaged and afterwards the Edit Shipment side bar will appear, where you need to check the Action ( Mark items Not Found or Damaged ) from the dropdown and you also need to mention the Rejection Reason for the rejected product.
Note:- For Damaged items, Rejection Reason is mandatory.
If you item is in OK state, you simply need to Scan the SKU code once again then hit the Enter button and proceed with the processing part.
Bulk Receive of Items
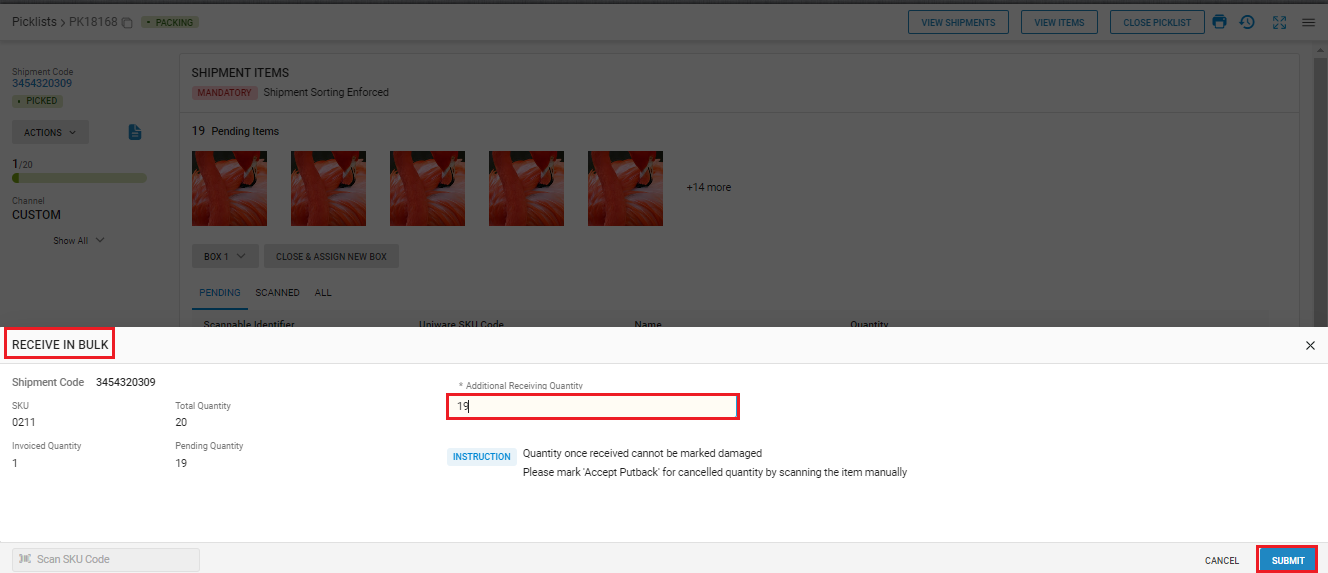
Let`s understand the bulk receive of packing shipments
The Bulk Receive of Items workflow is driven by the channel setting which is “Bulk Receive At Invoicing Dock”(Optional).
The user needs to provide the input for the bulk quantity to be received at the invoicing dock.
The user can submit the response via the `Submit` button.
Note:-
- The system will accept only the positive number.
- User can close the pop-up window to skip the Bulk Input.
Capturing IMEI and Shipping Package Type
Let’s understand the IMEI and Shipping Package Type capturing:
For ITEM_SKU and ITEM traceability, the workflow will Scan a SKU and after the scanning the SKU, the system will ask you to capture the IMEI and other product details or you can scan based Submit where you can just scan the barcode to Submit the Response.
For NONE traceability, the workflow will captured once the shipment is invoiced (as no scanning is involved).

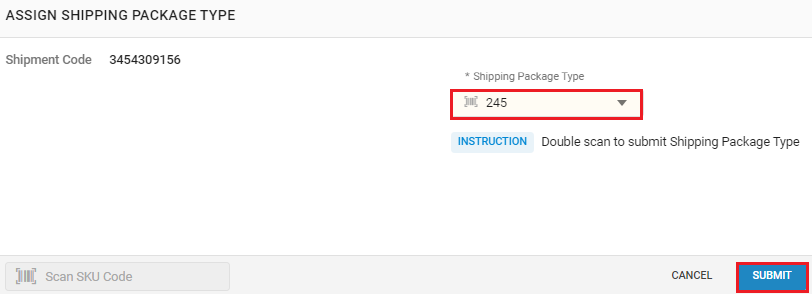
One you enter the IMEI number and hit the Submit button, the system will ask you to Assign Shipping Package Type from the dropdown and click on the Submit button.
Note:-
- Facility Level configuration named as “Update Shipping Package Details during packing” needs to be enabled to assign shipping package while processing the shipment.
- To enable this feature, connect with UC Support Team/KAM to mark this config as ‘True‘.
Once you Assign Shipping Package Type, the system will automatically generate the Invoice.
Capturing Seal ID of Boxes
Let`s understand the Feature of Boxing with Seal ID capturing:
The Seal ID capture workflow is triggered via channel setting config which is “Boxing with Packing“(Optional).
The user can select the Shipping Package Type from the dropdown, it will contain the list of the package types, user can type and search the shipping package type.
Once the Shipping Package Type is selected, the cursor will move on the Seal ID field (if enabled), so that the user can provide the Seal ID manually and submit the response via `Submit` button.

Putback of Cancelled Picklist Items
Let`s understand the Putback of cancelled Items during Packing:
The Accept Putback will be triggered when there is an item which was designated to be part of a shipment but it should be cancelled before packing. It is an intermediate step before putaway of the picklist items.
When the cancelled SKU is scanned or the invoice of the shipment is generated (having cancelled item), the Accept Putback flow will be triggered so that the user can perform the Accept Putback of the Cancelled Picklist Items. The user can either click on the ‘Accept Putback’ button or scan the barcode to perform the same operation.

Close Picklist
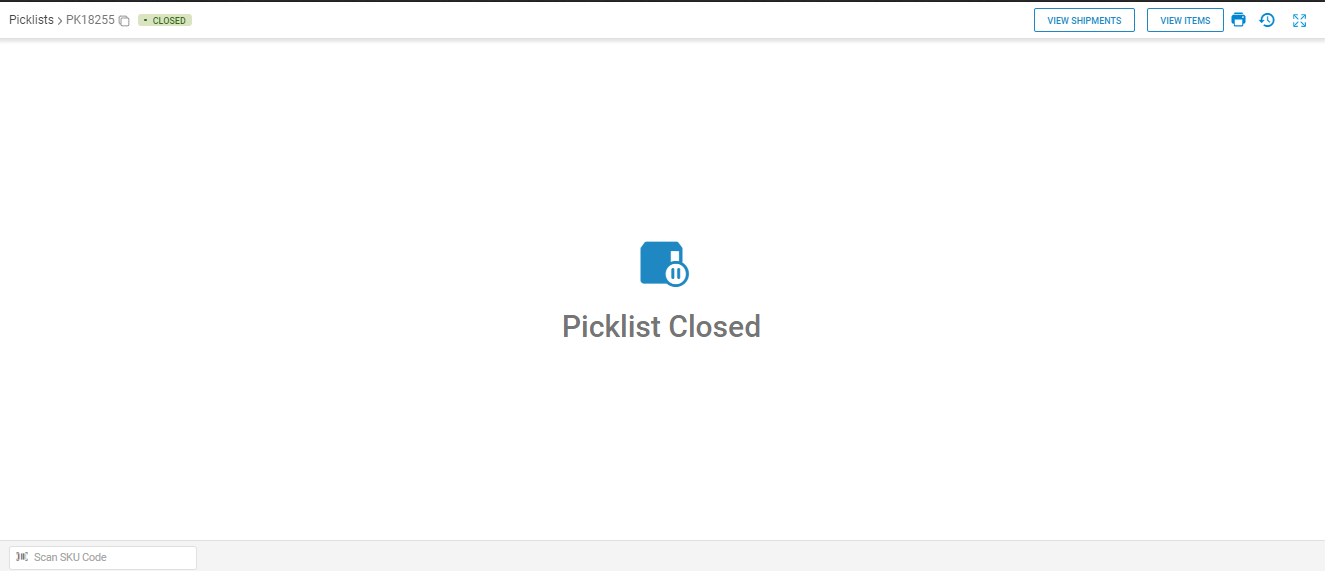
Let`s understand the process of Picklist Closure:
You can close the picklist by the Close Picklist button.
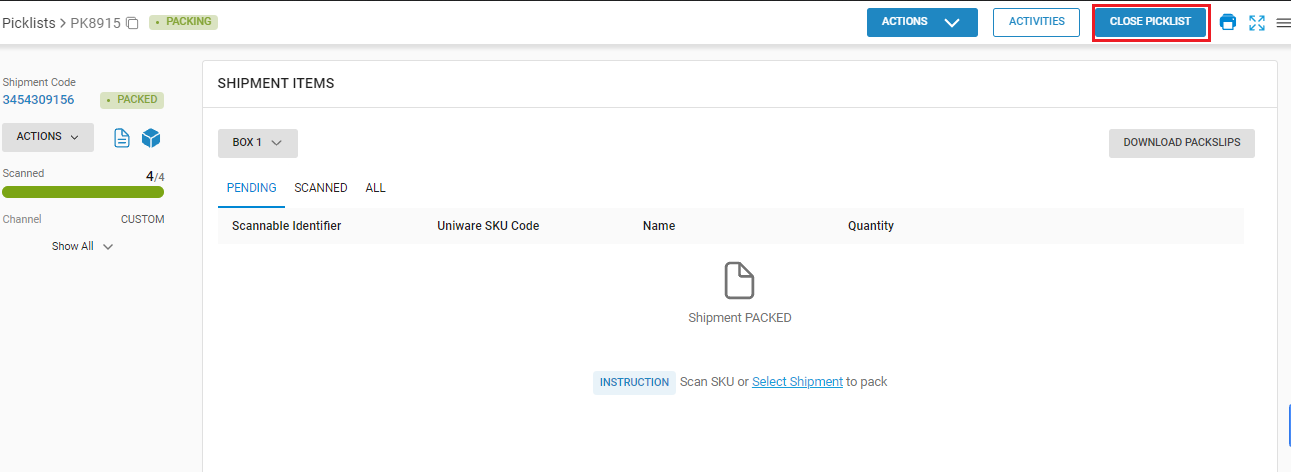
Once you click on the Close Picklist button, the system will take the user to the Packing Page and inform the user about the Picklist Closure with the help of an icon on the Packing Page.