
With the Pigeonhole feature, you can streamline your order processing by systematically organizing picked items in the invoicing (or packing) zone. This setup ensures that all items belonging to the same order are grouped together in a dedicated shelf, called a pigeonhole, making it easier for your team to perform invoicing and packing without errors.
Whether your orders contain a single item or multiple SKUs, this feature helps you maintain accuracy, reduce mix-ups, and speed up dispatch. It’s especially useful for high-volume operations where multiple orders are being processed simultaneously.
By using pigeonholes, you bring more structure to your workflow, pick, place, invoice, and pack; all in a seamless flow. To understand more about the staging and invoicing zones, Click Here.
Use Case
Let’s say you receive an order with four different items. Your picker first uses the primary picklist to collect each item from different staging shelves across the warehouse. Instead of holding them all together or keeping them randomly, the system assigns a specific shelf (pigeonhole) in the invoicing zone for that order. The picker places all the picked items into that shelf and scans the shelf code to confirm placement.
Later, when it’s time to pack, the secondary picklist gets created automatically. The packer selects the picklist, closes it, and scans the items kept in the assigned pigeonhole shelf. Once all items are scanned, the invoice gets generated, and the system allows you to print the shipping label and proceed with packing. This structured flow ensures faster order processing, avoids item mix-ups, and keeps your dispatch operations smooth and reliable, even when handling bulk, multi-item orders.
Applicability
Version: Enterprise clients
Traceability: None, SKU and Item Trace
Procedure
- Login in your uniware account.
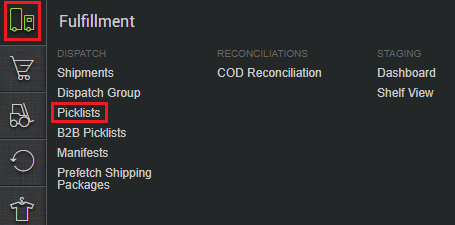
- Navigate to the Fulfillment > Picklists.
- Click on the CREATE MANUAL button.
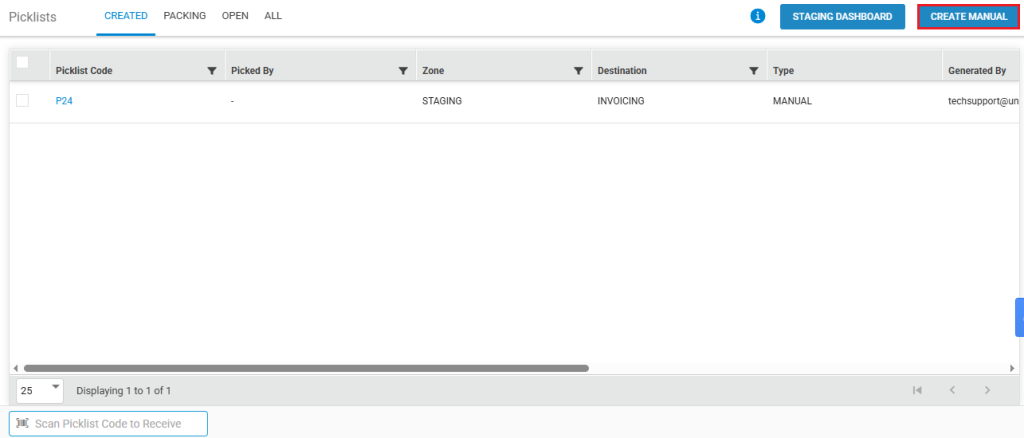
- You will be redirected to the Manual Picklist page, where you will see 3 tabs, Invoicing, Staging, and Invoicing – Single SKU. ( Orders containing a single item will appear under the Invoicing tab, while those with multiple items will be listed under the Staging tab. )
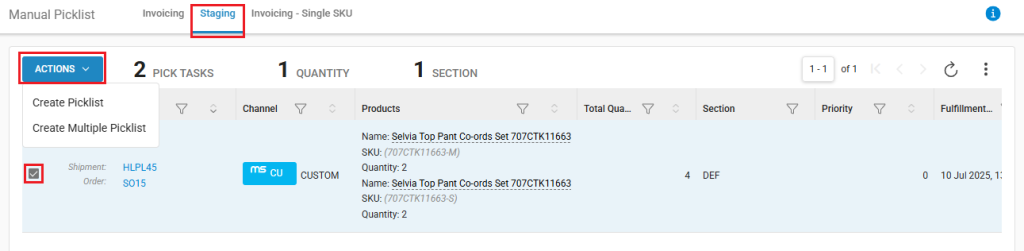
- Go to the Staging tab, and select your order(s), and the click on the ACTION button.
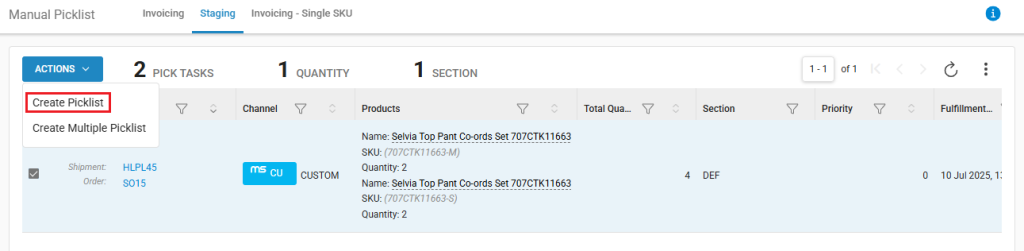
- Now, click on the Create Picklist option.
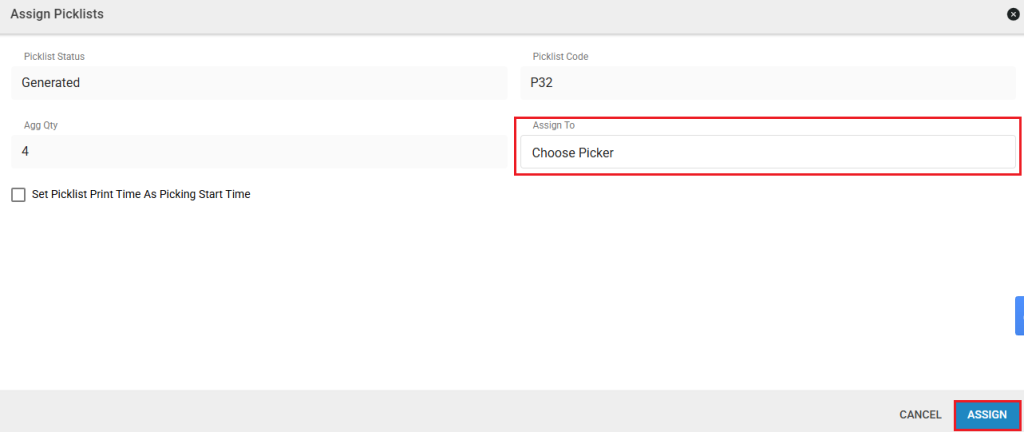
- You will be redirected to the Assign Picklists page. Now assign the picker form the Assign To dropdown, and then click on the ASSIGN button.
- Now, you will see the Picklists page, where you can print your picklist by clicking on then print icon.

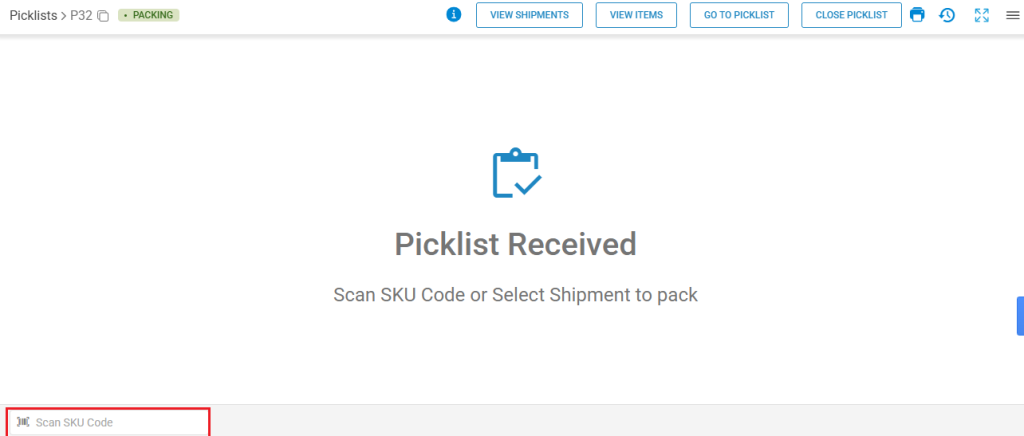
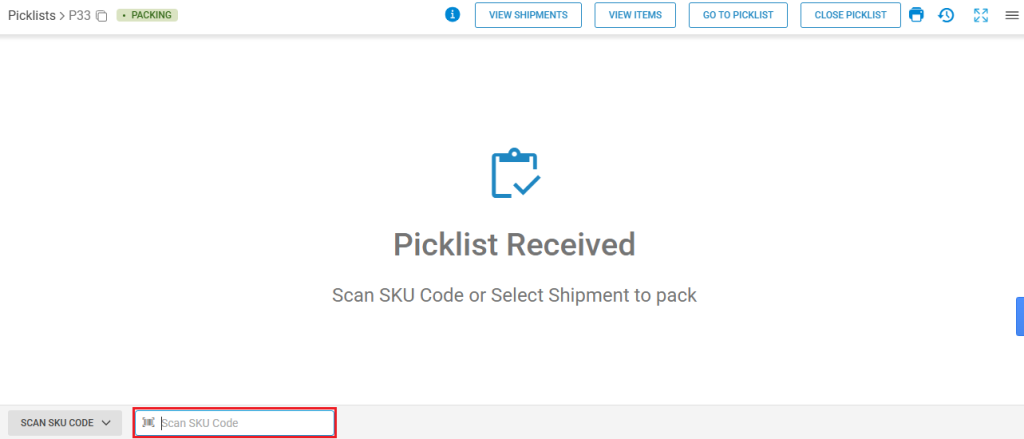
- Now, click on the RECEIVE PICKLIST button.Your picklist will be successfully received.

- Now, scan the SKU code of the items one by one.
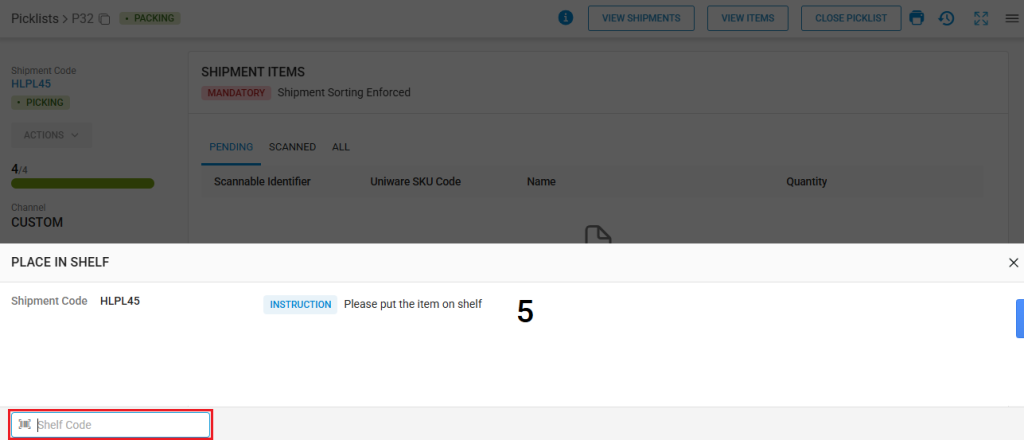
- Once all the items of the order are successfully scanned, the system will display the assigned shelf number. Place the items in that shelf and then scan the shelf code.
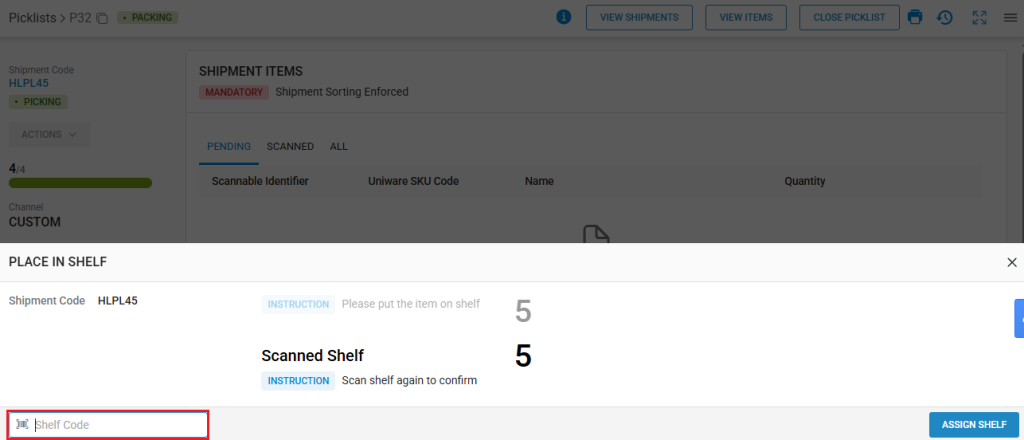
- Scan the shelf code again, to confirm.
Now, there are two scenarios: one where there is a multiple staging zones and multiple invoicing zones, and another where there is a simgle staging zone and a single invoicing zone.
Case I: (Single / Multiple) Staging and (Single / Multiple) Invoicing Zones
- Navigate to Fulfillment > Dashboard.
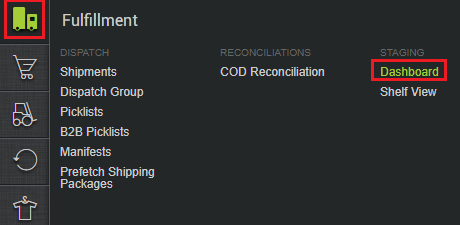
- You will be redirected to the Staging Dashboard page. Here, go to the SHIPMENT STAGING tab.
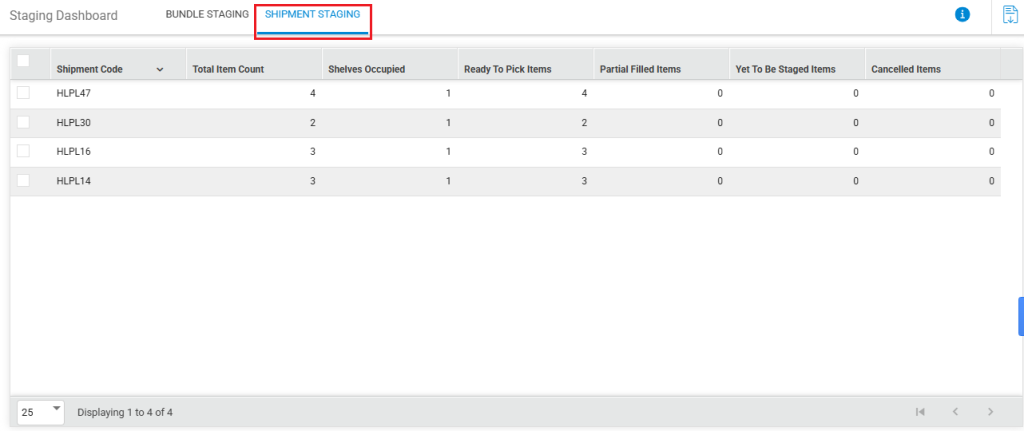
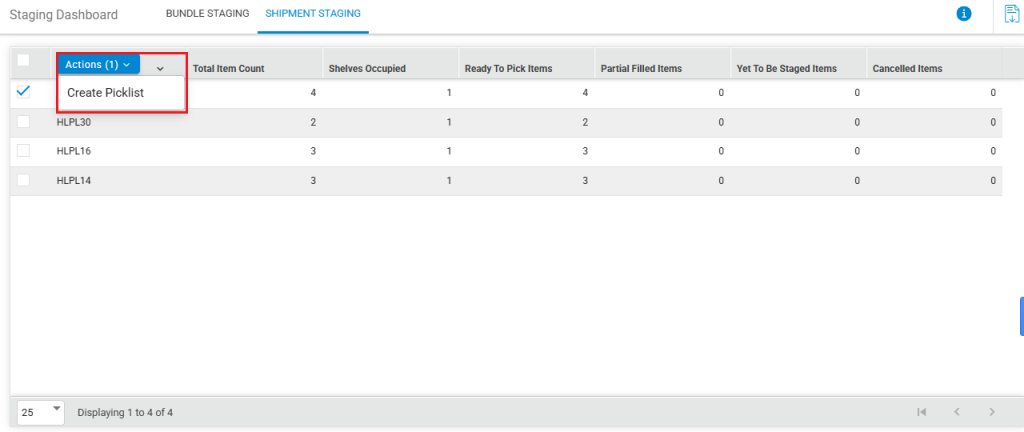
- Select the Shipment, click on the Actions button, and then click on the Create Picklist button.
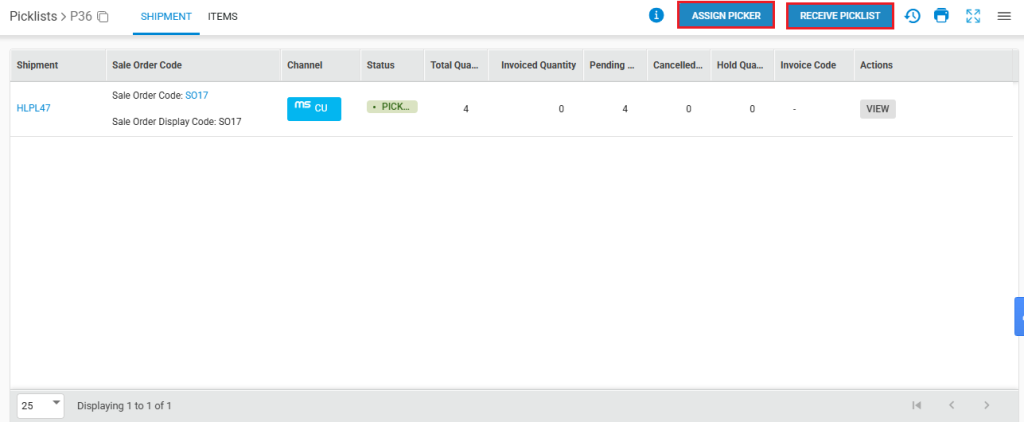
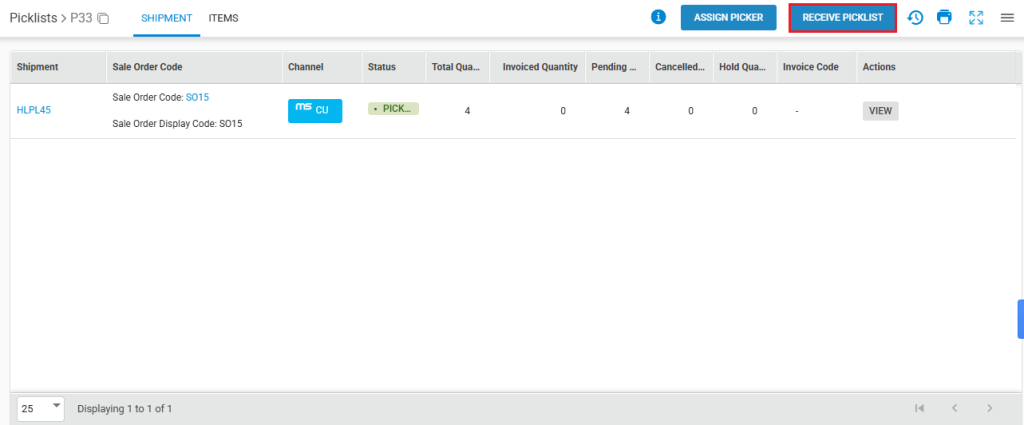
- You will be redirected to the Picklists Page for the secondary picklist. Here, you can manually assign a picker by clicking on the ASSIGN PICKER button, or directly click on the RECEIVE PICKLIST button.
- Scan the SKU codes of all the items one by one. (You have to scan twice for the quality check).
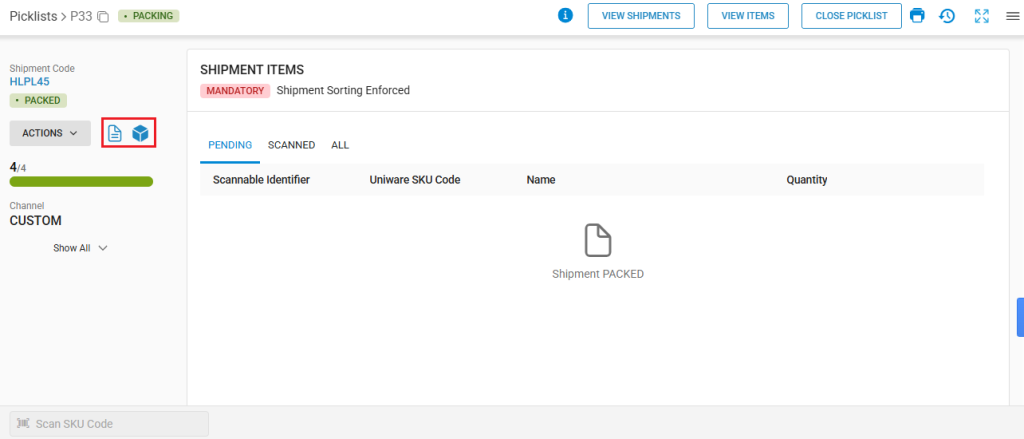
- When you successfully scan all the items from your picklist, your invoice will be generated automatically. Now, you can regenerate your invoice, or print label from the Picklists page.
Case II: Only Single Staging and Single Invoicing Zone
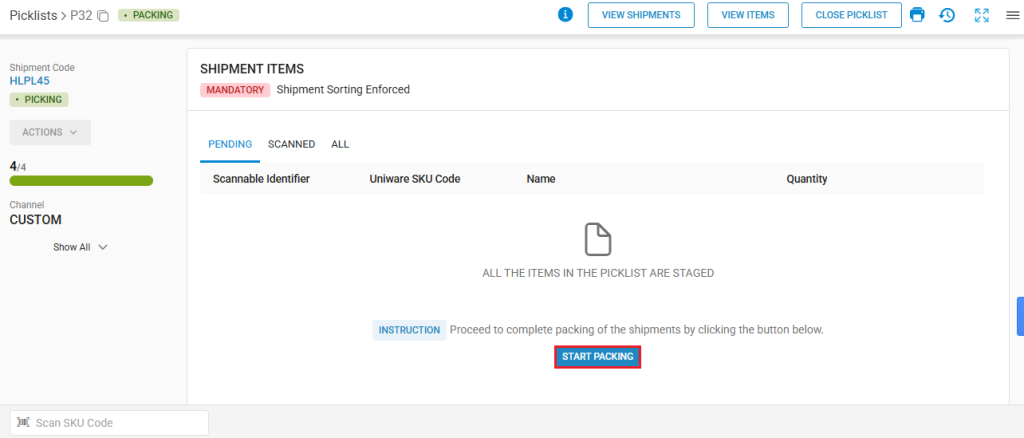
- On the Picklists page itself, click on the START PACKING button. On doing so, the secondary picklist will be created automatically, and now, you will see the secondary picklist page.
- Print your secondary picklist, and then you can assign the picker for your secondary picklist by clicking on the ASSIGN PICKER button, or directly click on the RECIEVE PICKLIST button.
- Scan the SKU codes of all the items one by one. (You have to scan twice for the quality check).
- When you successfully scan all the items from your picklist, your invoice will be generated automatically. Now, you can regenerate your invoice, or print label from the Picklists page.