
Hi. Let’s understand the process of adjusting/updating inventory/stock in Uniware.
Click here for Tutorial Video – English
Click here for Tutorial Video – Hindi
Inventory can be manually updated in two different ways:
- Updating Inventory one by one on UI using Inventory tab.
- Updating Inventory in Bulk using the Import file.
1. Updating Inventory one by one on UI using Inventory tab, follow the below steps:
On Uniware Menu, go to Products -> Inventory

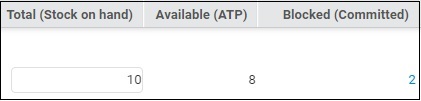
Post making inventory changes in this tab, the total inventory for a particular product is captured. Total Inventory is the sum of available and blocked inventory.
Available is the inventory which is available for further customer orders.
Blocked is the inventory which Uniware has assigned for the orders that are still getting Processed.
This page only shows the SKUs which have available inventory. It does not show the out of stock products (products with inventory=0)

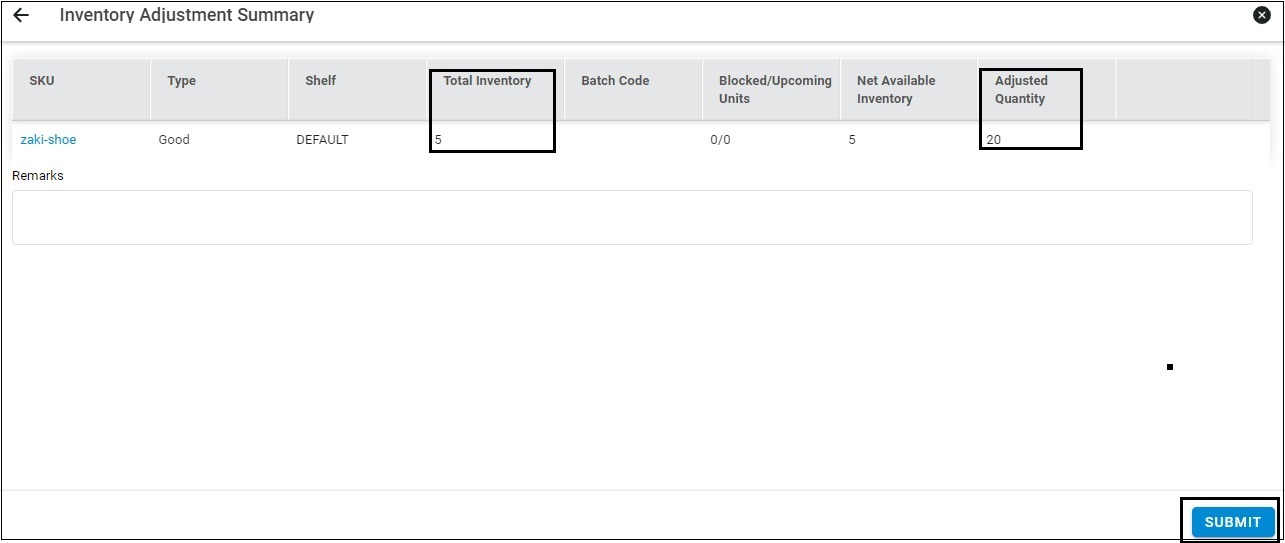
Let us try and understand the process with the help of an example. Here is the total available inventory.
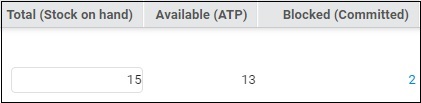
On adding an inventory of 5, the updated table looks like this:
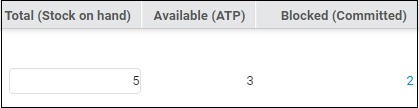
However, if we replace it with an inventory of 5, then the table would be updated as:
ADD INVENTORY
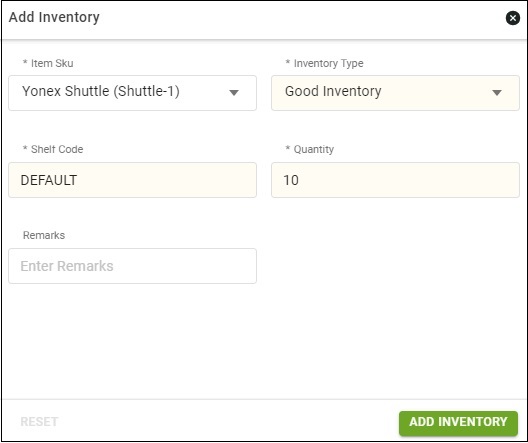
Let’s look at the process now. To add inventory, you may click on “Add Inventory” icon
You may fill in the mandatory fields here:
- Item SKU Code
- Inventory Type
- Shelf Code
- Quantity to be Added
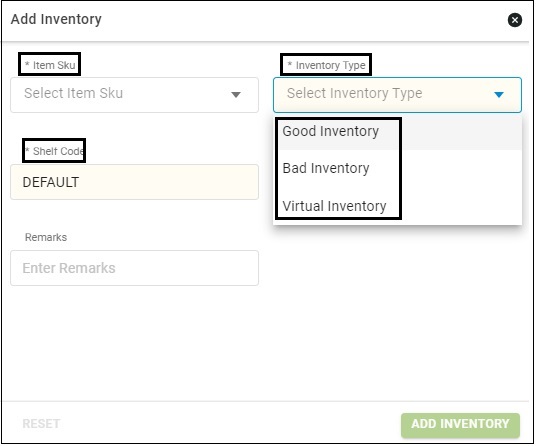
You may choose the inventory type-
Good Inventory- For adding saleable item
Bad Inventory- For adding bad/broken items/non-saleable items
Virtual Inventory- For adding “Just In Time” inventory
Click on Submit
Here, you can also edit the total count of a particular product inventory and press enter, as soon as the changes are made, hit ‘Save Changes’.

This action will REPLACE the selected product’s inventory count.
SCAN INVENTORY
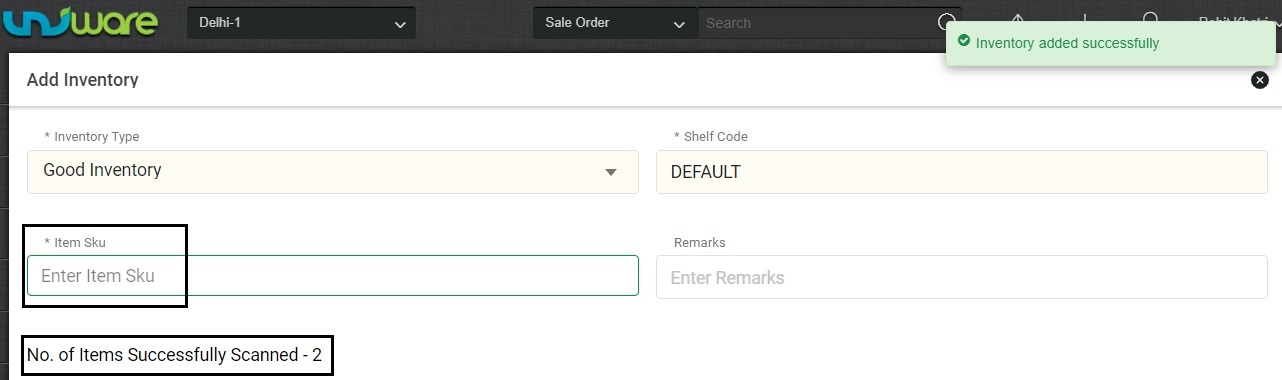
You can also add inventory by Scanning the Product Barcode of the available products.
CLick on Scan Inventory and scan the SKU. You will need to scan every product to add its quantity here.
Select Shelf Code and Inventory type and click on Done to add the inventory.
2. Updating Inventory in Bulk using the Import file.
Follow this path Tools > Import > Inventory Adjustment
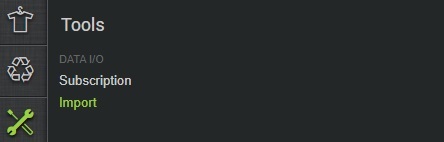
Now, select the ‘Inventory Adjustment’ file from the Import Type list and download the csv file on your system.
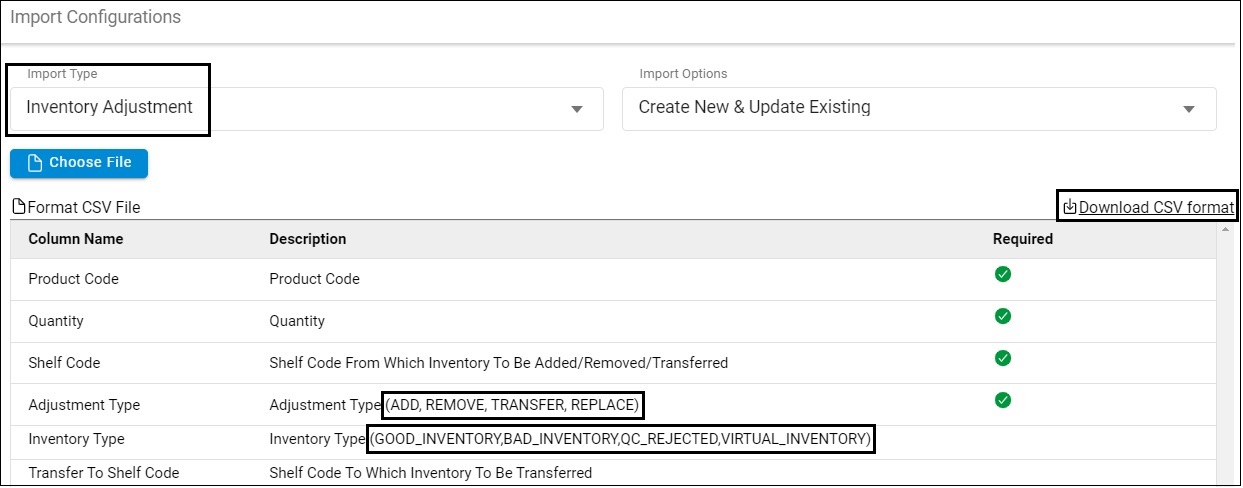
In this file you can mention the adjustment type as:
For Adding the inventory- Adjustment Type to be ADD
For Removing the Inventory- Adjustment Type to be REMOVE
For Replacing the inventory- Adjustment type to be REPLACE
For Transferring the inventory- Adjustment Type to be TRANSFER and Transfer to Shelf code is mandatory in Transfer case.
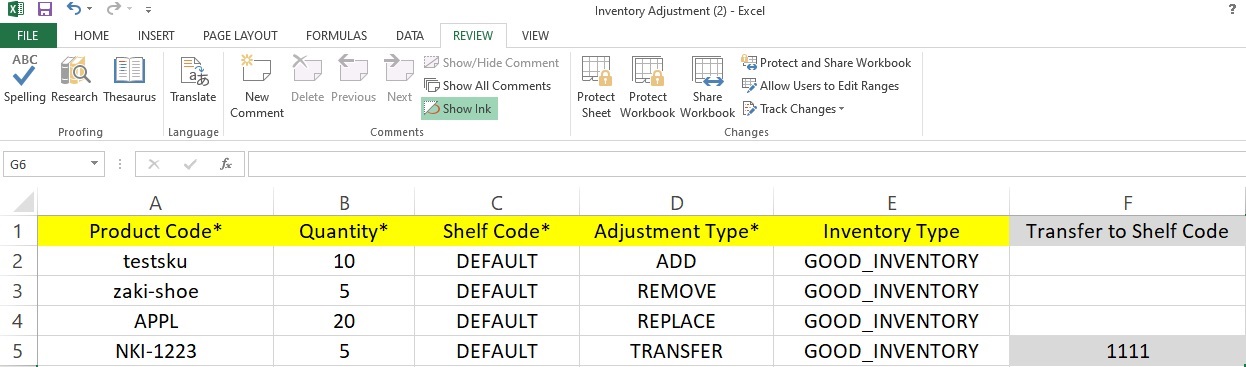
Save the file in CSV format and upload it in Uniware
The ‘Inventory Adjustment’ button on the ‘Inventory’ Page will show all the adjustments completed using the import file.
