
Auto GRN Items in Bulk
The Auto GRN Items import was initially built to help sellers migrate their existing inventory to the Uniware system from their previous WMS or other systems.
Applicability
Version: Professional and Enterprise
Traceability: None, SKU, ITEM
Procedure
Path: Main Menu (Tools) > Import > Select import as “Auto GRN Items”
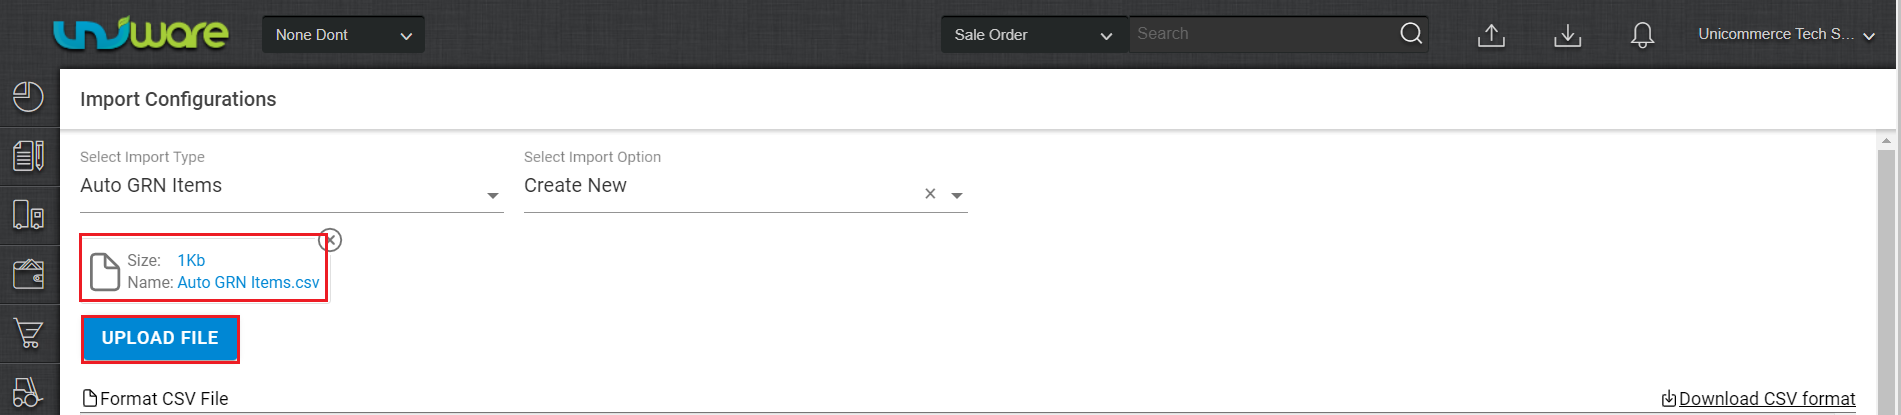
1- To use, select CREATE NEW from the Import Option.

2- Download the CSV format and fill in the details.

| Field (M: Mandatory) | Description |
| Vendor Code (M) | The unique code of the vendor (mentioned in Uniware) from whom the SKUs are received. |
| Vendor Invoice Number (M) | The invoice number for the received SKUs. |
| Purchase Order Code (M) | The applicable purchase order code of respactive PO. |
| Vendor Invoice Date (M) | The invoice date in DD/MM/YYYY format. |
| Sku Code (M) | Sku code of Uniware. |
| Qty (M) | Quantity of SKU. |
| Discount (%) | If You Want To Apply Any Discount (In Percentage) On The Unit Price, Use This Column. To Apply A Discount Of 10%, Use 10. |
| Discount (Amount Value) | If You Want To Apply Any Discount (In Absolute Value) On The Unit Price, Use This Column. Use Either Discount Percentage Or Discount Amount. |
| Tax Type Code | Use This To Override The Default Tax Class For This SKU. |
| Item Code | Item Barcodes Of GRN Items. This Field Is Mandatory For ITEM Traceability. |
| Item Details | Item Details of SKU. |
| GRN State | Allowed Values – CREATED, QC_PENDING, QC_COMPLETE, COMPLETE. Use COMPLETE If You Want To Create Putaway. Default Value: CREATED. |
| Shelf Code |
|
| MRP | MRP of SKU. |
| Unit Price | Unit Price of SKU. |
| Additional Cost | Additional Cost. |
| Manufacturing Date | Manufacturing Date As DD/MM/YYYY |
| Expiry Date As Dd/MM/Yyyy | Expiry Date As DD/MM/YYYY |
| Vendor Batch Number | Vendor Batch Number |
3– Save the sheet in default CSV format then Select the option “Choose File” and upload the sheet and press the “Upload File” button.
4– Once the upload has been successful, you can review the uploaded sheet. Right at the top of the screen is the import section where the user can see the success message.
When uploading data fails, you can check it from View import and repeat the task.
